


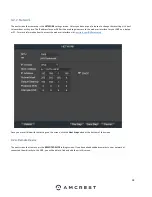


34
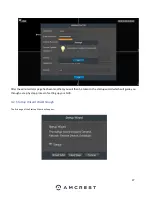
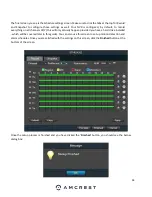
The final screen you see is the Schedule settings screen. Make sure to click the tabs at the top for Record
and Snapshot to configure those settings as well. Your NVR is configured, by default, to record
everything on all channels 24/7 (this will only actually happen provided you have a hard drive installed
- which will be covered later in this guide). You can also use this screen to set up motion detection and
alarm schedules. Once you are satisfied with the settings on this screen, click the
Finished
button at the
bottom of the screen.
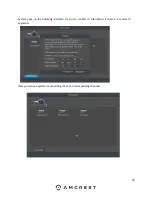
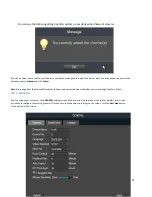
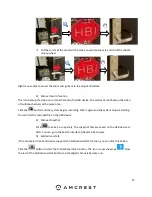
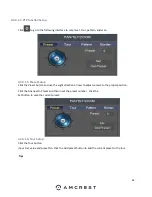
Once the setup process is finished and you have clicked the ‘
Finished
’ button, you should see the below
dialog box:
Содержание NV21 Series
Страница 1: ...Network Video Recorder User Manual Version 1 0 4 Revised November 21st 2018 ...
Страница 29: ...29 Now you can go to the smart add interface Click smart add button you can see device enables DHCP function ...
Страница 201: ...201 Figure 5 39 5 9 2 7 Email The email interface is shown as in Figure 5 40 ...
Страница 214: ...214 Figure 5 58 ...
Страница 215: ...215 Figure 5 59 Figure 5 60 Figure 5 61 Figure 5 62 Please refer to the following sheet for detailed information ...
Страница 227: ...227 Figure 5 77 Figure 5 78 ...
Страница 245: ...245 Figure 5 102 5 10 2 Log Here you can view system log See Figure 5 103 Figure 5 103 ...
Страница 257: ...257 3 You will see the Registration Successful message and a confirmation email will be sent to you ...