116
o
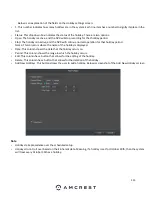
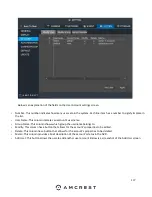
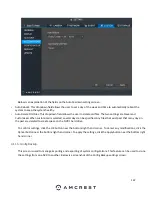
Modify: This button allows the user to modify or edit a channel from the tour.
o
Delete: This button allows the user to remove a channel from the tour.
o
Move Up: This button allows the user to move a camera up in the tour queue.
o
Move Down: This button allows the user to move a camera down in the tour queue.
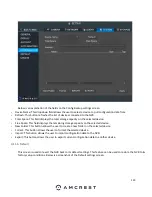
To revert to default settings, click the Default button near the bottom left hand corner. To confirm settings, click the
OK button near the bottom right hand corner. To cancel any modifications, click the Cancel button near the bottom
right hand corner. To apply the settings, click the Apply button near the bottom right hand corner.
4.11. Account
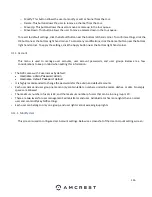
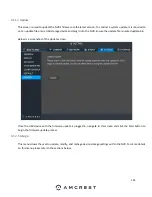
This menu is used to manage user accounts, user account passwords, and user groups. Below are a few
considerations to keep in mind when editing this information:
•
The NVR comes with 2 usernames by default:
•
Username: admin Password: admin
•
Username: default Password: default
•
It is highly recommended to change the passwords for the admin and default accounts.
•
Each user name and user group name can only contain letters, numbers, underline marks, dashes, or dots. No empty
spaces are allowed.
•
The maximum number of users is 64, and the maximum number of users that can be in one group is 20.
•
There are two levels for user management: administrator and user. Administrator has more rights than a normal
user and can modify key NVR settings.
•
Each user can belong to only one group, and user rights cannot exceed group rights.
4.11.1. Modify User
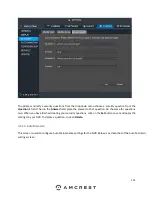
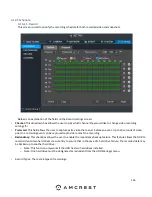
This screen is used to configure User Account settings. Below is a screenshot of the User Account settings screen:
Содержание NV21 Series
Страница 1: ...Network Video Recorder User Manual Version 1 0 4 Revised November 21st 2018 ...
Страница 29: ...29 Now you can go to the smart add interface Click smart add button you can see device enables DHCP function ...
Страница 201: ...201 Figure 5 39 5 9 2 7 Email The email interface is shown as in Figure 5 40 ...
Страница 214: ...214 Figure 5 58 ...
Страница 215: ...215 Figure 5 59 Figure 5 60 Figure 5 61 Figure 5 62 Please refer to the following sheet for detailed information ...
Страница 227: ...227 Figure 5 77 Figure 5 78 ...
Страница 245: ...245 Figure 5 102 5 10 2 Log Here you can view system log See Figure 5 103 Figure 5 103 ...
Страница 257: ...257 3 You will see the Registration Successful message and a confirmation email will be sent to you ...


