102
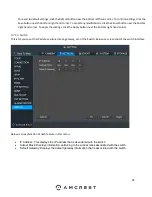
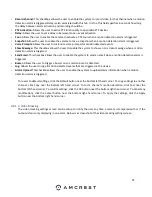
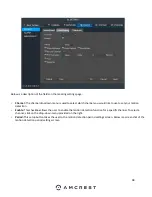
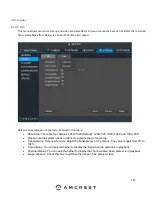
Below is a description of the fields on the Video Loss settings page:
•
Channel:
The channel dropdown menu is used to select which channel you would like to use to set your motion
detection.
•
Enable:
This checkbox allows the user to enable the motion detection function for a specific channel. To select a
channel, click on the drop-down menu provided on the right.
•
Period:
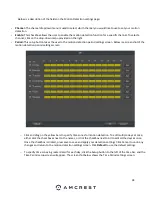
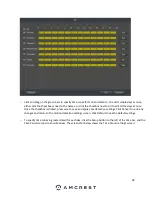
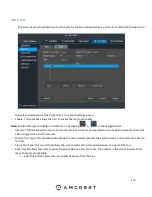
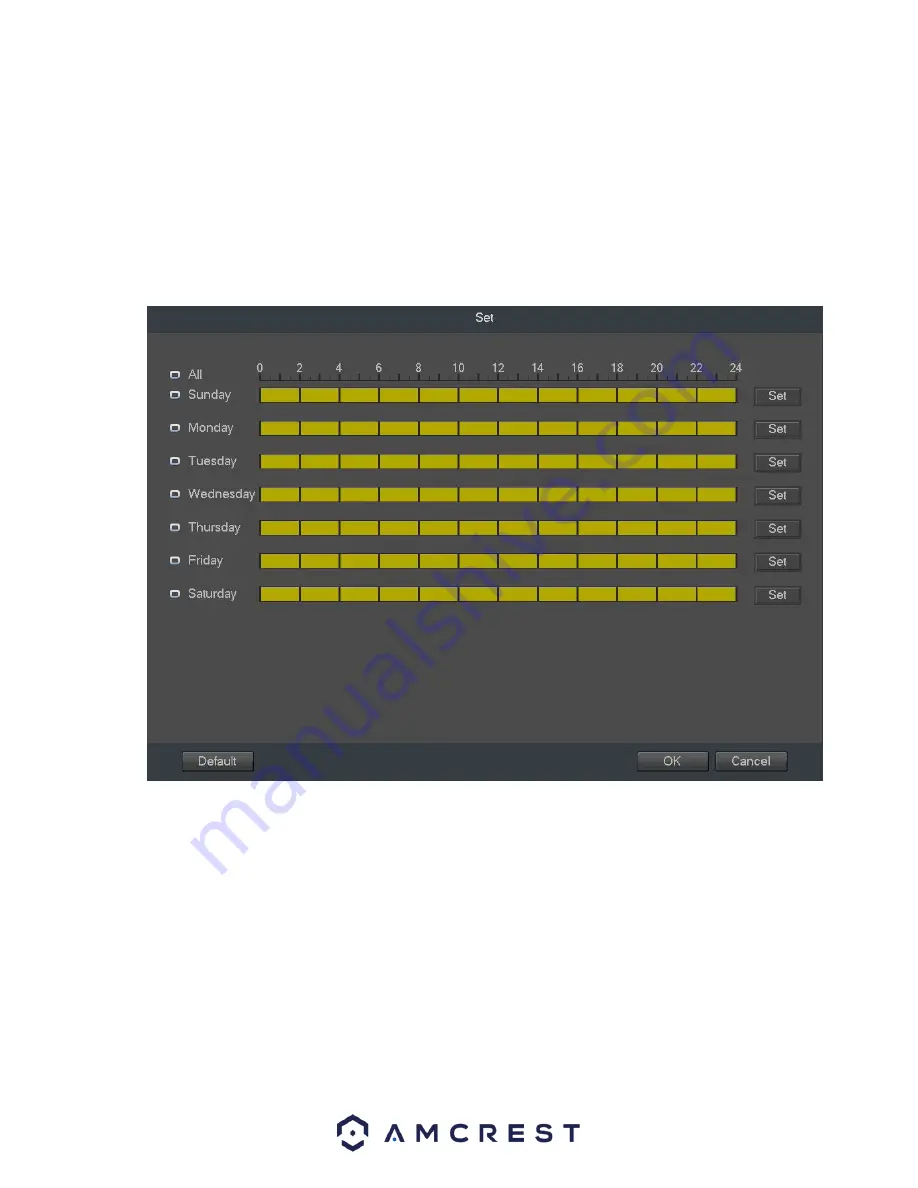
This setup button takes the user to the motion detection period settings screen. Below is a screenshot of the
motion detection period settings screen.
o
Click and drag on the green bars to specify time zones for motion detection. To edit multiple days at once,
either click the checkboxes next to the names, or click the checkbox next to All to edit all the days at once.
Once the checkbox is clicked, press save to save and apply your detection settings. Click Cancel to undo any
changes and return to the motion detection settings screen. Click Default to use the default settings.
o
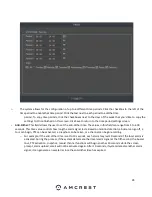
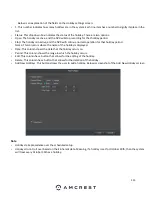
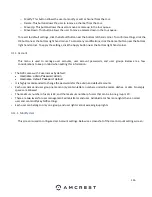
To specify time zones in greater detail for each day, click the Setup button to the left of the time bar, and the
Time Period setup screen will appear. The screenshot below shows the Time Period settings screen:
Содержание NV21 Series
Страница 1: ...Network Video Recorder User Manual Version 1 0 4 Revised November 21st 2018 ...
Страница 29: ...29 Now you can go to the smart add interface Click smart add button you can see device enables DHCP function ...
Страница 201: ...201 Figure 5 39 5 9 2 7 Email The email interface is shown as in Figure 5 40 ...
Страница 214: ...214 Figure 5 58 ...
Страница 215: ...215 Figure 5 59 Figure 5 60 Figure 5 61 Figure 5 62 Please refer to the following sheet for detailed information ...
Страница 227: ...227 Figure 5 77 Figure 5 78 ...
Страница 245: ...245 Figure 5 102 5 10 2 Log Here you can view system log See Figure 5 103 Figure 5 103 ...
Страница 257: ...257 3 You will see the Registration Successful message and a confirmation email will be sent to you ...

