130
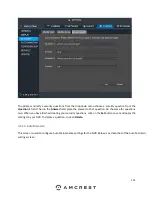
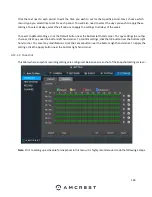
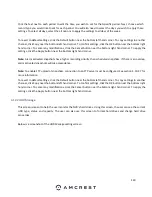
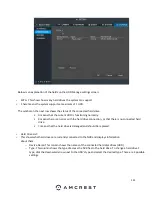
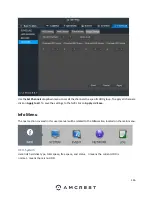
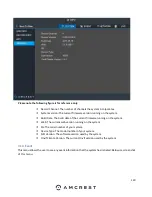
Click the text next to each period to edit the time you wish to set for that specific period. Next, choose which
record type you would like to set for each period. You will also need to select the days you wish to apply these
settings. To select all days, select the all options to apply the settings to all days of the week.
To revert to default settings, click the Default button near the bottom left hand corner. To copy settings to another
channel, click Copy near the bottom left hand corner. To confirm settings, click the OK button near the bottom right
hand corner. To cancel any modifications, click the Cancel button near the bottom right hand corner. To apply the
settings, click the Apply button near the bottom right hand corner.
Note:
Alarm activated snapshots have higher recording priority than scheduled snapshots. If there is an overlap,
alarm activated snapshots will take precedence.
Note:
To enable FTP upload of snapshots, connection to an FTP server must be configured. See section 4.10.2.7 for
more information.
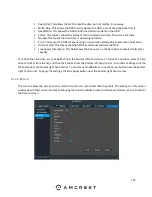
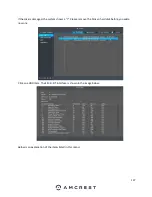
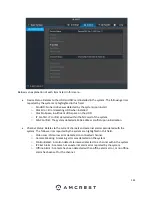
To revert to default settings, click the Default button near the bottom left hand corner. To copy settings to another
channel, click Copy near the bottom left hand corner. To confirm settings, click the OK button near the bottom right
hand corner. To cancel any modifications, click the Cancel button near the bottom right hand corner. To apply the
settings, click the Apply button near the bottom right hand corner.
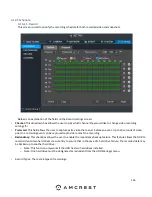
4.12.2 HDD Manage
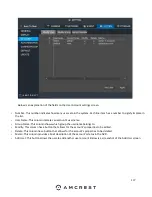
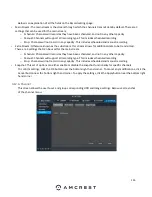
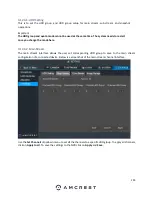
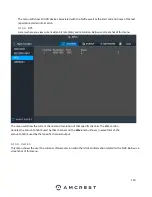
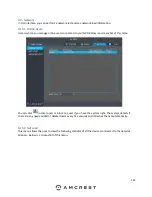
This screen is meant to help the user monitor the NVR
’s hard drives. Using this screen, the user can see the current
HDD type, status, and capacity. The user can also use this screen to format hard drives and change hard drive
properties.
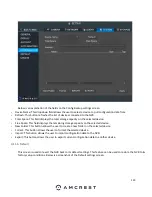
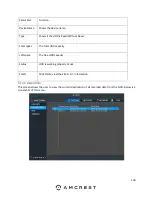
Below is a screenshot of the HDD Manage settings screen:
Содержание NV21 Series
Страница 1: ...Network Video Recorder User Manual Version 1 0 4 Revised November 21st 2018 ...
Страница 29: ...29 Now you can go to the smart add interface Click smart add button you can see device enables DHCP function ...
Страница 201: ...201 Figure 5 39 5 9 2 7 Email The email interface is shown as in Figure 5 40 ...
Страница 214: ...214 Figure 5 58 ...
Страница 215: ...215 Figure 5 59 Figure 5 60 Figure 5 61 Figure 5 62 Please refer to the following sheet for detailed information ...
Страница 227: ...227 Figure 5 77 Figure 5 78 ...
Страница 245: ...245 Figure 5 102 5 10 2 Log Here you can view system log See Figure 5 103 Figure 5 103 ...
Страница 257: ...257 3 You will see the Registration Successful message and a confirmation email will be sent to you ...

