


Guided
Provides step-by-step instructions to help you achieve a range of interesting editing tasks
Expert
Lets you edit and enhance your photos using the complete set of powerful tools available in Photoshop Elements
Fix or enhance photos in Quick mode
The Quick mode offers several easy ways to fix or enhance your photos. With a single click or in a few steps, you can fix common flaws, adjust
brightness and exposure, and do much more to make your photos look extraordinary.
In the Editor workspace, open the photos you want to work on, click Quick, and explore various editing options:
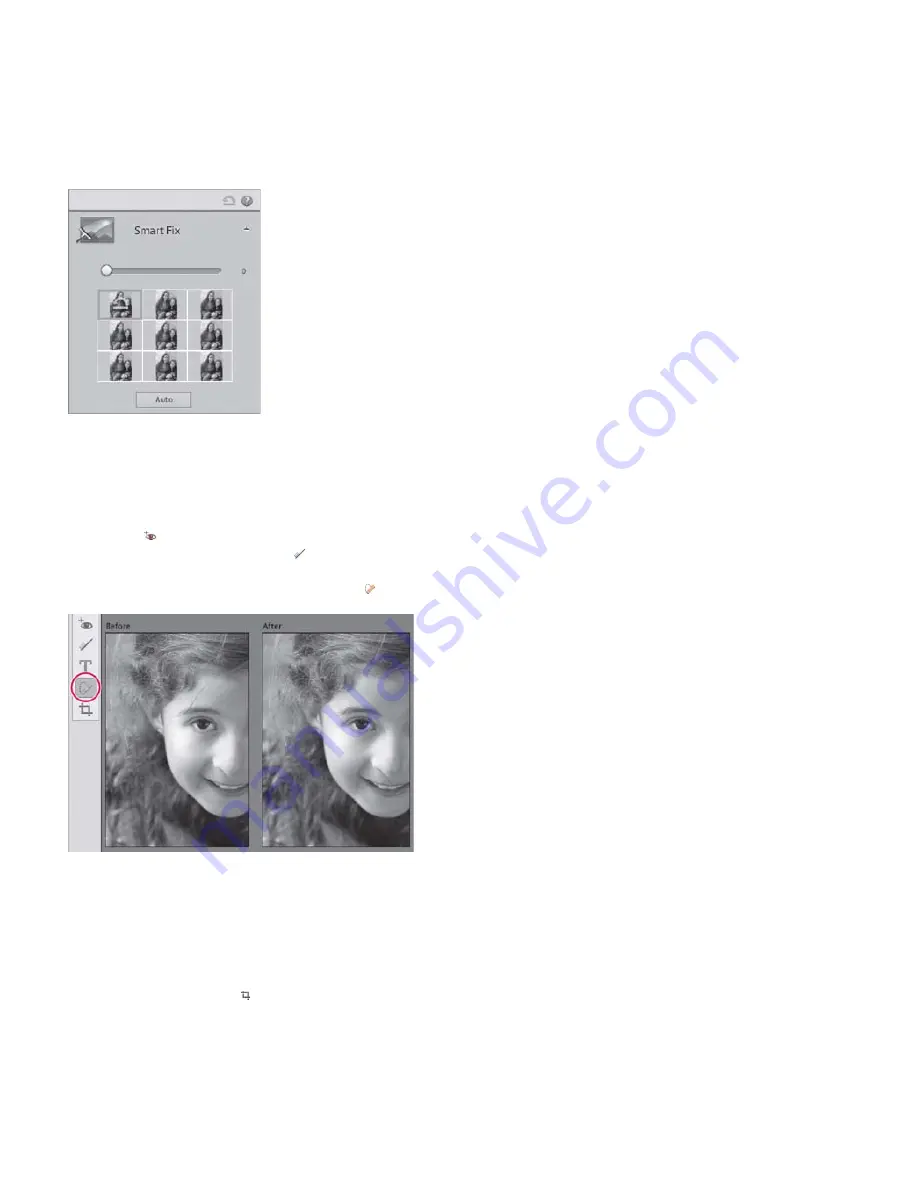
Apply Smart Fix
In the right panel, click Smart Fix. You can click Auto or select from the different options that Photoshop Elements provides.
Drag the slider or select an option
Fine-tune exposure
In the right panel, click Exposure. Drag the slider to increase or decrease exposure or select from the different options that
Photoshop Elements provides.
Make the colors richer
In the right panel, click Color and click Vibrance. Click Auto or select from the different options that Photoshop Elements
provides.
Remove red eye
You can automatically fix red eye when you import photos into Elements Organizer. If you have not done that, click the Red Eye
Removal tool
in the Tools panel on the left and click in the red area of an eye. Alternatively, you can click Auto Correct for a quick correction.
Whiten teeth
Use the Whiten Teeth tool in the Tools panel on the left for pearly white smiles in your photos. Click the tool and drag in the
image area with the teeth that you want to brighten.
Remove blemishes
Use the Spot Healing Brush tool in the Tools panel on the left to removes blemishes and other imperfections from your
photos. You can either click once on a blemish, or click and drag to smooth away imperfections in an area.
Use the Spot Healing brush to smooth away imperfections
Crop a photo in Quick mode
Cropping removes unwanted areas from a photo.
1. In the Editor workspace, open the photo you want to crop and click Quick.
2. (Optional) Drag the slider to zoom in on the crop area.
3. Click the Crop Tool button and outline the crop area. Increase or decrease the area if necessary.
Содержание 29180155 - Photoshop Elements 4.0
Страница 1: ...ADOBE PHOTOSHOP ELEMENTS Help and tutorials...
Страница 2: ...Getting started tutorials...
Страница 6: ...What s new...
Страница 13: ...Workspace and workflows...
Страница 25: ...Legal Notices Online Privacy Policy...
Страница 53: ...Importing...
Страница 56: ...File management...
Страница 69: ...Image adjustments...
Страница 105: ...Legal Notices Online Privacy Policy...
Страница 112: ...Twitter and Facebook posts are not covered under the terms of Creative Commons Legal Notices Online Privacy Policy...
Страница 154: ...Legal Notices Online Privacy Policy...
Страница 159: ...Selecting...
Страница 175: ...Legal Notices Online Privacy Policy...
Страница 181: ...Color...
Страница 191: ...Twitter and Facebook posts are not covered under the terms of Creative Commons Legal Notices Online Privacy Policy...
Страница 213: ...More Help topics Legal Notices Online Privacy Policy...
Страница 220: ...Drawing and painting...
Страница 229: ...More Help topics Legal Notices Online Privacy Policy...
Страница 244: ...More Help topics Legal Notices Online Privacy Policy...
Страница 258: ...Effects and filters...
Страница 311: ...Legal Notices Online Privacy Policy...
Страница 325: ...Text and shapes...
Страница 340: ...More Help topics Legal Notices Online Privacy Policy...
Страница 341: ...Layers...
Страница 363: ...Printing and exporting...
Страница 366: ...Legal Notices Online Privacy Policy...
Страница 374: ...Photo projects...
Страница 392: ...Web graphics...


