Assigning Scroller Fixtures
This section describes how to assign a
fixture to a Scroller Fixture type stored
on the desk.
Select a fixture number, then move to
the
Manufacturer/Type
field using the
cursor keys or mouse.
Press the ENTER key. The
Assign
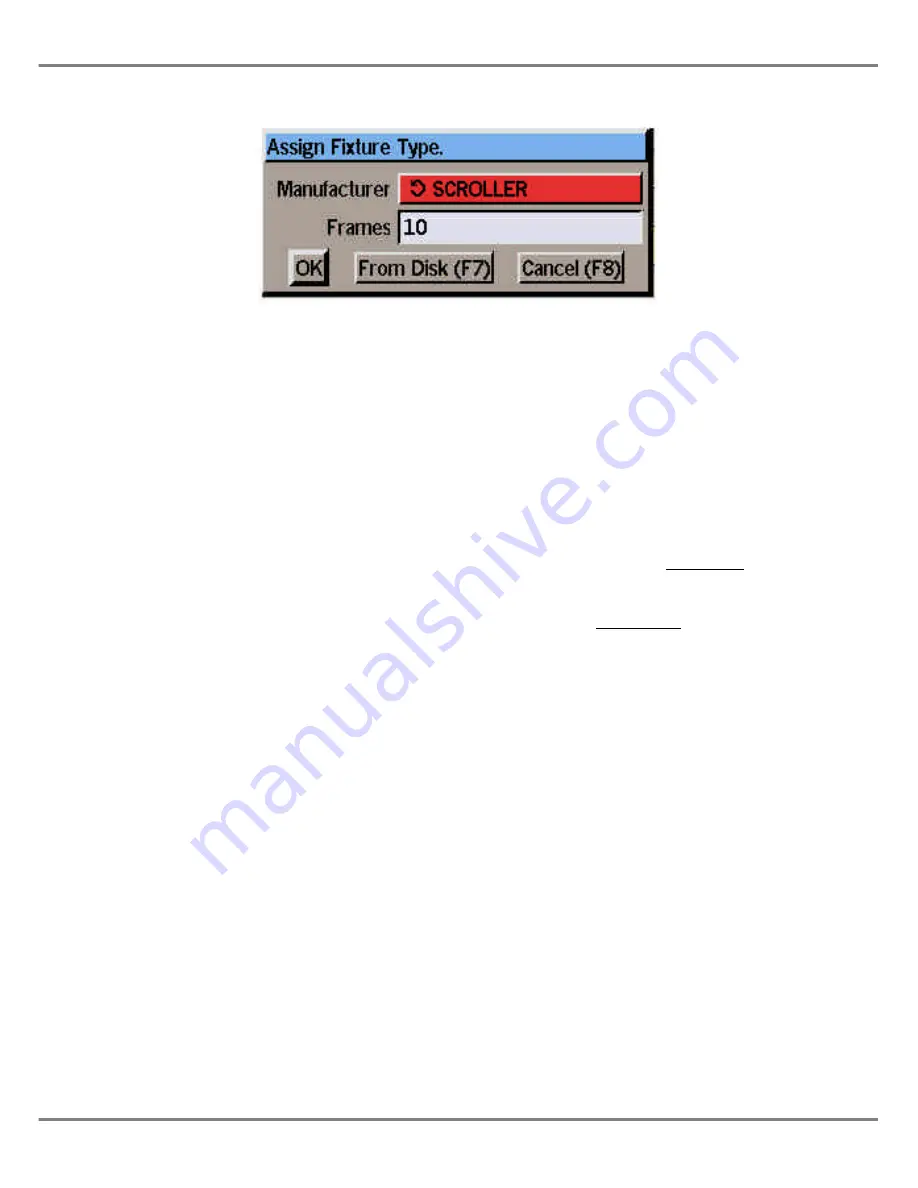
Fixture Type Window
is displayed on
the monitor screen, with the
Manufacturer
field highlighted.
Use the left/right cursor keys to select
the manufacturer SCROLLER.
Move the cursor down to the
Frames
field in the window, then use the
left/right cursor keys to select the
required number of frames (1 - 50).
Press the ENTER key or click on the
OK button in the window to complete
the assignment.
The
Assign Fixture Type Window
is
closed and SCROLLER and the
number of frames are displayed in the
Manufacturer
and
Type
columns of the
fixture table respectively.
Assigning Fixture Types from
Files on Floppy Disk
This section describes how to assign a
fixture to one of the fixture types stored
on a floppy disk.
Ensure that a floppy disk containing
the required fixture file(s) is inserted
into the floppy disk drive.
Select a fixture number, then move to
the
Manufacturer/Type
field using the
cursor keys or mouse.
Press the ENTER key. The
Assign
Fixture Type Window
is displayed on
the monitor screen.
Select the
From Disk
button in the
window with the mouse or press the F7
key on the front panel or keyboard. A
window is displayed showing the
fixture file(s) found on the floppy disk.
Select the required fixture file and
press the ENTER key. The
Assign
Fixture Type From Disk
window is
displayed on the monitor screen.
Use the left/right cursor keys to select
the required manufacturer (eg Martin).
Move the cursor down to the
Type
field
in the window, then use the left/right
cursor keys to select the required
fixture type (eg MAC 1200).
Press the ENTER key or click on the
OK button in the window to complete
the assignment.
The
Assign Fixture Type From Disk
window is closed and the selected
manufacturer and fixture type are
displayed in the fixture table.
Reassigning Fixtures
A fixture may be reassigned to a
different fixture type, by simply
assigning the new type as described in
the previous sections.
Warning
Reassigning a fixture will affect the
data in any programmed memories,
submasters and palettes. The
original fixture parameter data will
be removed and replaced by the
default values for each parameter in
the new fixture type, with the
exception of the brightness
parameters which are set to zero.
Unassigning Fixtures
Select a fixture number, then move to
the
Manufacturer/Type
field using the
cursor keys or mouse.
Press the ENTER key. The
Assign
Fixture Type Window
is displayed on
the monitor screen.
Use the left/right cursor keys to select
“Not Assigned”.
Press the ENTER key or click on the
OK button in the window to complete
the assignment.
The
Assign Fixture Type
window is
closed and the
Manufacturer
and
Type
fields are cleared in the fixture table.
3 - 12
Illusion 500 Manual 73-741-00 Issue 2
Setup
Figure 3 - 12: Assign Fixture Type Window.
Summary of Contents for ILLUSION 500
Page 1: ...ILLUSION 500 OPERATING MANUAL ...
Page 2: ......
Page 6: ...iv Illusion 500 Manual 73 741 00 Issue 2 Contents ...
Page 40: ...3 20 Illusion 500 Manual 73 741 00 Issue 2 Setup ...
Page 121: ......


