


Scanning
- 30
Scanning
This chapter helps you to scan
documents and save the scanned
copy on your computer using the
software CD provided in the pack-
age.
Placing the originals
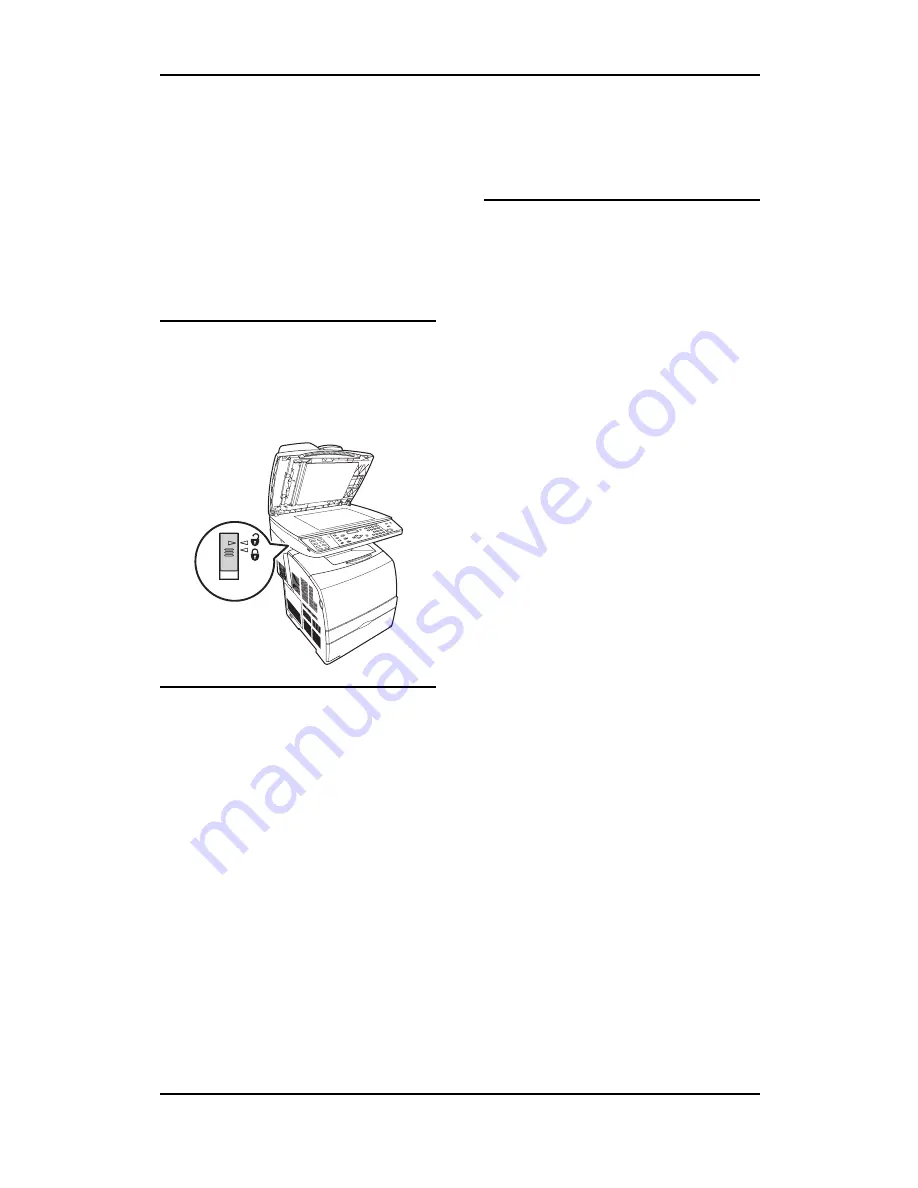
Before scanning, make sure the
transportation lock on the back of the
B is set to the unlock position.
Always keep the platen glass clean
to prevent dirty or blurry images.
Note:
If you place originals on both Auto
Document Feeder (ADF) and the
platen glass, only the documents in
the ADF are scanned. And you will
hear a beep sound and a warning
message appears to remind you to
remove the document on the platen
glass.
Scanning an image
There are two ways to scan an image
using the DocuPrint C2090 FS. You
can either perform scanning task
directly through the control panel on
the DocuPrint C2090 FS, or use any
image editing software that is TWAIN
compatible, such as Fuji Xerox Docu-
Works Desk software provided in the
CD Rom. Before scanning to PC,
make sure that the software is
installed on your computer.
Scan mode (for control
panel standalone operation)
To choose the destination for
scanned documents or images, do
the following:
1. In Scan mode, press the
<Menu>
button, and use the
<
W
/
X
>
but-
tons to choose the destination to
which an image is scanned.
2. You can scan to one of the follow-
ing destinations:
• USB memory flash disk
• PC (via USB port)
• FTP1~5
3. Press
<Set>
to confirm your
choice.
4. Press the
<
S
>
button to return
to
[READY]
mode.


