WebEye E10/E104
WebEye E10/E104
User’s Guide
31
VII. Configuring Administrator’s Condition at WebEye Homepage
This page is for administrator. Administrator may control operating status remotely. This page can
be accessed through Setup program by clicking ‘Start Configuration’ button.
1. Administrator Login
1) Accessing through setup program
First you click on MAC address or IP address of WebEye to select a certain one. Then you key in
the administrator’s ID and password (Default ID and password are ‘admin’), and click ‘Start
Configuration’ button in turns. When you click ‘Start Configuration’ button, the setup program
automatically connects you to Admin page of WebEy e Homepage. (For more detailed information
how to access the page through Setup program, refer to Chapter V ‘ Assigning IP address and
Configuring Administrator’s Condition’)
2) Accessing through Web browser
On Web browser, a user may access
WebEye login page with its IP
address. In the login page, a user
may key in administrator’s ID and
password or a normal user ’s ID and
password. With any of ID and
password, the user may access real
time image viewer page.
However administrator can monitor
and control real time image viewer
with administrator’s authority. And
a normal user may monitor and
control the viewer page with
assigned authority. If a normal user goes to administration page, one
should pass login page again to key in administrator’s ID and
password while administrator may access the administration page
directly.
Both default administrator’s ID and password are set as ‘admin’, and
administrator and users accounts (ID and password) are to be changed
in administration page. But, each ID and password must be composed
within 9 bytes. (e.g. 9 English letters)
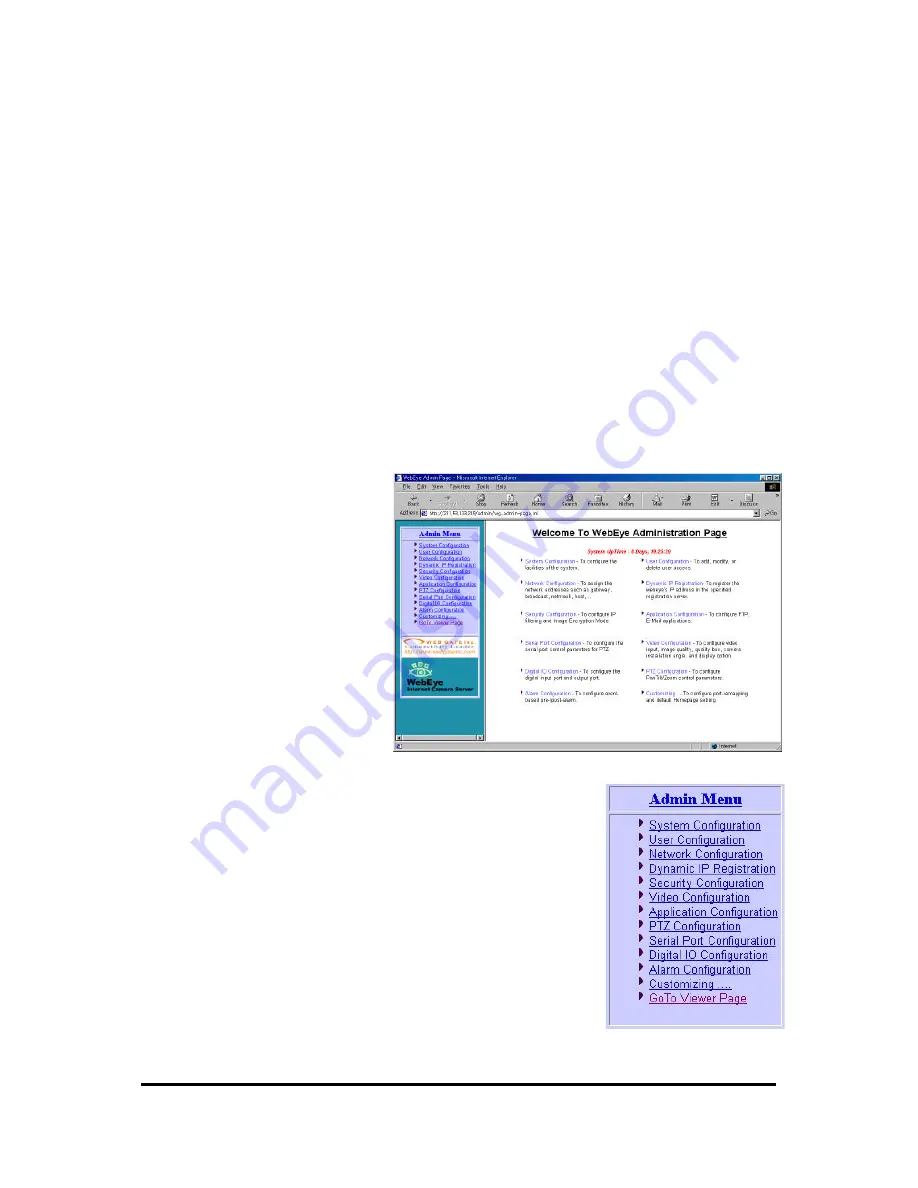
In the administration page, there are 12 sub-pages where to configure
WebEye operating conditions. It is very import to configure the
conditions properly to utilize WebEye well. The last menu ‘Goto
Viewer Page’ is to go back to real time image viewer.


