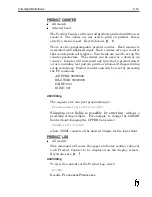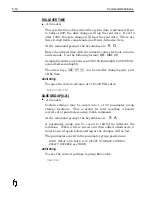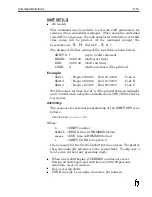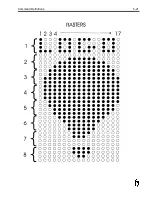
EDIT MESSAGE [0-99]
•
All models
The EDIT command is used to create and change messages that
are stored in the FoxJet Printer RAM. This command will allow
the user to create and edit messages, as well as pick the matrix
size with which the message will be printed.
After entering
E D
into the terminal, choose the desired
message location to edit. Select the font by pressing the
A
key
followed by the
FNT
key, entering desired code and press enter to
return to message body.
ASCII String
When editing through the rear port, keep in mind that there is
only 1 cursor control command (<LF>) to advance to the next line.
The edit session is terminated with <CR> or <FF> .
Terminating message with <CR> will print the message in batch
mode; terminating with
<FF> will print only once (one-for-one)
mode. Changing fonts is accomplished with a CTRL-F and
selecting the font code.
For example, setting message #09 to print “ABC” on line 3 using
font code 09 with bold of 4 (batch mode) would use the following
ASCII string.
ED09 409ABC<CR>
EXPIRATION DATE[1-9999]
•
All Models
This command allows the setup of an expiration date. At the
command prompt, the keystrokes are
E X
This value will add
the specified number of days to system date. A number of embedded code
formats can be used print the Expiration Date. An alteration of this clock
has to be within 0 - 9999 range.
ASCII String
To change the expiration date to 30 days from current system
date, enter:
EX0030<CR>
5-6
Command Definitions
Summary of Contents for 6100
Page 8: ...This page intentionally left blank...
Page 18: ...2 8 Application Design This page intentionally left blank...
Page 21: ...Dimensions Controller Application Design 2 11...
Page 22: ...Integrated Printhead Wax System 2 12 Application Design...
Page 55: ...Command Definitions 5 21...
Page 56: ...5 22 Command Definitions This page intentionally left blank...
Page 70: ...6 14 Installation Setup Figure 6 6...
Page 87: ...7 8 Service Figure 7 1...
Page 89: ...7 10 Service Figure 7 2...
Page 95: ...7 16 Service Figure 7 3...
Page 97: ...7 18 Service This page intentionally left blank...
Page 115: ...8 18 Removal Replacement Procedures Figure 8 7...
Page 125: ...8 28 Removal Replacement Procedures This page intentionally left blank...


