Doc. P/N:
WSP-009-005
Version: V1.5
Issue Date:
October 2013
www.wassp.com
Page 30 of 73
Installation Manual
1
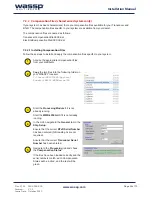
Wire the PPS line from your device to
the CTS pin of any one of the COM ports
availble on the WASSP Processor (pin 8 on
a standard DB9).
2
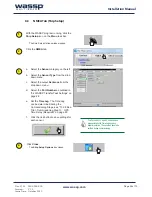
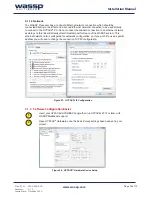
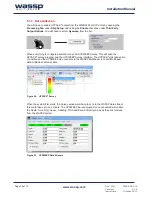
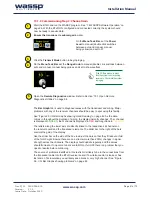
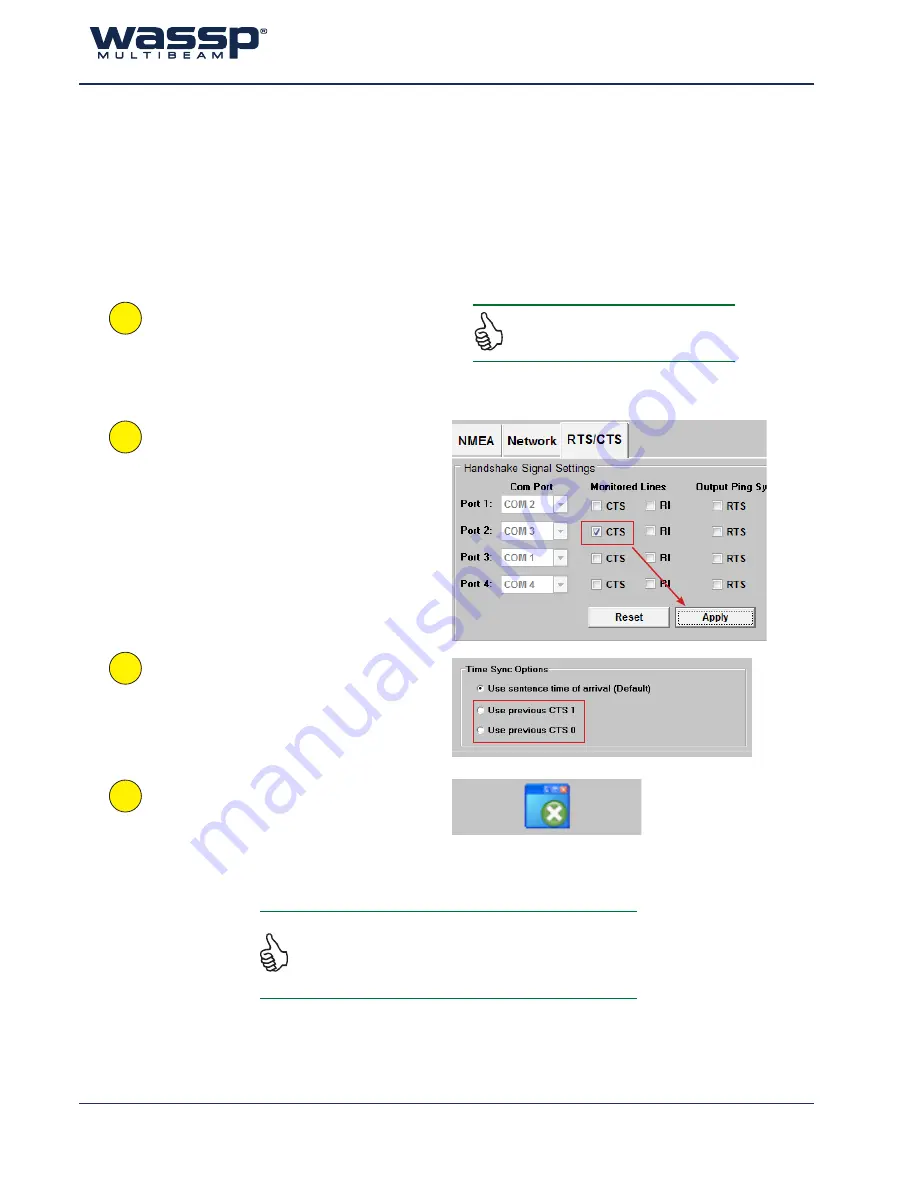
Open the
RTS/CTS
tab of the
WASSP
Transfer Task
, and enable monitoring of
the CTS line on the appropriate COM port.
Click
Apply
.
If the PPS COM port is also being used by
WASSP for NMEA data, then ensure the se
-
lected baud rate for that port is correct under
the NMEA tab. Otherwise, the selected baud
rate of the PPS port is unimportant.
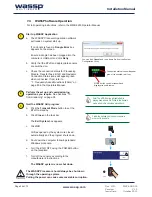
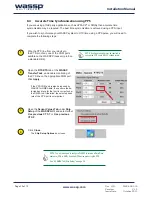
3
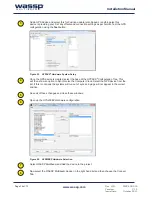
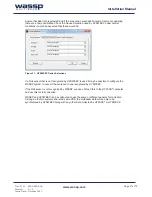
Open the
Sensor Values Tab
under
Ship
Setup
of the
WASSP GUI
, and select either
‘
Use previous CTS 1
’ or ‘
Use previous
CTS 0
’.
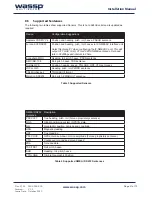
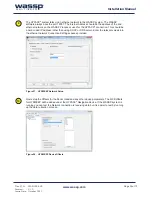
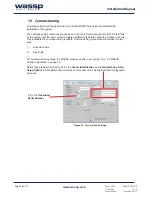
4
Click
Close
.
The
Ship Setup Options
box closes.
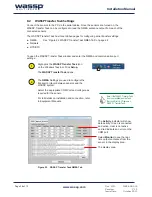
8.4 Accurate Time Synchronisation using PPS
If you are using a third party application such as HYPACK
®
or QINSy then accurate time
syncronisation may be requred. The best time syncronisation is achieved using a PPS input.
If you wish to synchronise your WASSP system to UTC time using a PPS pulse, you will need to
complete the following steps:
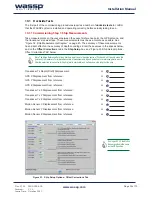
NOTE: A voltage converter may be required to
convert the PPS line to RS232 voltage levels.
NOTE: You will also need to configure WASSP to receive a Date/Time
sentence (ZDA or RMC) from the GPS device producing the PPS.
See “8.3 NMEA Tab (Ship Setup)” on page 29.

