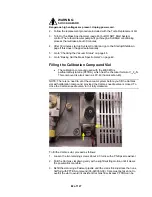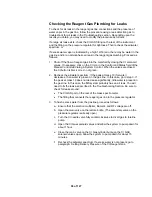
stored in the capped spare vial (03-931112-01) provided in the ship kit, or in
a standard 2 mL autosampler vial.
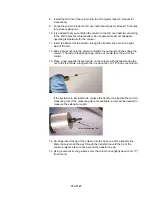
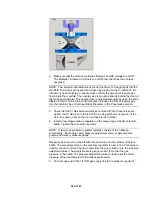
4. While holding the vial vertically, carefully push the vial into the Cal Gas port
on the manifold with a slight twisting motion.
5. After you have pushed the vial in as far as it will go, tighten the retaining
screws.
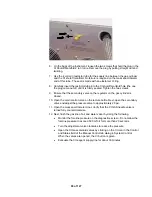
6. Open the Cal Gas needle valve 10 turns counterclockwise. Leave the needle
valve open for at least 30 minutes. Any excess Cal Gas and water vapor will
be pumped away.
7. Under Manual Control’s Checks and Adjustments tab, select Cal Gas
Adjustment and press
Start
.
8. Adjust the Cal Gal pressure so that the indicator bar is near the center of the
display, within the OK region.
NOTE: Other adjustments that affect ion time, such as the multiplier gain,
filament current and background levels will influence this adjustment.
9.
Changing Operational Configuration
Changing between ionization configurations requires swapping the source and/or
placing the transfer line into its proper position for that mode. In this section, the
major steps for each possible conversion are listed, followed by a series of
general descriptions for handling the key steps in the conversion process.
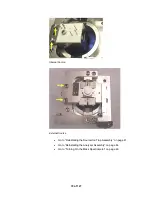
The following steps are required for any system reconfiguration:
•
Go to “Turning Off the Mass Spectrometer” on page 34.
•
Go to "Removing the Analyzer Assembly” on page 37.
Perform appropriate change procedure described below.
•
Go to “Reinstalling the Analyzer Assembly” on page 44.
•
Go to “Turning On the Mass Spectrometer” on page 46.
83 of 127
Summary of Contents for 4000 GC
Page 4: ......
Page 40: ...6 of 127...
Page 77: ...3 Check source connection pins for proper alignment and straighten as necessary 43 of 127...
Page 124: ...90 of 127...
Page 148: ...114 of 127...


