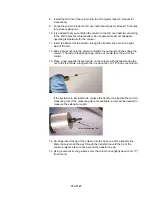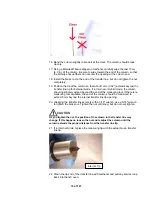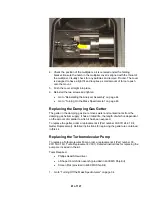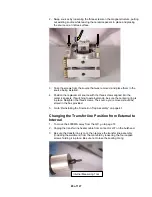
16. Bend the column slightly to break it at the mark. The column should break
cleanly.
17. Using a Kimwipe® tissue dipped in methanol, carefully wipe the last 15 cm
(6.0 in.) of the column. Be sure to wipe toward the end of the column so that
the Kimwipe tissue fibers do not enter the opening at the column end.
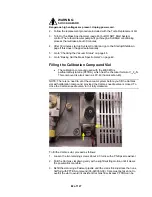
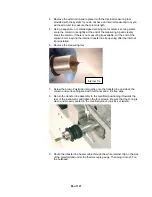
18. Install the brass nut on the end of the transfer line, but do not tighten the nut
completely.
19. Position the tip of the column so that about 1 mm (1/32") extends beyond the
transfer line tip for External mode. If in Internal or Hybrid mode, the column
should just barely extend beyond the end of the measuring tool. If there is no
measuring tool available, the end of the column should be measured to
extend 8 mm beyond the internal transfer line tip opening.
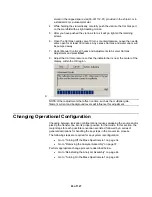
20. Grasping the transfer line securely with a 3/16" wrench, use a 5/16" wrench
to tighten the brass nut. Tighten the nut until snug, but do not over tighten.
As you tighten the nut, the position of the column in the transfer line may
change. If this happens, loosen the nut and readjust the column until the
column extends the proper distance from the transfer line tip.
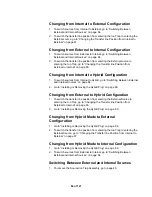
21. If in Internal mode, replace the measuring tip with the actual brown transfer
line tip.
Internal Tip
22. Clean the tip end of the transfer line with methanol and pull any service loop
back into the GC oven.
74 of 127
Summary of Contents for 4000 GC
Page 4: ......
Page 40: ...6 of 127...
Page 77: ...3 Check source connection pins for proper alignment and straighten as necessary 43 of 127...
Page 124: ...90 of 127...
Page 148: ...114 of 127...

