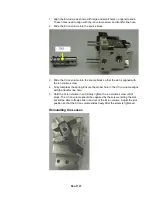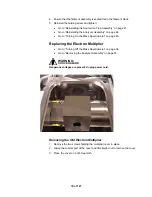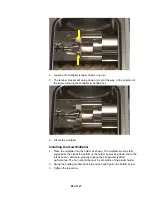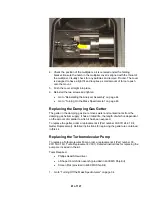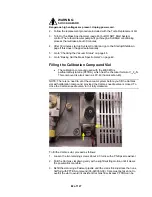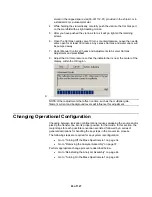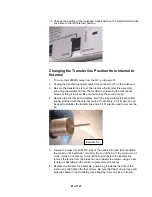
9. Carefully remove the nut, ferrule, and column from the injector.
10. Slide the column nut, along with the ferrule, off the end of the column if
desired.
11. Carefully lift the column support cage, along with the column, from the
column hanger and remove from the oven.
12. Seal the end of the column or insert the ends of the column into a septum.
13. Store the column and the support cage.
Installing a New Capillary Column in the System
1. Remove the 4000 MS Top Cover
Dangerous voltages are present. Unplug power cord.
2. Unplug the transfer line heater cable from connector J37 on the bulkhead.
Confirm that the transfer line is cool.
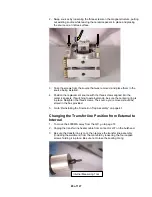
3. Grasp the nose of the transfer line; then rotate counterclockwise as you
press lightly toward the manifold. Gently slide the transfer line away from the
manifold.
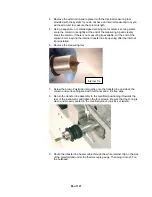
4. Remove the nose clip, and then pull the transfer line away from the analyzer.
5. Wrap the transfer line in clean lint-free material and place it on a clean, dry
surface.
6. Unwind about 60 cm (24") of the mass spectrometer end of the column from
the support cage in the GC.
7. Place the column and its cage onto the column rack inside the GC oven.
72 of 127
Summary of Contents for 4000 GC
Page 4: ......
Page 40: ...6 of 127...
Page 77: ...3 Check source connection pins for proper alignment and straighten as necessary 43 of 127...
Page 124: ...90 of 127...
Page 148: ...114 of 127...

