Voice Processing
Mailbox Editor Screens
Strata CIX Voice Mail Programming 01/07
4-47
V
o
ice
Pr
oce
ssi
ng
Create Auto Record
1. From the Auto tab screen, click Add. The Add screen displays.
2. You can now add the
desired values in the
available parameter fields
and click Next to advance
to the next fields
...or you can click
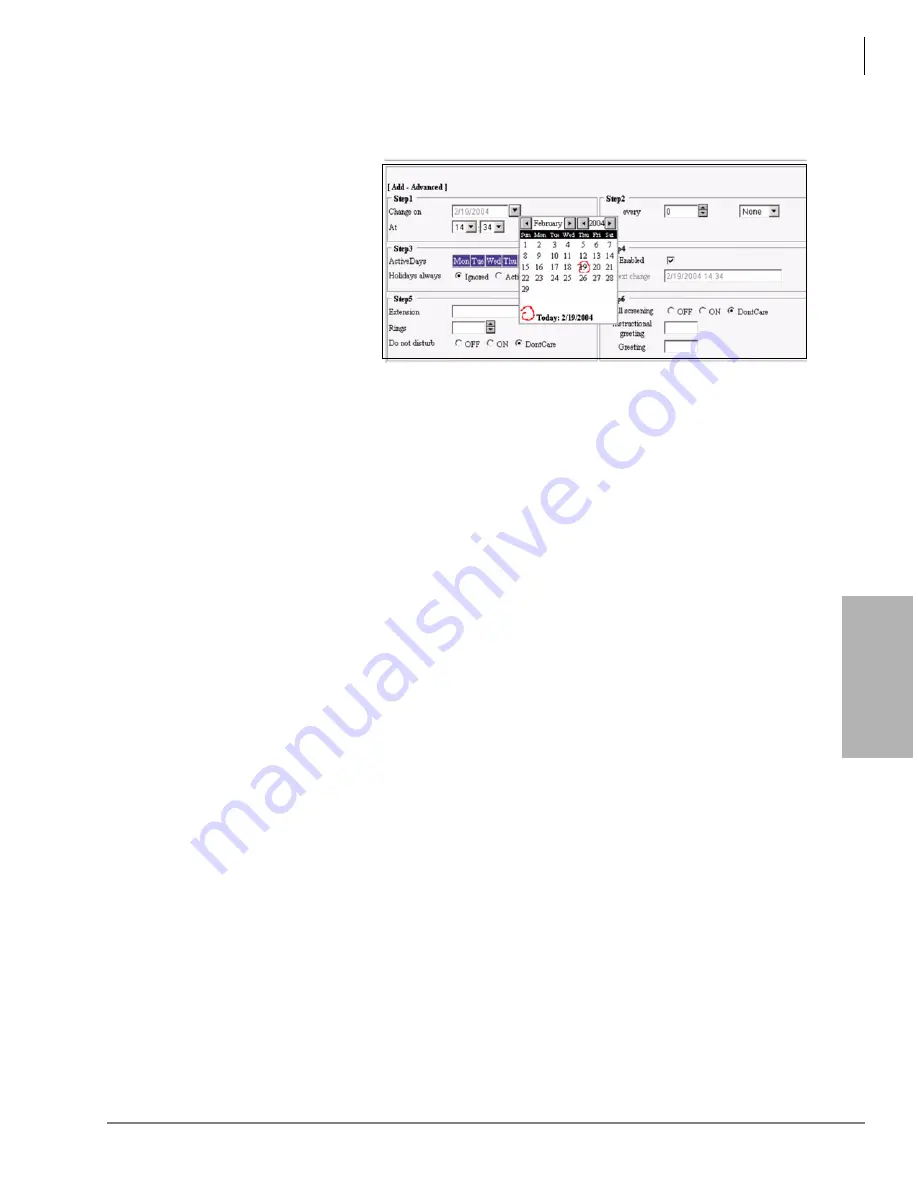
Advanced to display all the
fields at once (shown right).
Note
For the
Change on
field, a drop-down
calendar screen is
available (shown at
right).
3. Click Finish when you have filled in all the applicable fields. The information is added to the
record line in the record summary section of the screen. Verify that the date and time displayed
in the
Next Change
field is correct.
4. Click Submit. The auto record is saved.
Modify Auto Record
1. From the Auto tab screen, highlight a record in the auto record summary section of the screen.
2. Click Edit or Advanced.
Note
Clicking Edit enables you to see a few fields at a time. Clicking Advanced displays all the
fields for the selected Auto record.
3. Make appropriate changes.
Note
If you are using the Edit screens you need to click Next to advance to the next screen.
4. Click Finish. The changed information is added to the record line in the record summary
section of the screen.
5. Click Submit. The auto record is saved.
Enable/Disable Auto Record
1. From the Auto tab screen, highlight a record in the auto record summary section of the screen.
2. Click Edit to display the auto record fields and navigate through the screens by clicking Next
until the
Enabled
field displays
...or click Advanced to see the entire auto record fields.
Note
Click the
Enabled
field to enable/disable the record. If you are disabling the record, the
Next Change
field changes to N/A.
3. Click Finish. The changed information is added to the record line in the record summary
section of the screen. Disabled records can be enabled at a later date.
4. Click Submit. The auto record is saved.
Delete Auto Record
1. From the Auto tab screen, highlight a record in the auto record summary section of the screen.
2. Click Delete. The auto record line disappears from the auto record summary section of the
screen.
3. Click Submit. The information is saved.
7229
Summary of Contents for STRATA CIX
Page 1: ...Strata CIX Programming Manual Volume 2 Stratagy ES Voice Mail Application Release 5 ...
Page 16: ...This page is intentionally left blank ...
Page 40: ...This page is intentionally left blank ...
Page 138: ...This page is intentionally left blank ...
Page 140: ...This page is intentionally left blank ...
Page 170: ...This page is intentionally left blank ...
Page 176: ...This page is intentionally left blank ...
Page 216: ...This page is intentionally left blank ...
Page 230: ...This page is intentionally left blank ...
Page 238: ...This page is intentionally left blank ...
Page 247: ...THIS IS THE LAST PAGE OF THE DOCUMENT ...
Page 248: ......


