


60
2.HOW TO MAKE COPIES
2
1. Setting Originals
Acceptable originals
Acceptable originals are as follows.
*1 Do not place any heavy objects (4 kg or over) on the glass.
*2 Some originals cannot be used depending on their paper quality.
*3 Be sure to place A5-size originals in the landscape direction.
Automatic size detection does not work properly when LT or K format paper is used for printing. (LT format
is a standard paper size for North America. K format is a standard paper size for China.)
•
Originals up to 100 sheets (35 to 80 g/m
2
) or 16 mm in height can be placed on the Reversing Auto-
matic Document Feeder (optional), regardless of their sizes.
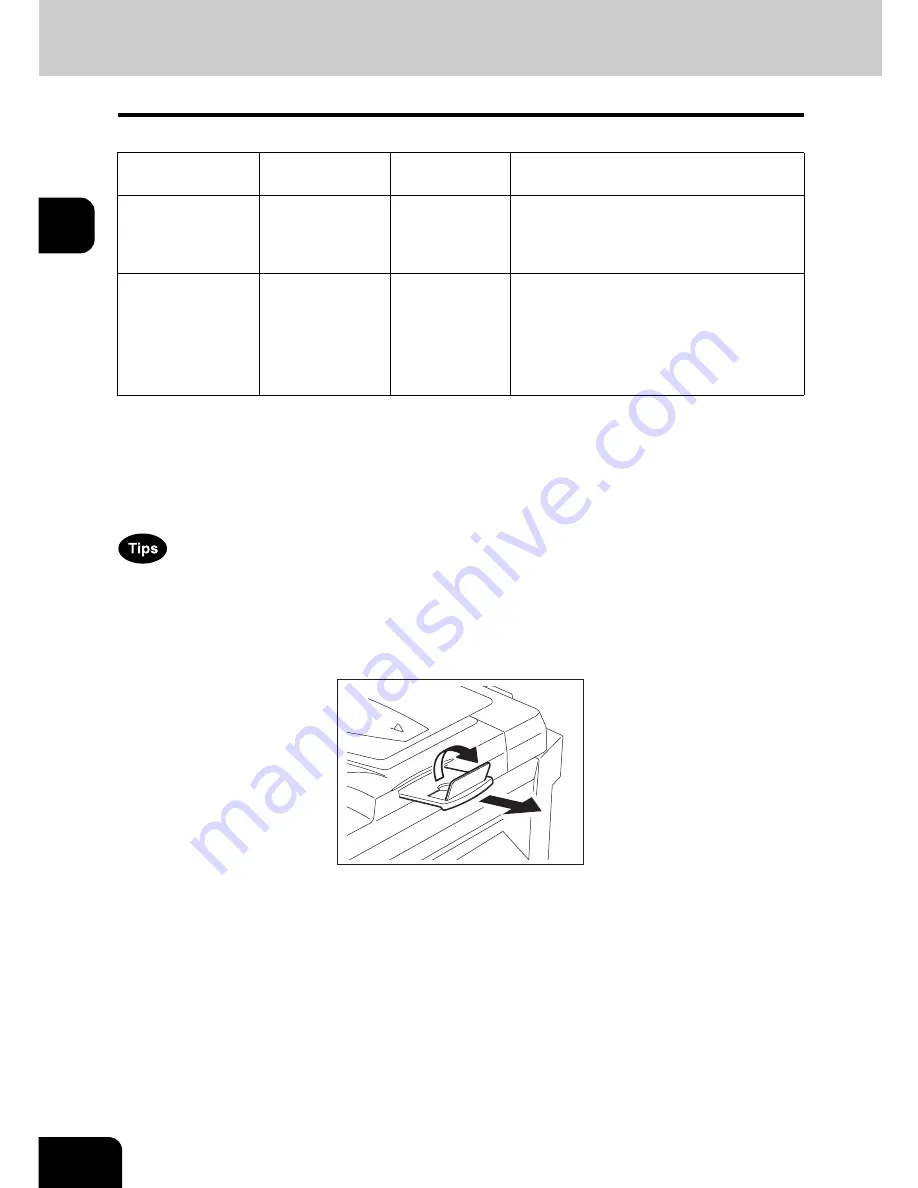
•
When you copy a large number of landscape originals using the Reversing Automatic Document
Feeder (optional), use the original stopper to prevent them from being scattered.
Setting position
Type of original
Maximum size
Acceptable sizes for automatic size
detection
Original glass
*1
Sheets
3-dimensional
object
Books
Length: 297 mm
Width: 432 mm
(Standard size)
A3, A4, A4-R, A5-R, B4, B5, B5-R
Reversing Auto-
matic Document
Feeder (optional)
*2 *3
Plain paper
Recycled paper
1-sided originals:
35 - 157 g/m
2
2-sided originals:
50 - 157 g/m
2
Length: 297 mm
Width: 432 mm
(Standard size)
A3, A4, A4-R, A5-R, B4, B5, B5-R, FOLIO
(210 mm x 330 mm)
Summary of Contents for E-STUDIO 232
Page 1: ...MULTIFUNCTIONAL DIGITAL SYSTEMS Operator s Manual for Basic Function ...
Page 2: ......
Page 6: ...4 CONTENTS Cont ...
Page 10: ...8 Toshiba Quality is Second to None Cont For e STUDIO233 283 ...
Page 24: ...22 Environmental Information Cont ...
Page 92: ...90 2 HOW TO MAKE COPIES 4 Proof Copy Cont 2 ...
Page 107: ...105 3 Names of each Inner Finisher optional 1 Trays 2 Paper stopper MJ 5004 MJ 5005 1 2 1 ...
Page 130: ...128 3 SETTING OF BASIC COPY MODES 6 Copy Density Adjustment Cont 3 ...
Page 131: ...129 4 4 IMAGE ADJUSTMENT 1 Background Adjustment 130 2 Sharpness 131 ...
Page 134: ...132 4 IMAGE ADJUSTMENT 2 Sharpness Cont 4 ...
Page 139: ...137 5 6 Press the ENTER button Select other copy modes as required 7 Press the START button ...
Page 175: ...173 5 5 Press the ENTER button Select other copy modes as required 6 Press the START button ...
Page 180: ...178 5 USING THE EDITING FUNCTIONS 16 ADF SADF Cont 5 ...
Page 206: ...204 6 e FILING 8 Appendix Cont 6 ...
Page 276: ...274 8 JOB STATUS 6 Error Code Cont 8 ...
Page 285: ...283 9 13Close the front cover ...
Page 304: ...302 9 BLINKING GRAPHIC SYMBOLS 5 Call Service Symbol Cont 9 ...
Page 328: ...326 10 WHEN THIS MESSAGE APPEARS 8 Reboot the machine Cont 10 ...
Page 329: ...327 11 11 MAINTENANCE 1 Daily Inspection 328 2 Simple Troubleshooting 330 ...
Page 336: ...334 11 MAINTENANCE 2 Simple Troubleshooting Cont 11 ...
Page 353: ...DP 2340 2840 OME050120E0 ...


