45
1
3. Energy Saving Mode
This equipment supports three energy saving modes; the Automatic Energy Save mode, the Off mode and
the Sleep Mode.
Automatic Energy Save Mode
The equipment enters the Automatic Energy Save mode automatically after a specified period of time
*1
since its last use. During this mode, "Saving energy - Press START button" appears on the touch panel.
Off Mode
The equipment enters the Off mode automatically after a specified period of time
*1
since its last use. The
equipment is automatically shut down and the power switch is turned off.
•
This mode is applied only to the copier model.
•
Turn the power switch on again to use the copier.
Sleep Mode
The equipment enters the Sleep Mode automatically after a specified period of time
*1
since its last use.
During this mode, the message of the Automatic Energy Save mode disappears and the [ENERGY
SAVER / SHUTDOWN] button lights in green.
•
This mode is applied to the multifunction model with any of the FAX Unit, Printer/Scanner Kit and
Scanner Kit (all optional) installed.
•
This mode is automatically cleared upon the reception of print data, Fax data, Internet Fax data or E-
mails. It is also cleared by pressing the [START] button.
*1 This period is set at 3 minutes by factory default.
Contact your service representative to change the default settings noted above.
If ‘Automatic Energy Save’ and ‘Off Mode’/’Sleep Mode’ have the same setting time, ‘Off Mode’/’Sleep
Mode’ takes priority.
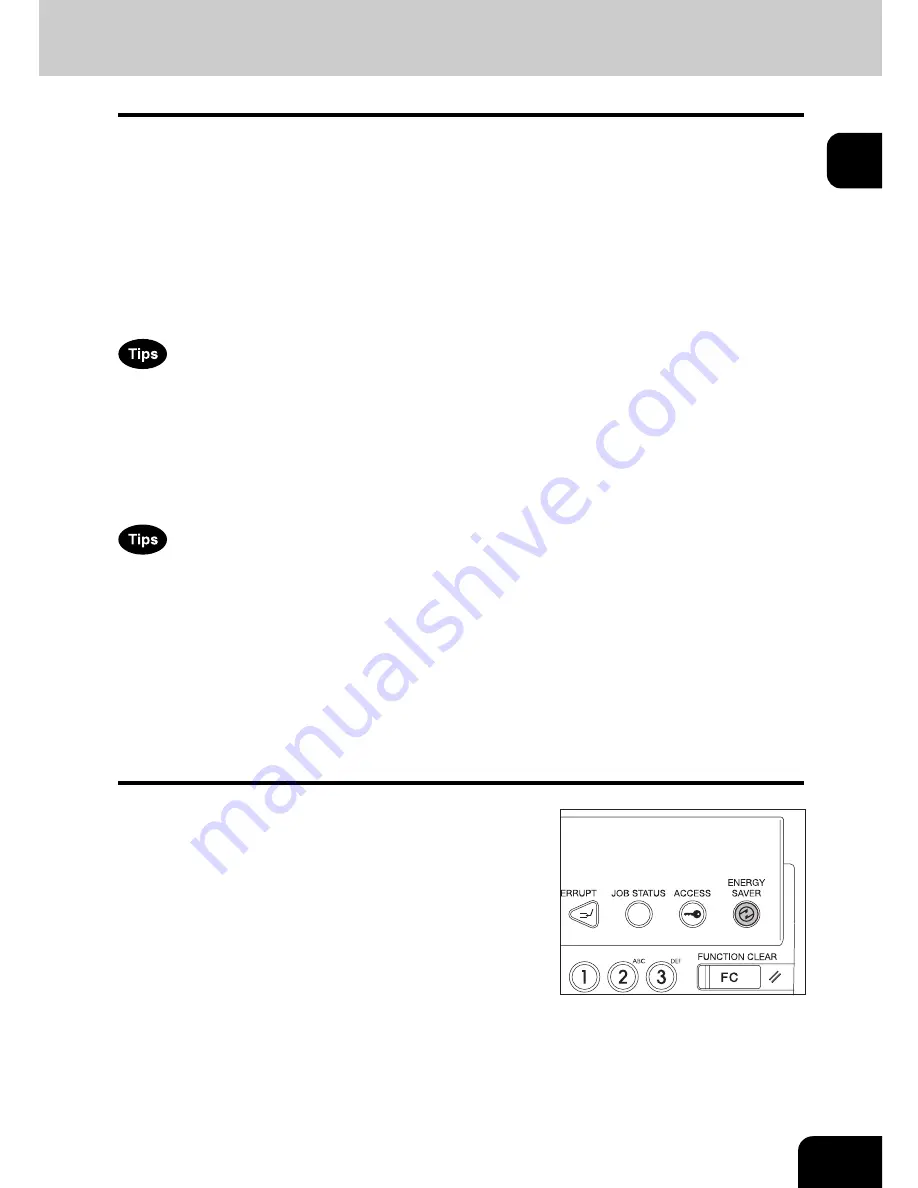
The equipment can also be made to enter the sleep mode manually by means of the following procedure.
1
Press the [ENERGY SAVER] button on
the control panel.
Summary of Contents for E-STUDIO 232
Page 1: ...MULTIFUNCTIONAL DIGITAL SYSTEMS Operator s Manual for Basic Function ...
Page 2: ......
Page 6: ...4 CONTENTS Cont ...
Page 10: ...8 Toshiba Quality is Second to None Cont For e STUDIO233 283 ...
Page 24: ...22 Environmental Information Cont ...
Page 92: ...90 2 HOW TO MAKE COPIES 4 Proof Copy Cont 2 ...
Page 107: ...105 3 Names of each Inner Finisher optional 1 Trays 2 Paper stopper MJ 5004 MJ 5005 1 2 1 ...
Page 130: ...128 3 SETTING OF BASIC COPY MODES 6 Copy Density Adjustment Cont 3 ...
Page 131: ...129 4 4 IMAGE ADJUSTMENT 1 Background Adjustment 130 2 Sharpness 131 ...
Page 134: ...132 4 IMAGE ADJUSTMENT 2 Sharpness Cont 4 ...
Page 139: ...137 5 6 Press the ENTER button Select other copy modes as required 7 Press the START button ...
Page 175: ...173 5 5 Press the ENTER button Select other copy modes as required 6 Press the START button ...
Page 180: ...178 5 USING THE EDITING FUNCTIONS 16 ADF SADF Cont 5 ...
Page 206: ...204 6 e FILING 8 Appendix Cont 6 ...
Page 276: ...274 8 JOB STATUS 6 Error Code Cont 8 ...
Page 285: ...283 9 13Close the front cover ...
Page 304: ...302 9 BLINKING GRAPHIC SYMBOLS 5 Call Service Symbol Cont 9 ...
Page 328: ...326 10 WHEN THIS MESSAGE APPEARS 8 Reboot the machine Cont 10 ...
Page 329: ...327 11 11 MAINTENANCE 1 Daily Inspection 328 2 Simple Troubleshooting 330 ...
Page 336: ...334 11 MAINTENANCE 2 Simple Troubleshooting Cont 11 ...
Page 353: ...DP 2340 2840 OME050120E0 ...


