29
0 0 7 : L I N E
W I D E T H : 0 3 0 [ 0 . 1 m m ]
0 0 7 : L I N E
X : 0 0 1 0 0
Y : 0 0 2 0 0
N : 0 0 4
L I N E N O N E
X : 0 0 1 0 0 A N : 0 0 1 8 1
Y : 0 0 2 0 0 A
F u n c t i o n C o d e ?
T R I M N O N E
X : 0 0 1 0 0 A N : 0 0 1 8 2
Y : 0 0 2 0 0 A
F u n c t i o n C o d e ?
0 1 5 : P T R N W R I T E
N O : 3 0 3
O R I G I N
X : 0 0 0 0 0 A N : 0 0 0 0 0
Y : 0 0 0 0 0 A
F u n c t i o n C o d e ?
< < M a i n M e n u > >
2 . P r o g r a m
3 . B o b b i n W i n d
4 . M a c h i n e T e s t
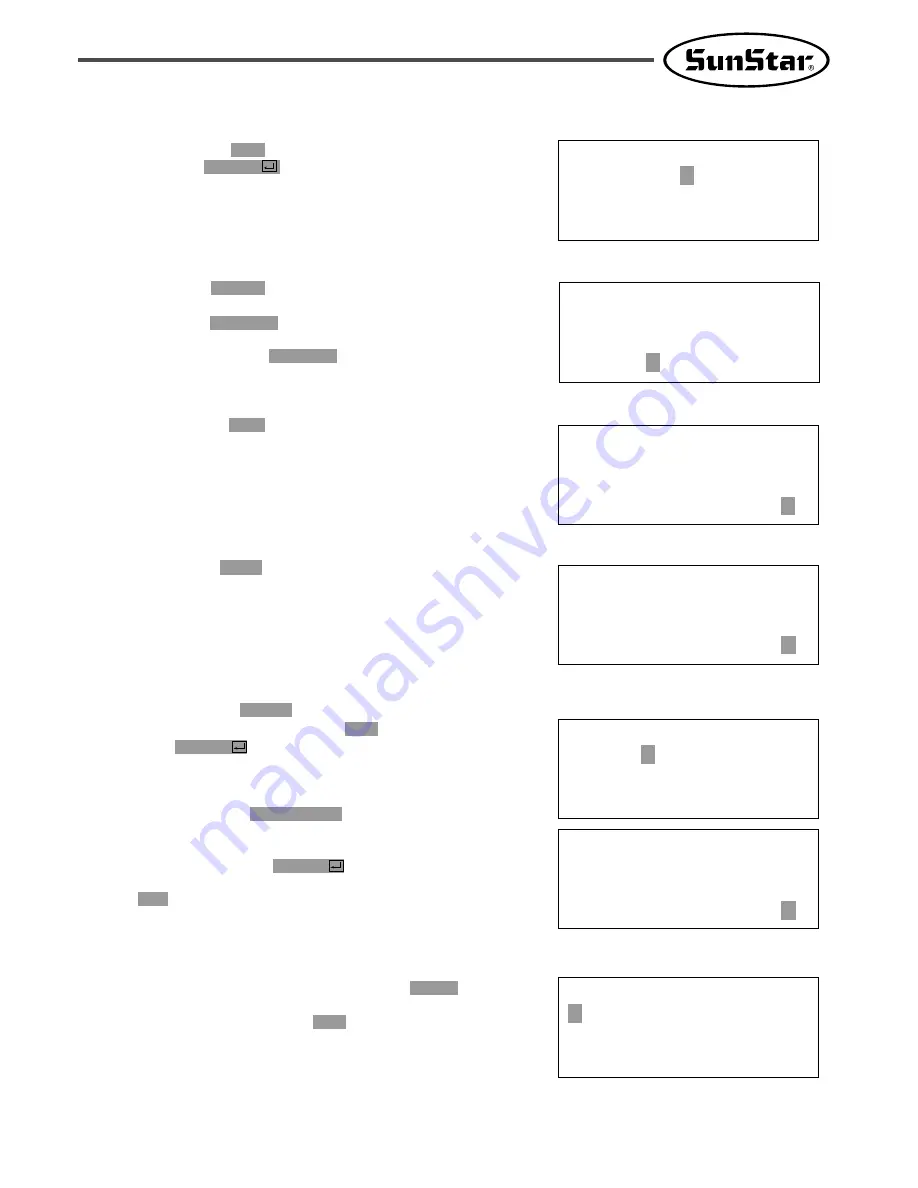
R. By using the digit keys, input the stitch width
and press ENTER
key.
(For example, if you set up the stitch width as
3mm, input [0][3][0].)
S. By using direction key, move to the another
coordinates in turns that passes through line,
then press PNT SET key.
At this time the number on screen increases
whenever you press PNT SET key.
T. By pressing EXE key, the feed plate moves
according to the operated data after operating
the pattern data.
U. By pressing TRIM key, input the code for trim.
Then, after appearing “00:TRIM”on the screen
for a moment, then a screen of the right side
appears.
V. After pressing WRITE key, input the number
you want to save by using digit keys. then
press ENTER
key. Save the generated pattern
data in a USB flash drive as a relevant number.
(For example, if you want to save the pattern
number as 303, input [3][0][3].) During saving
the pattern, the READY LED flickers. When a
pattern of same number is in a USB flash drive
and if you want to save another pattern as
same number, press ENTER
key. If you want
to save the pattern as another number, press
ESC key and save it as another number. After
finishing saving, the upper feed plate moves to
the origin again.
W. For finishing pattern generation, press MODE
key. Then the upper feed plate moves to the
origin and ascends. Press ESC key to back to
the initial screen.


