386
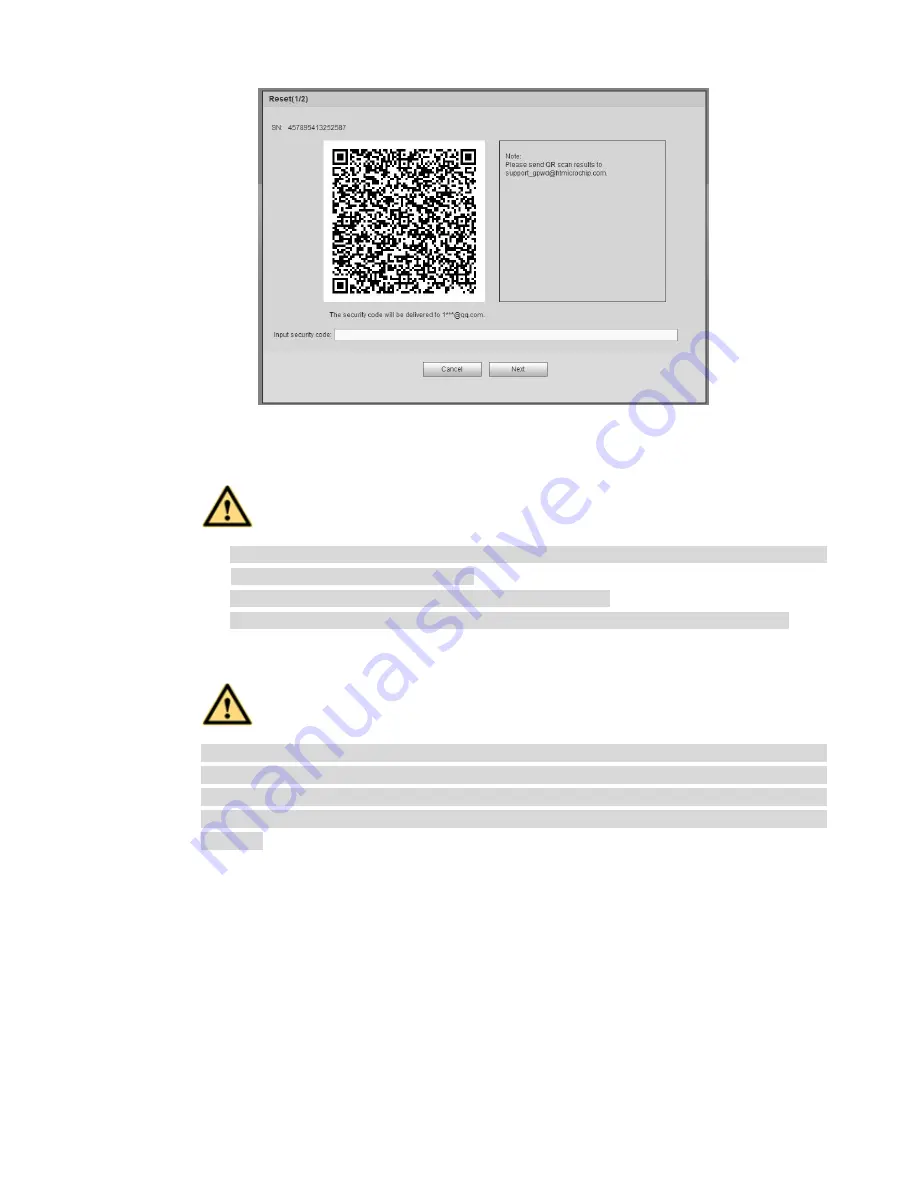
Step 3 Figure 5-7
Step 4 Follow the prompts on the interface and then scan the QR code to get the security code.
WARNING
For the same QR code, max scan twice to get two security codes. Refresh the QR code if
you want to get security code again.
The security code on you email is only valid for 24 hours.
After five times security code failure, the
admin
account will be locked for 5 minutes.
Step 5 Input the security code on the email and then click Next button.
Step 6 Input new password and then confirm.
WARNING
STRONG PASSWORD RECOMMENDED-For your device own safety, please create a
strong password of your own choosing. The password shall be at least 8-digit containing
at least two types of the following categories: letters, numbers and symbols. We also
recommend you change your password periodically especially in the high security
system.
Step 7 Click OK button to complete the setup.
5.4 LAN Mode
For the LAN mode, after you logged in, you can see the main window. See Figure 5-13.
This main window can be divided into the following sections.
Section 1: there are six function buttons: Live
(
chapter 0
)
, setup (chapter 5.10), info (Chapter 5.11),
playback (chapter 5.12), alarm (chapter 5.13), and logout (chapter 5.15).
Section 2: There are monitor channels successfully connected to the NVR.
Please refer to Figure 5-8 for main stream and extra stream switch information.
Summary of Contents for NVR-ELE4ME-WS
Page 33: ...163 Figure 3 3 3 5 4 Compact 1U Series Please refer to Figure 3 4 for connection sample...
Page 51: ...181 Figure 3 24...
Page 63: ...193 Figure 4 14 Figure 4 15 Step 2 Set network camera login password WARNING...
Page 71: ...201 Figure 4 24 Step 2 Click device display edit interface See Figure 4 25...
Page 148: ...278 Figure 4 114 Figure 4 115...
Page 159: ...289 Figure 4 126 Figure 4 127...
Page 161: ...291 Figure 4 129 Click draw button to draw the zone See Figure 4 130...
Page 165: ...295 Figure 4 133 Click Draw button to draw a zone See Figure 4 134 Figure 4 134...
Page 170: ...300 Figure 4 139 Click draw button to draw the zone See Figure 4 140...
Page 183: ...313 Figure 4 151 Figure 4 152...
Page 184: ...314 Figure 4 153 Figure 4 154...
Page 250: ...380 Figure 4 236...
Page 294: ...424 Figure 5 60 Figure 5 61...
Page 295: ...425 Figure 5 62 Figure 5 63...
Page 319: ...449 Figure 5 97 Figure 5 98...
Page 322: ...452 Figure 5 101 Figure 5 102...


