RECORD SET
2
English
77
16
Press the [EXIT/OSD] button.
The setting is completed and the display returns to the normal
screen.
z
The recording duration is automatically calculated based
on recording settings and the number of connected
cameras, and this is indicated by “RECORDING
DURATION”. If a valid figure cannot be calculated,
“ERROR!” is displayed.
z
When easy setup settings and individual settings are both
set, the most recent settings override previous settings.
z
Easy setup settings cannot be used with program
recording or day-specific timer recording.
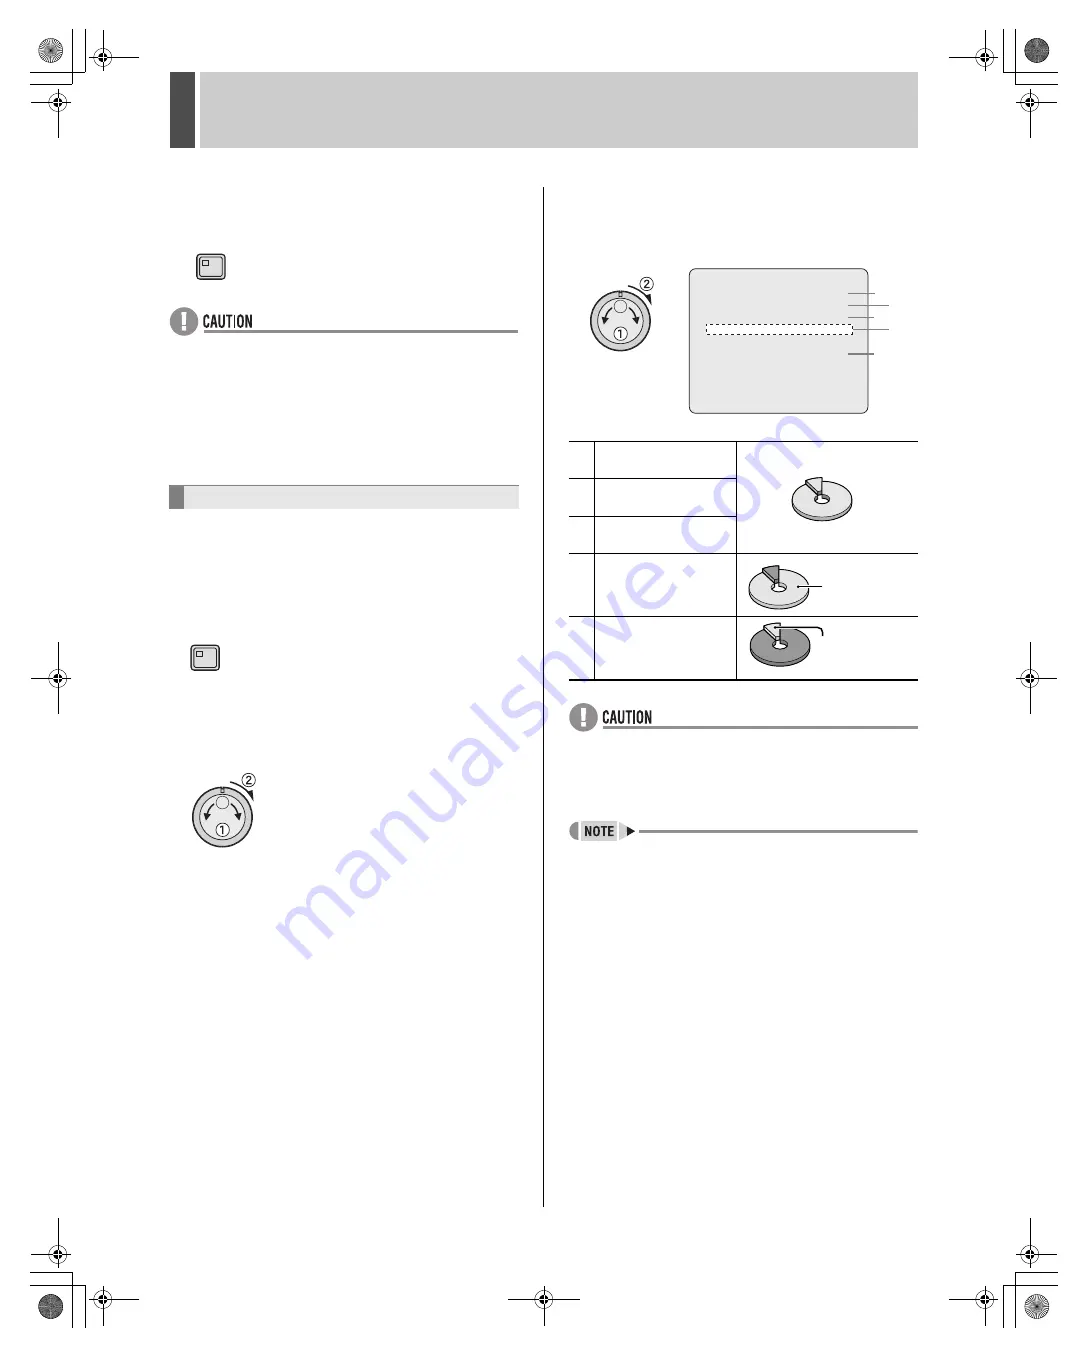
Use the following procedures to confirm the hard disk’s total
recording capacity and also the allocation for each recording
area.
1
Press the [MENU] button.
The MENU indicator lights up and the <MAIN MENU> is
displayed.
2
Turn the jog dial to select “2.RECORD
SET” and then turn the shuttle dial
clockwise.
The <RECORD SET> screen is displayed.
3
Turn the jog dial to select
“2.RECORDING AREA SET” and then
turn the shuttle dial clockwise.
The <RECORDING AREA SET> screen is displayed.
z
When the recording area allocation is changed, the hard
disk is initialized and all previous recordings are deleted. It
is important, therefore, to store recorded video on a PC or
some other storage media before modifying recording
areas.
z
The capacity of each hard disk can be checked using the
<HDD SET> screen. (
J
P.117, 119)
Displaying the recording areas
EXIT/OSD
MENU
(1)
Displays the total
capacity of the hard disk.
(2)
Displays the internal
hard disk capacity.
(3)
Displays the expansion
unit hard disk capacity.
(4)
Sets the capacity of the
recording areas.
(5)
Displays the capacity of
the archive area
<RECORDING AREA SET>
TOTAL CAPACITY : 1200GB
INTERNAL HDD : 500GB
EXTERNAL HDD : 700GB
RECORDING AREA : 80 %
AREA FULL RESET ->
ARCHIVE AREA : 20 %
AREA FULL RESET ->
CAUTION: WHEN THE AREA SETTING IS CHANGED,
THE WHOLE AREA WILL BE INITIALIZED !
(1)
(3)
(4)
(5)
(2)
Recording
area
Archive
area
e00_l8hbd_us_7.book Page 77 Thursday, March 31, 2005 5:49 PM


