Operation
5-13
Date en cours : 9 février 2005
C:\Documents and Settings\G097447\Bureau\MFK V2 LU 251 816 433A MF 3725 GB\Utilisation Gb.fm
O
pe
ratio
n
Se
ttin
g y
ou
r
mach
ine
Ge
tting
sta
rte
d
Direc
to
ry
Mai
nte
na
nce
Sa
fe
ty
C
ont
en
ts
Insta
lla
tio
n
Prin
t f
un
ction
S
PECIFIC
COPY
SETTINGS
When the copy quality is no longer satisfactory, you can perform a calibration. To do so, please
see the paragraph on
Scanner calibration
, page 7-11.
Moreover, a high number of controls let you improve the copy quality.
Scanner settings
841 OK - ADVANCED FCT / COPY / RESOLUTION
The
RESOLUTION
parameter adjusts the photocopying resolution. Select
HIGH
SPEED
,
QUALITY
or Photo resolution using keys
or
, then validate the choice
with the
OK
key.
842 OK - ADVANCED FCT / COPY / ZOOMING
The
ZOOM
setting is used to reduce or enlarge part of the document by choosing the
original and the zoom value to apply to the document, 25 to 400 %. Enter the zoom value
required using the keys of the digital key pad. Validate the choice with the
OK
key.
843 OK - ADVANCED FCT / COPY / ASSEMBLED
The
ASSEMBLED
parameter is used to define the choice of your printer outputs; either
assembled or not assembled. Validate the choice with the
OK
key.
844 OK - ADVANCED FCT / COPY / ORIGIN
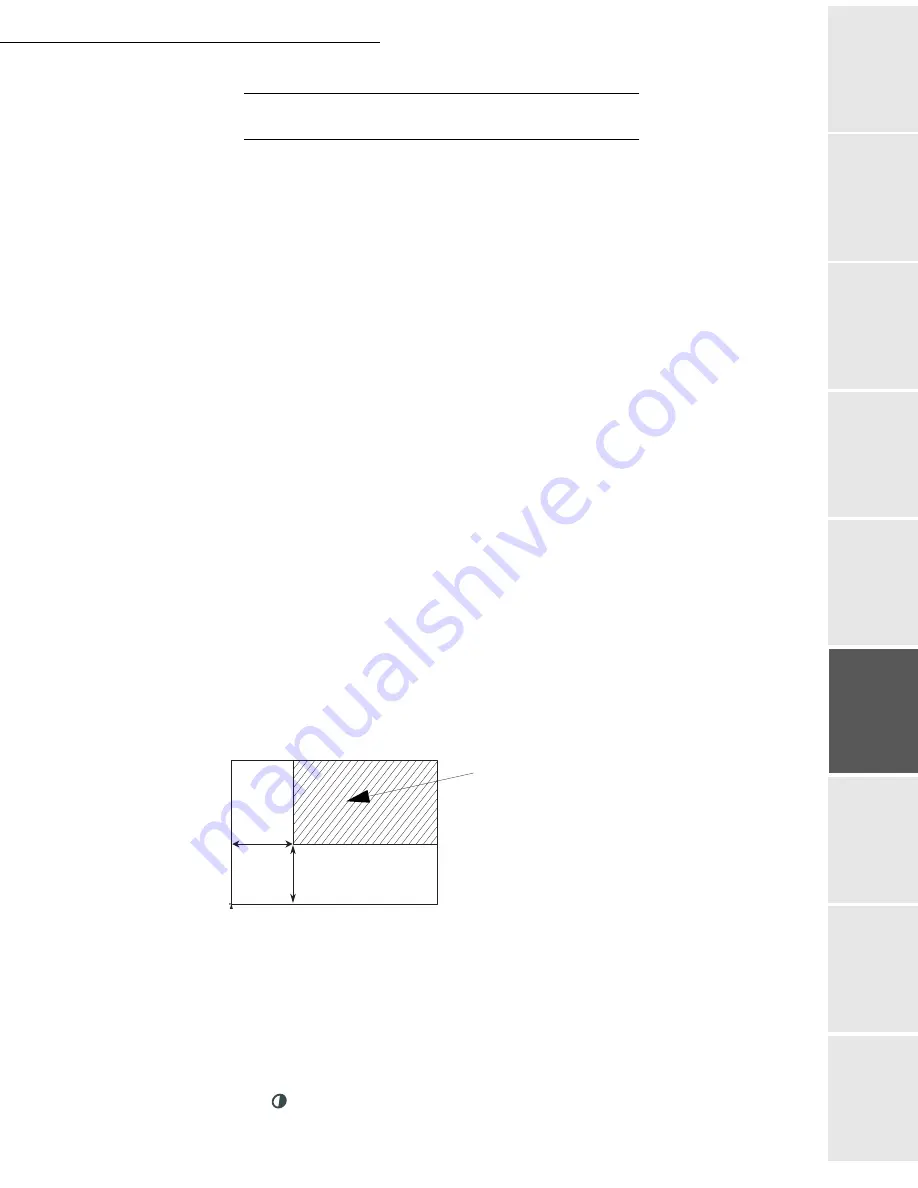
If you wish, you can change the origin of the scanner.
By entering new values of X and Y given in mm (X < 210 and Y < 286), you will move the
scanning zone as shown on the figure below.
Select the X and Y coordinates with keys
or
.
Set the required coordinates with the numeric keypad or
or
.
Confirm your setting by pressing key
OK
.
845 OK - ADVANCED FCT / COPY / CONTRAST
The
CONTRAST
parameter is used to select the photocopy contrast. Adjust the contrast
using
keys
and
, then validate the choice with the
OK
key.
scanned area
Top view: scanned side down
y
x
T
O
P OF SH
E
E
T
E
ND OF
S
H
E
E
T
Summary of Contents for MF 3725
Page 1: ...S User Manual SAGEM MF 3725...
Page 42: ...1 34 Installation...
Page 54: ...2 12 Getting started...
Page 122: ...6 22 Contents...
Page 138: ...7 16 Maintenance Remove the jammed paper A without tearing it Then close the scanner cover A...
Page 148: ...7 26 Maintenance...
Page 150: ...8 2 Safety...


