Getting started
2-9
Date en cours : 9 février 2005
C:\Documents and Settings\G097447\Bureau\MFK V2 LU 251 816 433A MF 3725 GB\PriseEnMains Gb.fm
Op
er
atio
n
Se
ttin
g y
ou
r
mach
ine
Ge
ttin
g
sta
rted
Direc
to
ry
Mai
nte
na
nce
Sa
fe
ty
C
ont
en
ts
Insta
lla
tio
n
Prin
t f
un
ction
A
CCESS
TO
FUNCTIONS
This section explains how to use the menu selection system. The
MENU
key on the operator
console allows you to use the menu to configure or adapt the printer environment, making settings
such as the number of copies to be made, the emulation, etc. depending on your own specific
needs. You can make these settings when the printer screen shows
Ready
.
Note:
The printer applies the most recent settings sent from the application software or from the printer driver,
and these always take priority over any settings made from the operator console.
To navigate vertically within the functions, use the
and keys (access the menu shown by
repeatedly pressing one of the keys).
To navigate horizontally within the functions, use the > and
<
keys. To change or confirm the
configuration of a component, press the
ENTER
key.
Printing out the menu guide
The list of menus may vary according to which options you have installed.
You can print out the print menu guide by moving within the menus as shown below.
MENU - - PRINT MENU STRUCTURE
Press E
NTER
, a blinking "?" appears.
Press E
NTER
again to start printing.
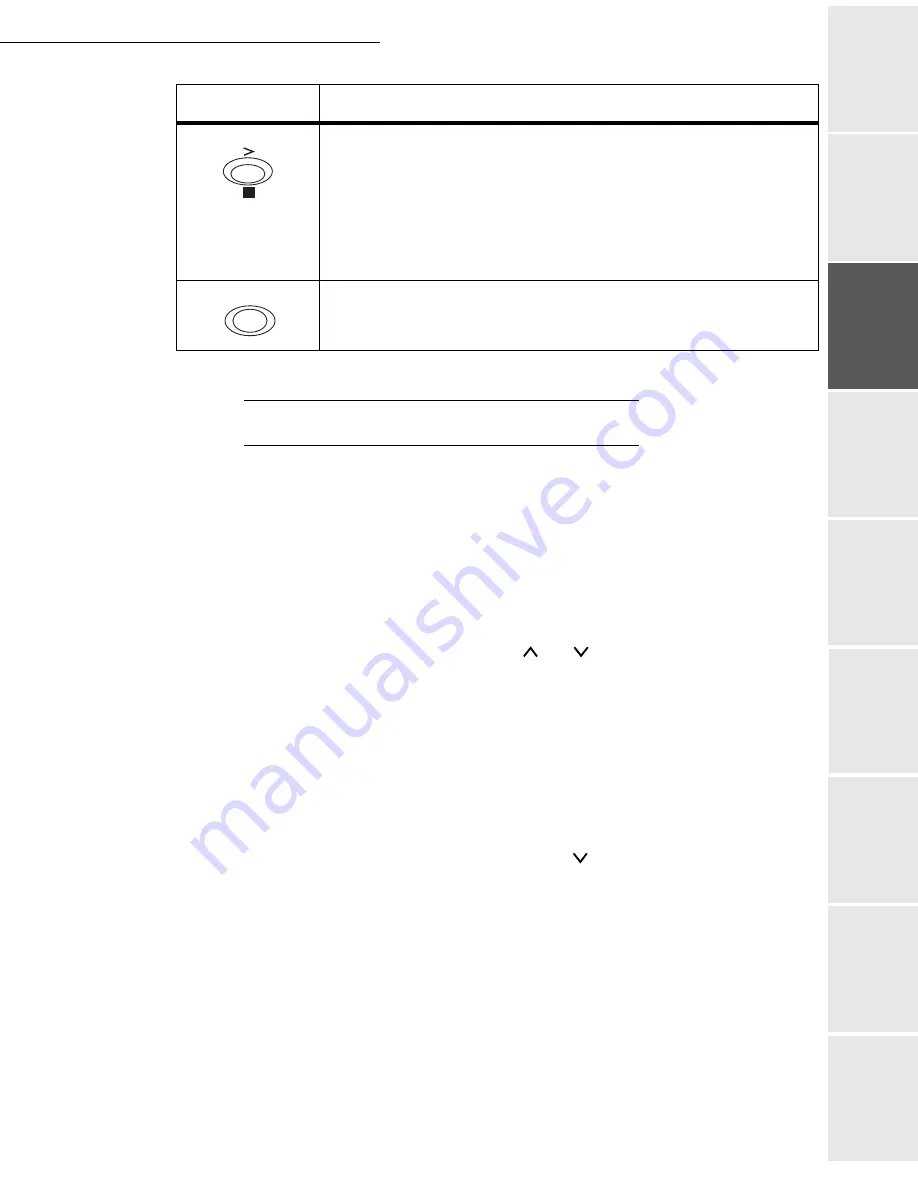
• Used in the same way as the > key in the mode selection function.
• Displays on-line help messages on the screen when there is a paper
jam:
If you press this key when the printer is
Ready
: it displays explana-
tions about the on-line help messages.
If you press this key when the on-line help is displayed:
the on-line help is cancelled.
Confirms the numerical values and other selections.
Key
Function
?
ENTER
Summary of Contents for MF 3725
Page 1: ...S User Manual SAGEM MF 3725...
Page 42: ...1 34 Installation...
Page 54: ...2 12 Getting started...
Page 122: ...6 22 Contents...
Page 138: ...7 16 Maintenance Remove the jammed paper A without tearing it Then close the scanner cover A...
Page 148: ...7 26 Maintenance...
Page 150: ...8 2 Safety...


