202
5
Ed
itin
g
an
d Pri
ntin
g I
ma
ge
s
10
Press the
4
button.
The movie is divided at the specified position, the two portions are
saved as new files, and the original one is deleted.
5
Select [Adding title picture] on the movie edit selection
screen.
6
Press the
4
button.
The screen appears for selecting a title picture.
7
Use the four-way controller (
45
) to choose the desired title
picture.
Only images available for use with the title picture are displayed.
8
Press the
4
button.
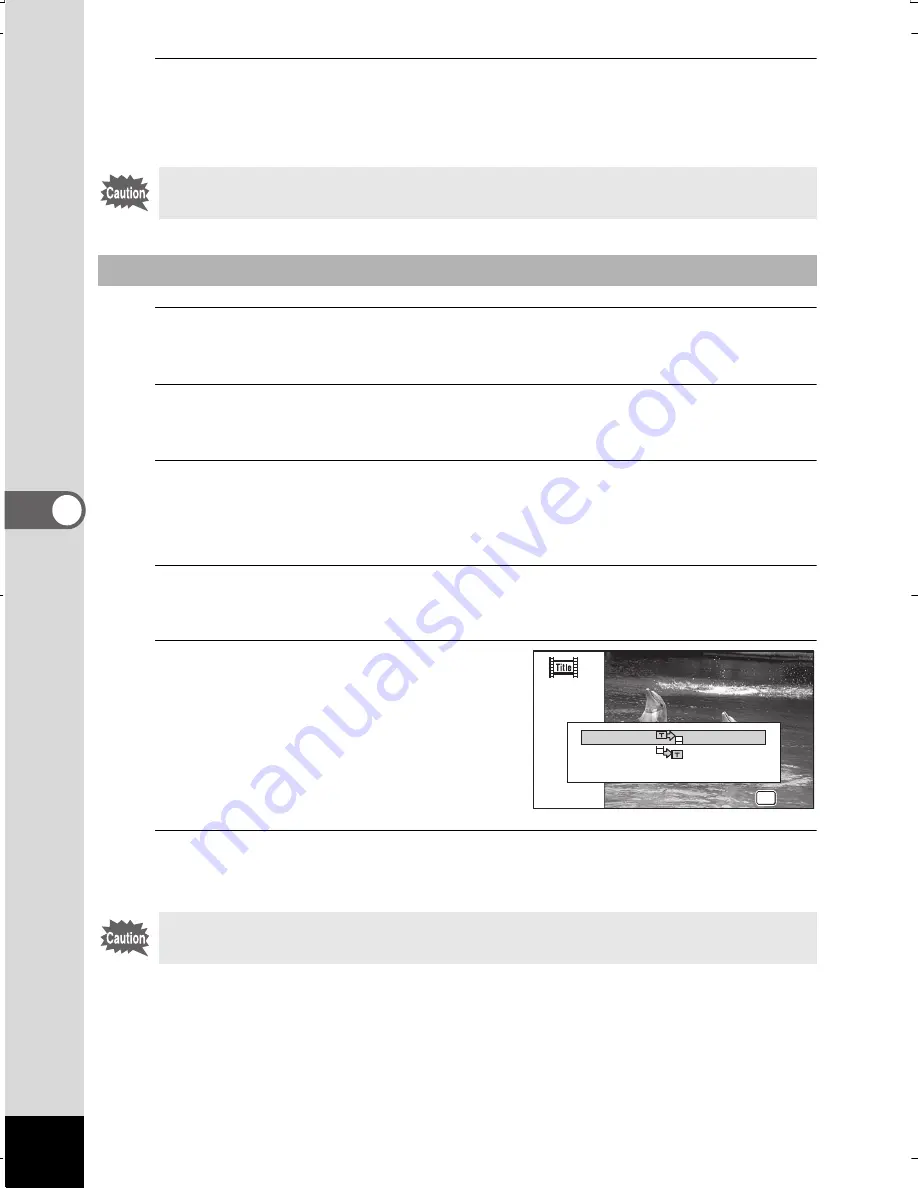
The screen appears for confirming the position of the title picture.
9
Use the four-way controller
(
23
) to select the position.
A
Adds the title picture
to the beginning of the movie
B
Adds the title picture
to the end of the movie
10
Press the
4
button.
The selected picture is saved as the title picture.
The protected movies cannot be divided.
To Add a Title Picture to a Movie
Protected movies cannot be added a title picture.
OK
OK
OK
OK
OK
OK
Specify the position of
Specify the position of
title picture to add
title picture to add
Specify the position of
title picture to add
Cancel
WG20_OPM_ENG.book Page 202 Wednesday, February 5, 2014 2:20 PM


