118
3
Taking Pic
tures
Select the quality (data compression ratio) for still images according
to how the images will be used.
The more stars (
E
), the higher the quality of the image, but the file size
increases. The selected Recorded Pixels setting also affects the size
of the image file (
1
p.116).
Quality Level
1
Press the
3
button in
A
mode.
The [
A
Rec. Mode] menu appears.
2
Use the four-way controller (
23
) to select [Quality Level].
3
Press the four-way controller (
5
).
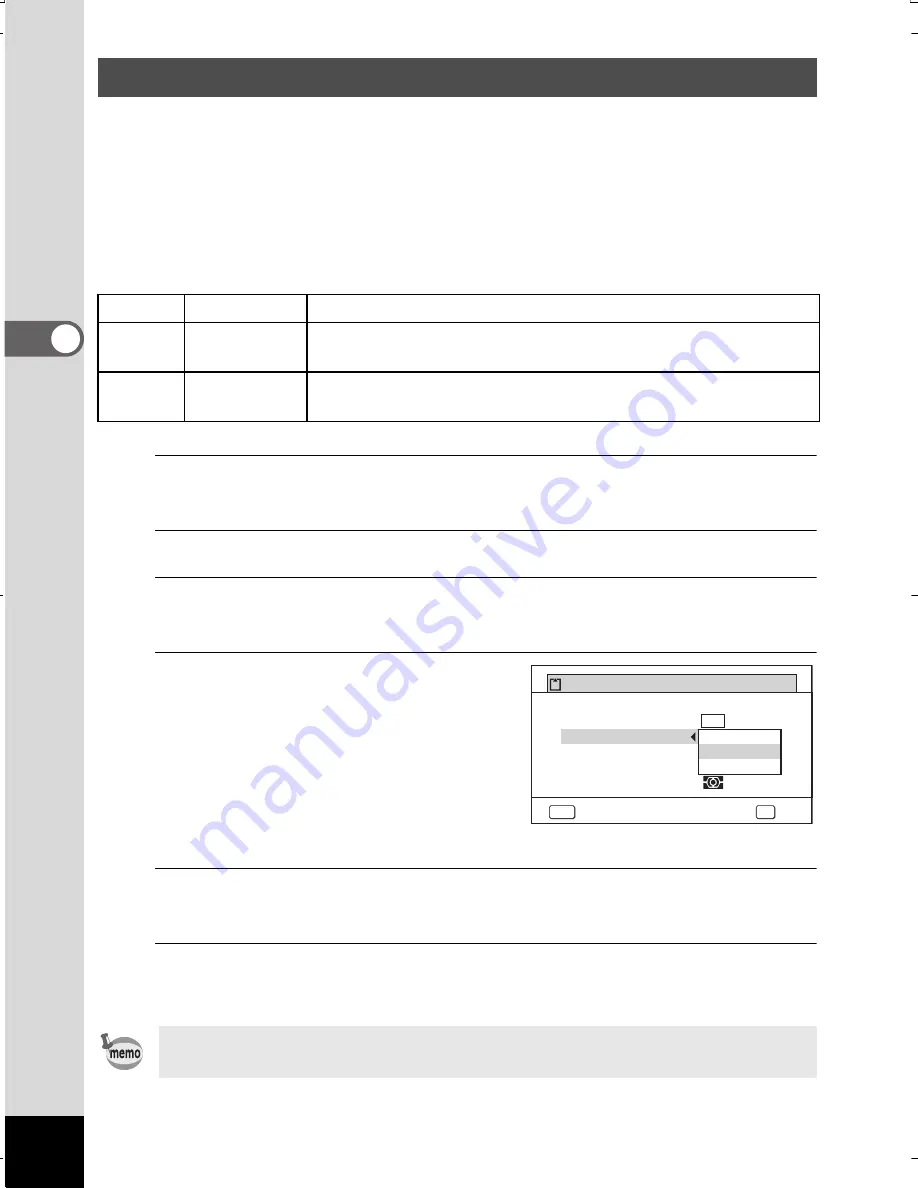
The pull-down menu appears.
4
Use the four-way controller
(
23
) to change the quality
level.
The maximum number of pictures
you can take is displayed at the top
of the screen when you select
a quality level.
5
Press the
4
button.
The setting is saved.
6
Press the
3
button.
The camera is ready for taking pictures.
Selecting the Quality Level of Still Pictures
C
Best
Lowest compression ratio. Suitable for photo prints.
D
Better
Standard compression ratio. Suitable for viewing the image
on a computer screen. (default setting)
E
Good
Highest compression ratio. Suitable for attaching to e-mails
or creating websites.
In
9
(Green) mode, the quality level is fixed at
D
(Better).
Image Tone
AE Metering
Recorded Pixels
White Balance
Quality Level
Bright
ڎڎڎ
ڎڎ
ڎ
AF Setting
MENU
Cancel
OK
OK
Recordable Image No.
12
14
M
WG20_OPM_ENG.book Page 118 Wednesday, February 5, 2014 2:20 PM


