147
3
Taking Pic
tures
10
Press the shutter release button halfway.
The focus frame on the display turns green if the subject is in focus.
11
Press the shutter release button fully.
Interval movie recording starts.
The LCD turns off between shots (during standby). Press the power
switch during standby to display the remaining time and interval
on the monitor.
The [Stop interval shooting?] message is displayed when the power
switch and then the
3
button are pressed during standby.
Pressing the
4
button cancels interval movie.
You can set the Interval Movie from [
A
Rec. Mode] menu.
1
Press the
3
button in
A
mode.
The [
A
Rec. Mode] menu appears.
2
Use the four-way controller (
23
) to select [Movie].
3
Press the four-way controller (
5
).
The [Movie] screen appears.
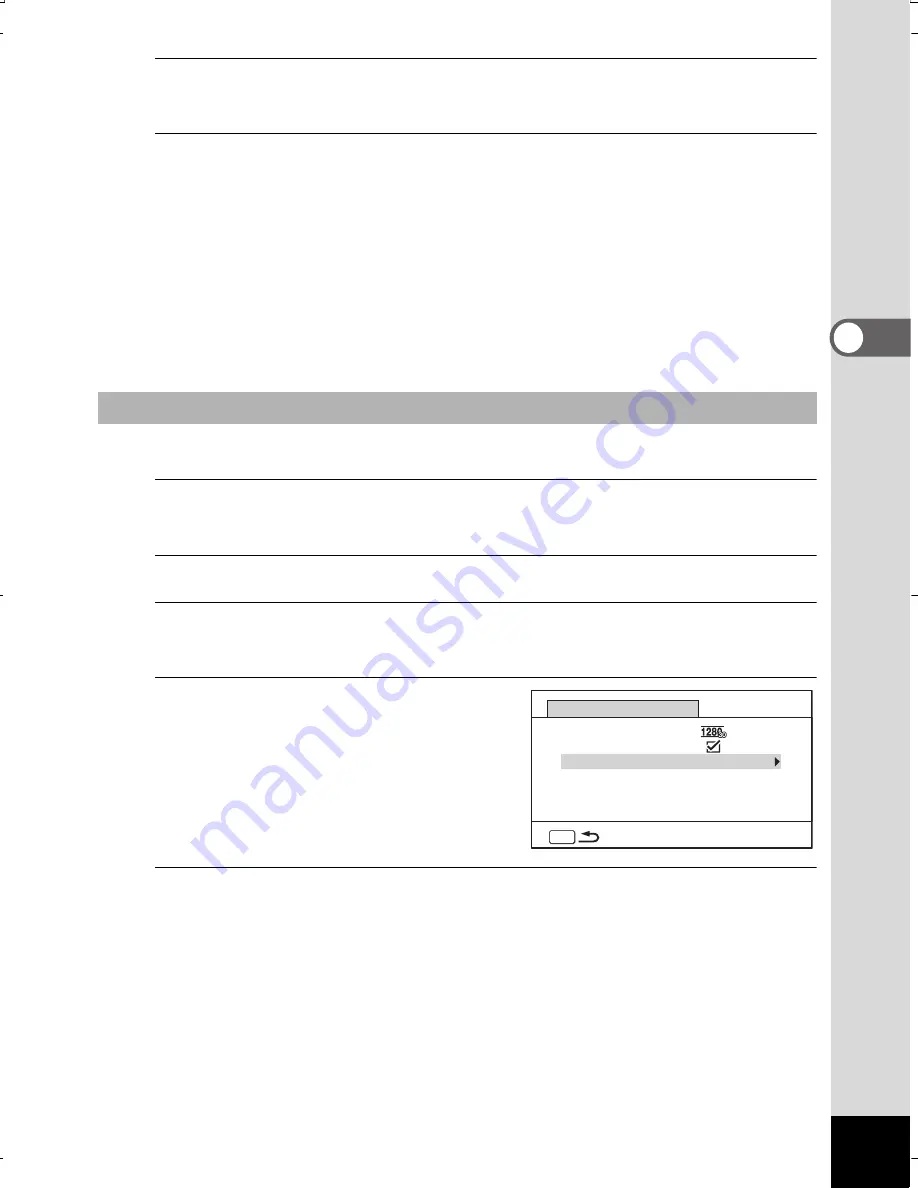
4
Use the four-way controller
(
23
) to select [Interval Shoot].
5
Press the four-way controller (
5
).
The interval movie setting screen appears. The rest of the procedure
is the same as steps 4-11 in “Setting from Drive Mode”. See those
procedures if you need more information.
Setting from Menu
MENU
Movie
Recorded Pixels
Interval Shoot
Movie SR
WG20_OPM_ENG.book Page 147 Wednesday, February 5, 2014 2:20 PM


