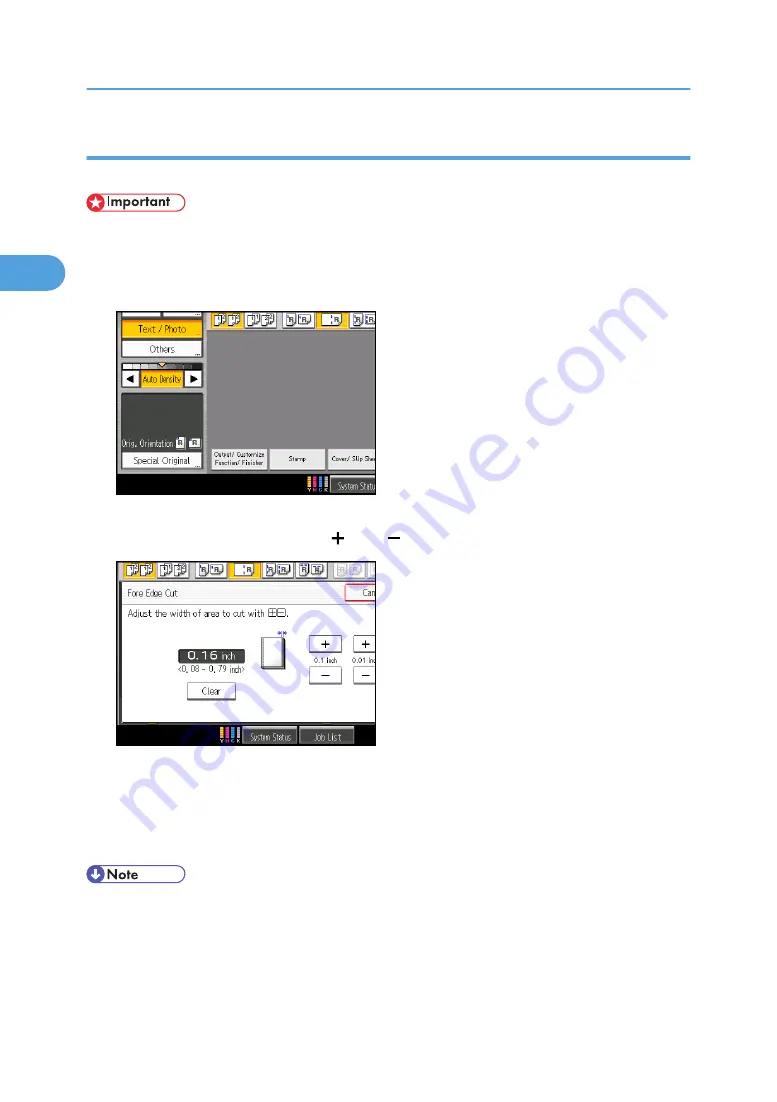
Using the trimmer to cut the fore edge
Use this function to cut the fore edge of a document after it is saddle stitched.
• This function is available only when you select Center as the stapling position.
1.
Select Center as the staple position.
2.
Press [Output/ Customize Function/ Finisher].
3.
Press [Fore Edge Cut].
4.
Specify the cut length width with [ ] and [ ], and then press [OK].
To change the value you entered, press [Clear] and then enter a new value.
5.
Press [OK].
6.
Enter the number of copy sets using the number keys.
7.
Place the originals, and then press the [Start] key.
• You can adjust the position of the fore edge cut from 2.0 to 20.0 mm (0.08 to 0.79 inches) in 0.1
mm (0.01 inch) increments.
• Empty the trimmer tray if prints are ejected with waste paper stuck to them. For details, see “Removing
Waste Paper”, Troubleshooting.
2. Basic Copying
98
2
Summary of Contents for Pro C901S
Page 2: ......
Page 30: ...Certain keys do not appear on the simple screen 28...
Page 48: ...1 Placing Originals 46 1...
Page 150: ...3 Color Copying 148 3...
Page 177: ...BZH116 1 Press Stamp 2 Press Page Numbering Stamps 175 4...
Page 226: ...4 Advanced Copying 224 4...
Page 252: ...5 Document Server 250 5...
Page 279: ...2010...
Page 280: ...Copy Document Server Reference Operating Instructions D095 2128 EN US...


