External Assemblies
4
-
14
Removal and Replacement
Printer Platen
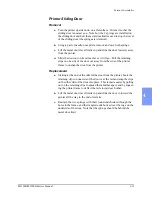
Removal
a.
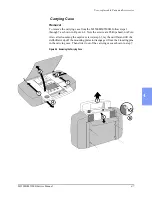
Open the printer. If you have just removed the sliding door, it will
already be open.
b.
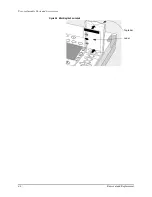
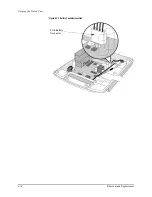
Note the two platen springs (they are
not
identical), and how they are
located. Their longer ends fit into grooves in the platen; their shorter
ends fit through a slot in the printer frame.
c.
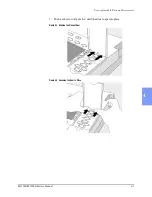
Grasp the body of the printer just below the hinge pins and squeeze
the body so that the hinge pins move in. Disengage one pin first, then
the other.
d.
Lift the platen assembly from the hinges. Keep track of the springs.
Replacement
a.
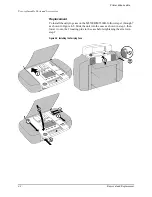
Reinstall the springs on their correct hinge pins.
b.
Grasp the body of the printer just below the hinge pins and squeeze
the body so that the hinge pins move in. First engage one pin to the
new platen, then the other. Be sure the springs are installed correctly.
Summary of Contents for Heartstart XLT
Page 1: ...H E A R T S TA R T X LT S e r v i c e M a n u a l M 3 5 0 0 B M 5 5 0 0 B ...
Page 2: ......
Page 3: ...Service Manual M3500B HeartStart XLT M5500B Heartstart 4000 Defibrillator Monitor ...
Page 6: ......
Page 16: ......
Page 20: ......
Page 52: ......
Page 216: ......
Page 223: ......
Page 224: ...M3500 90900 Printed in USA February 2003 Second Edition M3500 90900 2 ...

