Chapter 4
Creative Cutter Tutorials
Creative Cutter MINI
59
Scan the Drawing into Pazzles Creative Cutter
1
Open the Pazzles Creative Cutter program.
1
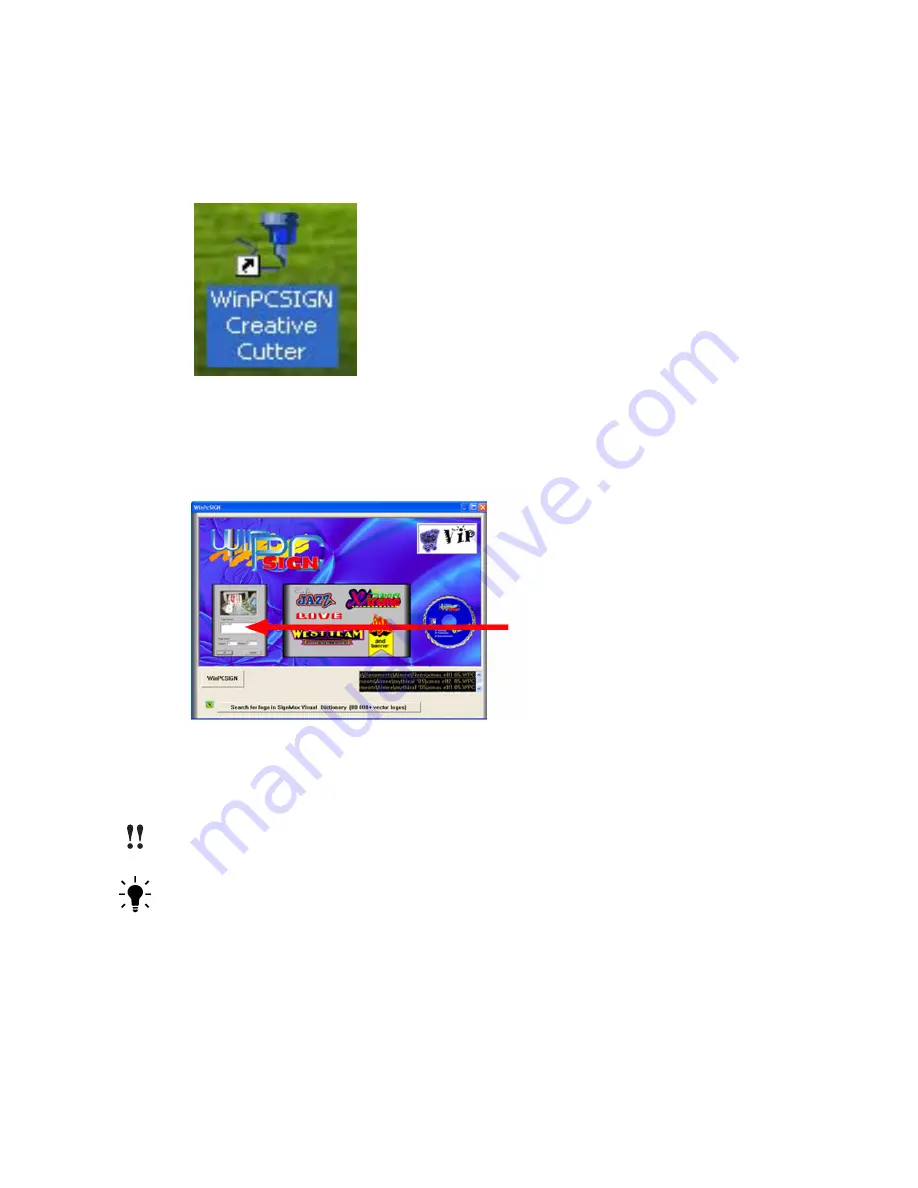
Double-click the icon your desktop screen. See figure 90.
Figure 90
2
Press the
ESC
key on your computer keyboard when you see the
Welcome
screen.
3
In the next window, click the
Create New Document
image at the left of the screen. See
figure 91.
Figure 91
4
In the
Setup page
box, type
11x8
in the
Height
and
Length
boxes.These settings set up the
cutter to cut a 11x8 paper and reflect the actual available cutting space on the paper.
IMPORTANT:
Be sure that your page appears to be in landscaped orientation as shown in
“Starting and Using the Cutter” on page 22
TIP:
Be sure you have the toolbars used most often selected. Click
View
and then click
Toolbars
. Then click
Standard, Tools, Manipulation
, and
Zoom
.
5
The very first time you scan, you must select the scanner. Make sure you have connected
your scanner to the computer and that the scanner is powered on. Click
File
and then click
Summary of Contents for Mini Creative Cutter
Page 1: ...Pazzles Creative Cutter Mini User Guide www pazzles com...
Page 24: ...Chapter 2 Installation and Setup 16 Creative Cutter MINI Blade Positioning Guide Figure 15...
Page 38: ...Chapter 3 Basic Procedures for Using the Mini Creative Cutter 30 Creative Cutter MINI...
Page 88: ...Chapter 4 Creative Cutter Tutorials 80 Creative Cutter MINI...
Page 111: ...Chapter 5 Manipulating Letters and Shapes Creative Cutter MINI 103 Figure 149...
Page 112: ...Chapter 5 Manipulating Letters and Shapes 104 Creative Cutter MINI...
Page 124: ...Chapter 6 Working With Graphics 116 Creative Cutter MINI...
Page 133: ...Chapter 7 Specialized Cutting and Finishing Techniques Creative Cutter MINI 125...
Page 134: ...Chapter 7 Specialized Cutting and Finishing Techniques 126 Creative Cutter MINI...
Page 140: ...Chapter 8 Troubleshooting Guide 132 Creative Cutter MINI...


