Chapter 4
Creative Cutter Tutorials
78
Creative Cutter MINI
Step 6: Check your Work
1
Using the
Select Elements
tool, click on the image and hold down the mouse button as you
drag a box around the new outline. When you release the mouse button, all lines within the box
are selected.
2
From the
Edit
menu, click
Copy and Paste
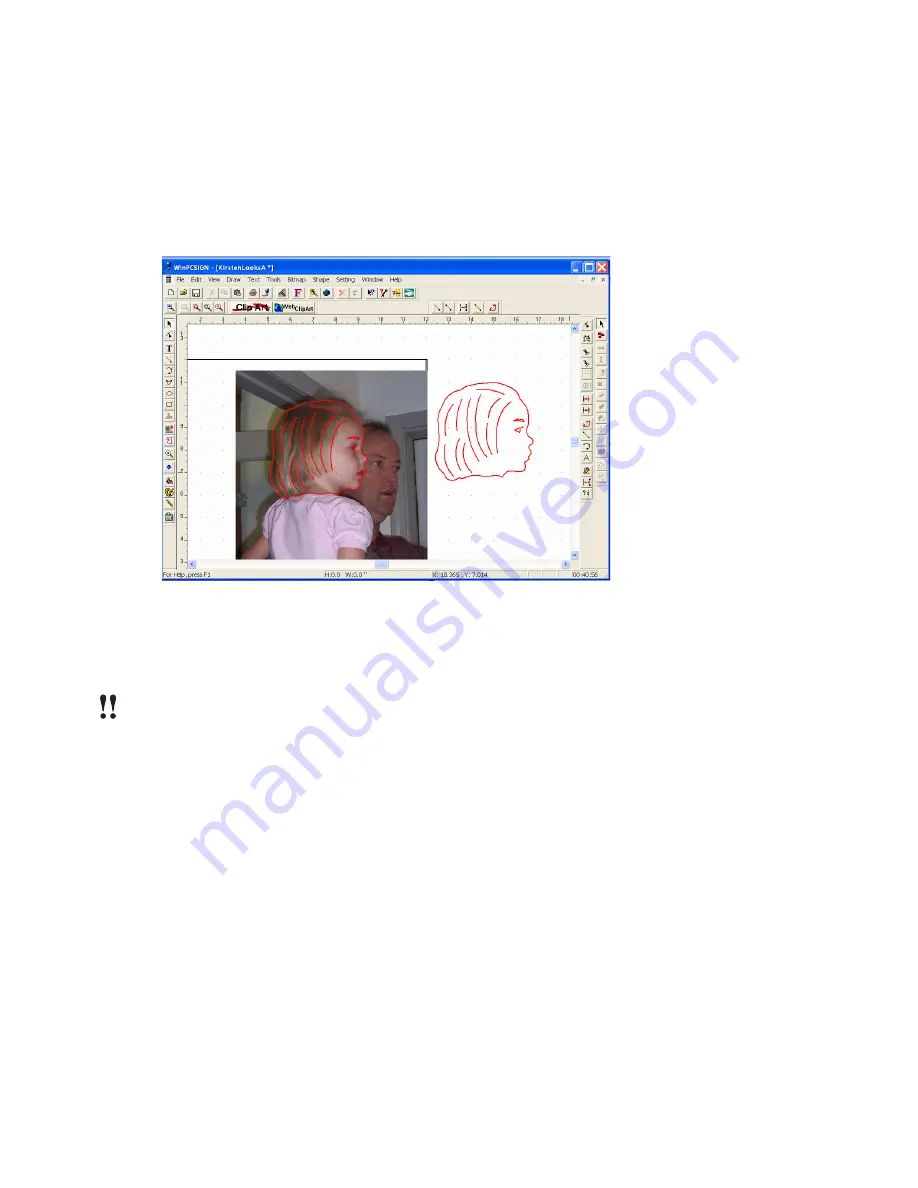
to make a copy of your project. The copy will
assist you in seeing if any adjustments must be made. See figure 123.
Figure 123
3
Make changes and adjustments as desired.
4
Click on the graphic (photo) portion of the screen to select the photo.
IMPORTANT:
Do
not
drag a box around everything and do
not
use
Select All
. If you do, you
will delete the entire project.
5
Press the
DELETE
key on your keyboard to remove the photo. When you do, only the newly
created cutting image remains on the screen.
Summary of Contents for Mini Creative Cutter
Page 1: ...Pazzles Creative Cutter Mini User Guide www pazzles com...
Page 24: ...Chapter 2 Installation and Setup 16 Creative Cutter MINI Blade Positioning Guide Figure 15...
Page 38: ...Chapter 3 Basic Procedures for Using the Mini Creative Cutter 30 Creative Cutter MINI...
Page 88: ...Chapter 4 Creative Cutter Tutorials 80 Creative Cutter MINI...
Page 111: ...Chapter 5 Manipulating Letters and Shapes Creative Cutter MINI 103 Figure 149...
Page 112: ...Chapter 5 Manipulating Letters and Shapes 104 Creative Cutter MINI...
Page 124: ...Chapter 6 Working With Graphics 116 Creative Cutter MINI...
Page 133: ...Chapter 7 Specialized Cutting and Finishing Techniques Creative Cutter MINI 125...
Page 134: ...Chapter 7 Specialized Cutting and Finishing Techniques 126 Creative Cutter MINI...
Page 140: ...Chapter 8 Troubleshooting Guide 132 Creative Cutter MINI...


