Configuring Multiplexers
2-29
6800-A2-GB21-10
August 1994
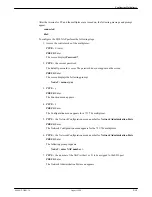
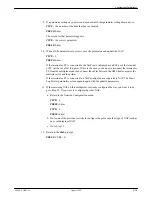
To define the system parameters from the Configuration menu,
1. TYPE: 3
PRESS: Enter
The System Parameters list appears.
2. If a parameter setting on your screen does not match your network’s requirements, select
the number of the item that does not match,
PRESS: Enter
The screen for that parameter appears.
TYPE: the number of the correct parameter
PRESS: Enter
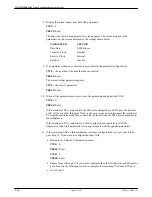
The parameters listed in this screen are set by the manufacturer. They can be reviewed and
changed to meet your network’s requirements by using the previous procedure. Be sure to
make a copy of the values when you have completed your changes. The following is a list
of the values you may want to change:
•
7) Login Herald. This parameter may be changed to any other message that will be sent
to all channels when the ready mode is entered. The message can have up to 32 ASCII
characters. For example, the message could be as follows:
719 node 101 dial:
•
10) Network Node Number. This parameter should be changed to contain the node
number assigned to the 719 NETWORKER. The node number can be any integer from
1 to 249, inclusive. Every multiplexer in the network must have a unique node number.
In the sample configuration, the NETWORKER is assigned node number 101.
•
11) Node Date and Time. This parameter is the date and time set in the
NETWORKER’s event log. The date and/or time may be set as needed. This parameter
must be reset after a power on/reset sequence.
•
12) Event Log Stat Time. This parameter represents how often (in minutes) the
NETWORKER’s statistics are sent to its event log and the statistics reset.
•
13) Event Log 1. This parameter contains the address of the 719 NETWORKER
channel port connected to the event log printer and a parameter list indicating the types
of events that are to be printed.
The address must be in the form node number/group and is defined in option 1) Event
Log Group (on the Event Log menu).
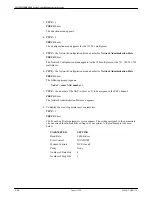
Eight types of events can be sent to the event log printer or the NMS event port. Each
type can be activated by selecting its option. To activate the events,
TYPE: 13
PRESS: Enter
The Event Log menu appears.
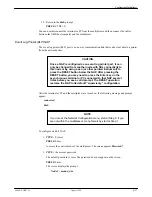
Selections 2 through 8 on the Event Log menu represent event types. When you select
one of these options, the event type is set to Active and a Y is displayed for that option
on the Event Log menu. For example, if 7) Call Status is activated for event log 1, the
Inactive would change to 101/13 - - - - - - -Y.

