Displaying the web screen
With a personal computer connected to the unit, it is possible to view the
camera’s IP videos or select various settings from the web browser.
The LAN crossover cable is used when connecting a personal computer
directly to the unit’s LAN connector for IP control, and the LAN straight
cable is used when making the connection through a switching hub.
Select an IP address for the personal computer within the private
address range while ensuring that it is different from the address of the
unit. Set the subnet mask to the same address as the unit.
<NOTE>
• If you need to change the IP address and subnet mask, be sure to ask
your dealer to make these changes for you.
Unit’s IP address and subnet mask (factory settings)
*
1
IP
address:
192.168.0.10
Subnet
mask:
255.255.255.0
*
1
The factory default for the private address range is between
192.168.0.1 and 192.168.0.255.
• If the controller and web browser are being used at the same time, the
content selected using the controller may not be reflected on the web
browser display.
When using both the controller and web browser, be absolutely sure to
check the settings using the controller or camera menu.
For details of the required personal computer environment,
refer to page 10.
<NOTE>
• Some functions on the web setting screen can be used only from
Windows Internet Explorer 11.
Functions which can be used by Windows Internet Explorer 11 only
are indicated using the
mark.
• The “Network Camera View 4S” plug-in viewer software must have
already been installed in order to display the unit’s IP videos using
Windows Internet Explorer 11.
This is not necessary when using web browsers other than Windows
Internet Explorer 11.
For details, refer to “Installing the plug-in viewer software”
(→ page 33).
• When [IP(UDP)] of [Tracking Data Output] is set to [On] and opening
the web screen, a warning message will be displayed. Click the
[Continue] button to leave the web screen open.
• While the web screen is displayed, the tracking data that is output
when [IP(UDP)] of [Tracking Data Output] is [On] may be delayed or
the data value may not be updated. (→ page 136)
Displaying the web screen using a personal
computer
The procedure is explained here using Windows screens (Internet
Explorer). When using other browsers, some screen displays will be
different, but the procedure is similar.
1.
Start the web browser of the personal computer.
Use one of the web browsers below depending on the operating
system installed in the personal computer.
Operating system
installed
Web browser
Windows
Windows 10/Internet Explorer 11
Windows 10/Microsoft Edge
Windows 10/Google Chrome
macOS
macOS 10.13/Safari 13
macOS 10.14/Safari 13
macOS 10.15/Safari 13
macOS 10.15/Google Chrome
2.
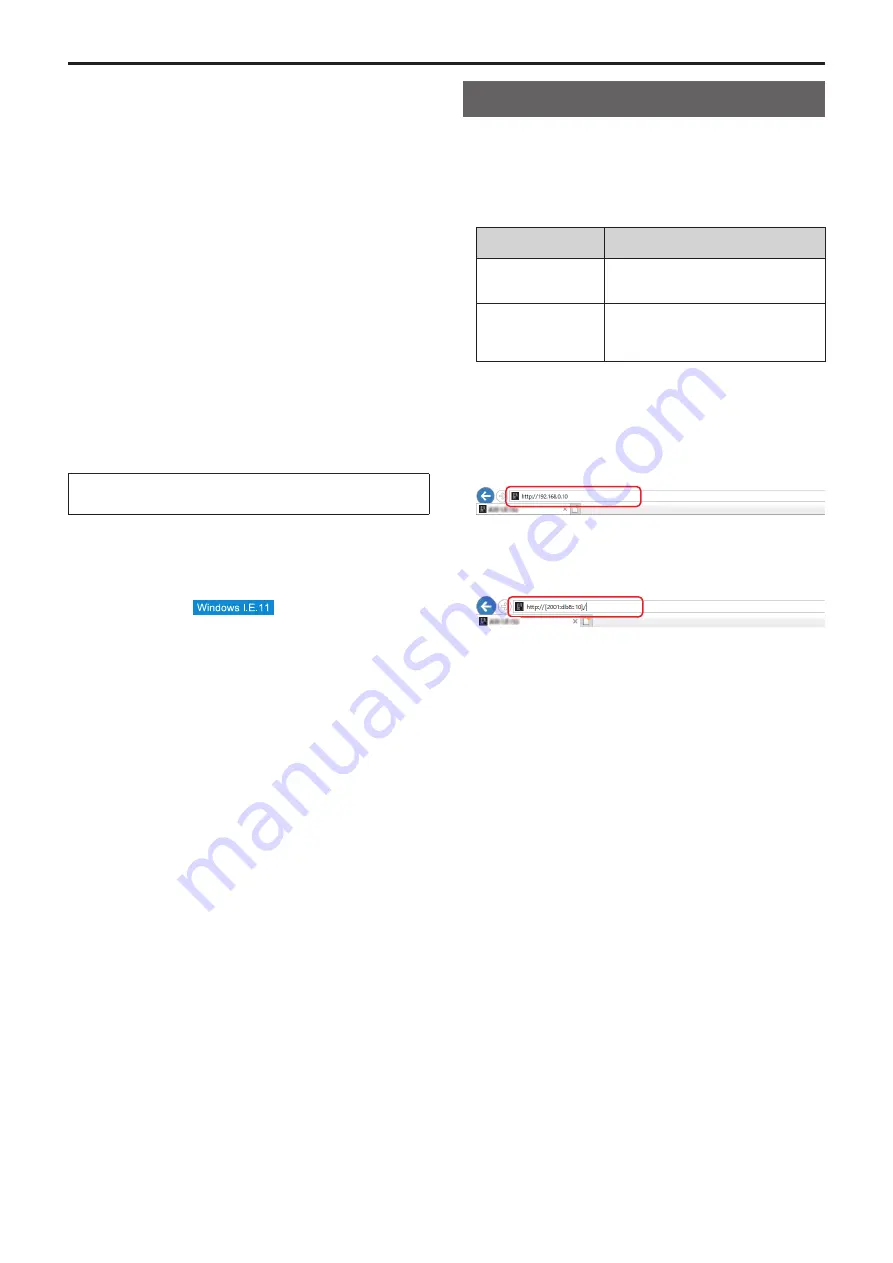
Enter the IP address you configured on the Easy IP Setup
Software in the address bar of the web browser.
IPv4 address entry example:
http://URL registered with IPv4 address
http://192.168.0.10/
IPv6 address entry example:
http://[URL registered with IPv6 address]
http://[2001:db8::10]/
<NOTE>
• If the HTTP port number has been changed from “80”, enter
“http://<camera IP address>:<port number>” in the address bar.
Example: When the port number is set to 8080:
http://192.168.0.10:8080
• If the unit is located on the local network, configure proxy server
settings on the web browser ([Tools] - [Internet Options] in the menu
bar) so that a proxy server is not used for the local address.
•
For details on when [HTTPS] ‑ [Connection] (→ page 146) is set to
[HTTPS] in the [Advanced] of the network setup screen [Network],
see “Accessing the Camera by HTTPS” (→ page 151).
92
93


