75
Data Traces
Section 10-1
4.
Set the trigger conditions, trace objects, and number of samplings.
5.
Click the
Transfer [PC to MC]
Button to write the set values to the MC Unit.
6.
Click the
OK
Button to close the Data Trace Configuration Dialog Box.
7.
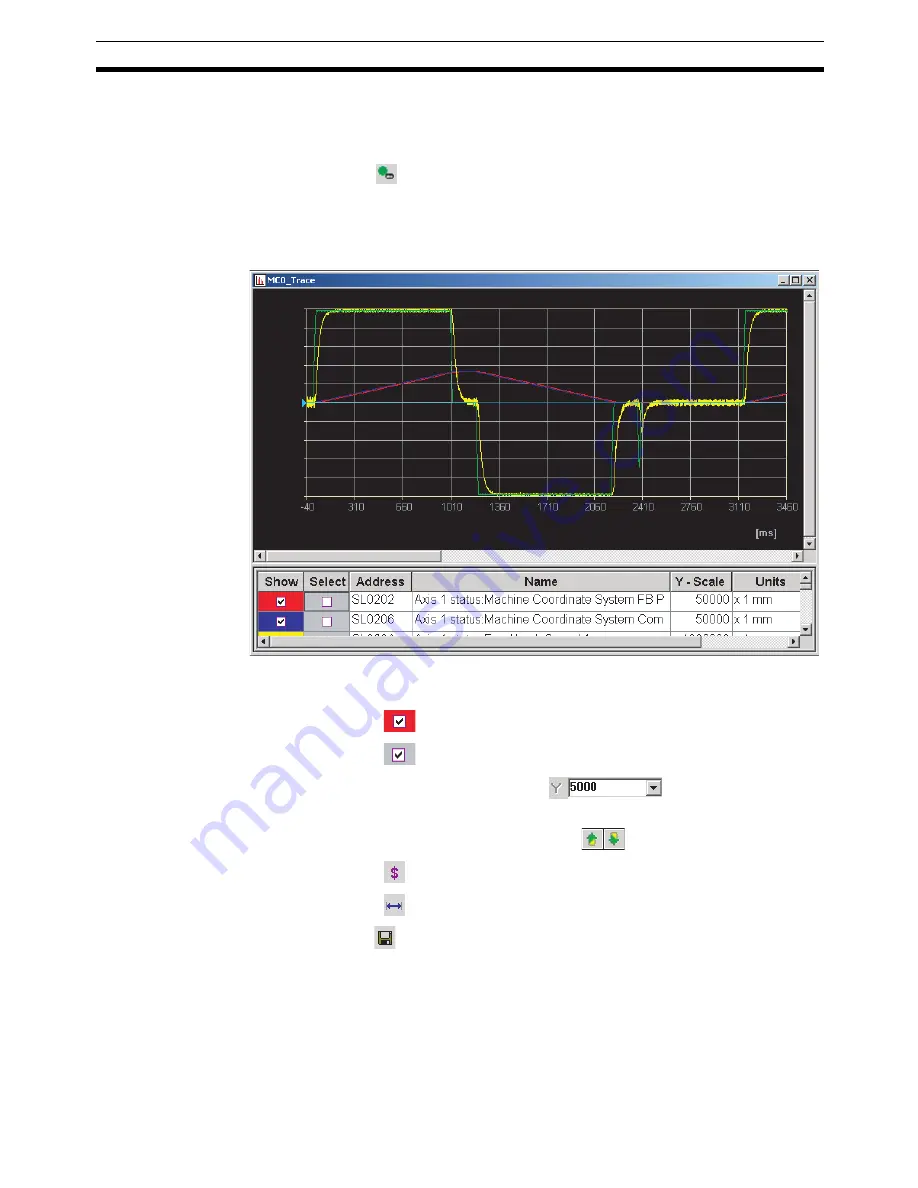
Click
in the Data Trace Window. The MC Unit will execute the data
trace.
8.
The trigger condition is activated, and the data trace is completed. The MC
Unit will transfer the results of the data trace to the CX-Motion-MCH auto-
matically and display them graphically.
10-1-2 Changing the Graph Display
1,2,3...
1.
Select
in the legend to display the required items.
2.
Select
the data of the item to change.
3.
Change the vertical scale using
in the Graph Tools Win-
dow.
4.
Change the displayed position using
.
5.
Select
to display the value at the cursor position.
6.
Select
to display the difference between two points.
7.
Click
in the Data Trace Window to save the data to a CSV file.
Summary of Contents for CX-MOTION - 06-2008
Page 1: ...CX Motion MCH Cat No W448 E1 04 OPERATION MANUAL...
Page 2: ...CXONE AL C V3 CXONE AL D V3 CX Motion MCH Operation Manual Revised June 2008...
Page 3: ...iv...
Page 5: ...vi...
Page 9: ...x TABLE OF CONTENTS...
Page 15: ...xvi Note All new functions can be used in Motion Control Units with unit version 3 0 or later...
Page 31: ...12 Connecting to a PLC Section 2 2...
Page 47: ...28 Operations Listed by Purpose Section 3 2...
Page 71: ...52 Exporting File Section 6 4...
Page 91: ...72 Debugging the Program Section 9 3...
Page 95: ...76 Data Traces Section 10 1...
Page 99: ...80 Verifying Backup File with MC Unit Section 11 3...
Page 109: ...90 Printing Section 13 1...
Page 133: ...114 Error Codes Section 15 2...


