276
5. Read the control period.
Refer to the above procedure and replace the allocation change code
“C010” with “C050” and write it as the control period.
6. Read the input shift.
Refer to the above procedure and replace the allocation change code
“C010” with “C060” and write it as the input shift.
7. Read the manipulated variable.
Refer to the above procedure and replace the allocation change code
“C010” with “C080” and write it as the manipulated variable.
8. Read the status.
Refer to the above procedure and replace the allocation change code
“C010” with “C090” and write it as the status.
9. Return to the original status.
Refer to the above procedure and replace the allocation change code
“C010” with “C070” and execute so that the Temperature Control Unit will
return to the original status (i.e., the status when turning on the Temperature
control Unit).
3-6-3 Set Value Write
Execute the following on the Programming Console for loops 1 and 2.
1, 2, 3...
1. Write the proportional band.
Default: SP = 100
°
C and PV = 98
°
C
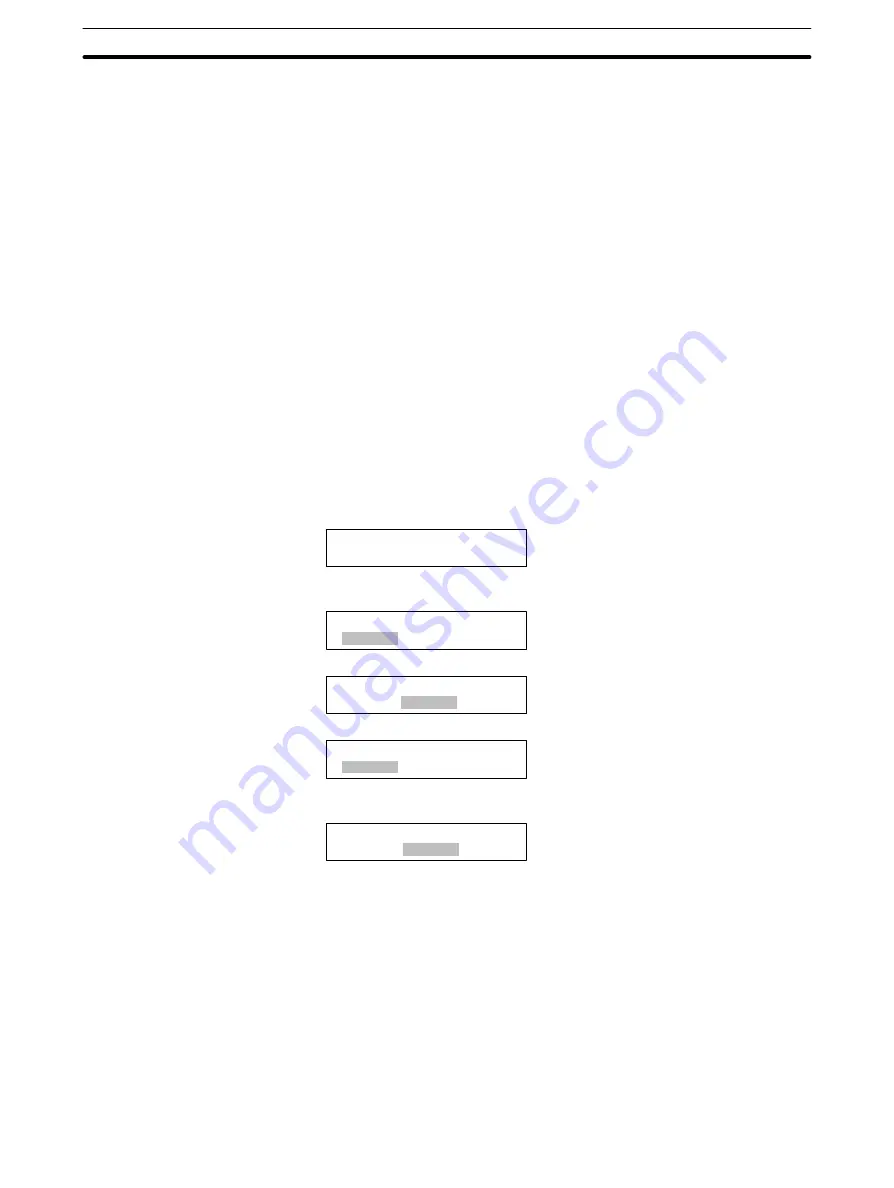
c100 c001
0100 0098
Write the allocation change code “C110” to the output word of the relevant
loop.
c100 c001
C110 0098
Confirm that the input word of the relevant loop will become C110.
c100 c001
C110 C110
Write the set point to the output word of the relevant loop.
c100 c001
0400 C110
Confirm that the value read from the input word of the relevant loop is the
value that has been set
c100 c001
0400 0400
2. Write the integral time.
Refer to the above procedure and replace the allocation change code
“C110” with “C220” and write it as the integral time.
3. Write the derivative time.
Refer to the above procedure and replace the allocation change code
“C110” with “C330” and write it as the derivative time.
4. Write the hysteresis.
Refer to the above procedure and replace the allocation change code
“C110” with “C440” and write it as the hysteresis.
5. Write the control period.
Refer to the above procedure and replace the allocation change code
“C110” with “C550” and write it as the control period.
AT (Expansion Mode)
Section 3-6
Summary of Contents for CQM1H - 08-2005
Page 1: ...Cat No W238 E1 8 Dedicated I O Units CQM1H CQM1 series OPERATION MANUAL SYSMAC ...
Page 2: ......
Page 3: ...CQM1H CQM1Series Dedicated I O Units Operation Manual Revised August 2000 ...
Page 4: ......
Page 6: ......
Page 12: ......
Page 21: ...1 PART I B7A Interface Unit CQM1 B7A02 CQM1 B7A03 CQM1 B7A12 CQM1 B7A13 CQM1 B7A21 ...
Page 22: ......
Page 42: ......
Page 45: ...25 PART II G730 Interface Unit CQM1 G7M21 CQM1 G7N01 CQM1 G7N11 ...
Page 46: ......
Page 62: ......
Page 72: ......
Page 74: ...Appendix A Specifications 54 Dimensions Common for Master and Expansion Master Unit mm ...
Page 78: ......
Page 79: ...59 PART III I O Link Unit CQM1 LK501 ...
Page 80: ......
Page 88: ......
Page 92: ......
Page 93: ...73 PART IV Analog Input Unit and Analog Power Supply Units CQM1 AD041 CQM1 IPS01 CQM1 IPS02 ...
Page 94: ......
Page 118: ......
Page 120: ......
Page 121: ...101 PART V Analog Output Unit and Analog Power Supply Units CQM1 DA021 CQM1 IPS01 CQM1 IPS02 ...
Page 122: ......
Page 126: ......
Page 140: ......
Page 142: ......
Page 144: ......
Page 156: ......
Page 172: ......
Page 186: ......
Page 187: ...167 PART VII Linear Sensor Interface Units CQM1 LSE01 CQM1 LSE02 ...
Page 188: ......
Page 192: ......
Page 204: ......
Page 218: ......
Page 238: ......
Page 242: ......
Page 246: ......
Page 248: ......
Page 250: ......


