235
Troubleshooting
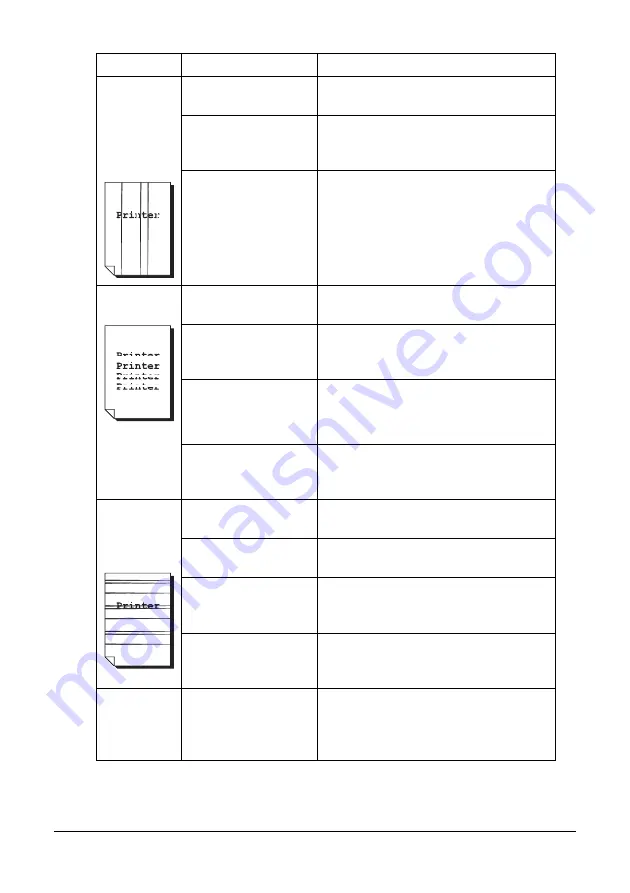
Abnormal
areas (white,
black, or
color) appear
in a regular
pattern.
The print head win-
dow is dirty.
Clean the print head window.
A toner cartridge may
be defective.
Remove the toner cartridges with the
color causing the abnormal image.
Replace it with a new toner cartridge.
The imaging cartridge
may be defective.
Remove the imaging cartridge and
check for damage. If it is damaged,
replace it.
Image
defects.
The print head win-
dow is dirty.
Clean the print head window.
A toner cartridge may
be leaking.
Remove the toner cartridges and
check for damage. If it is damaged,
replace it.
A toner cartridge may
be defective.
Remove the toner cartridge with the
color causing the abnormal image.
Replace it with a new toner cartridge.
The imaging cartridge
may be defective.
Remove the imaging cartridge and
check for damage. If it is damaged,
replace it.
Lateral lines
or bands
appear on
image.
The machine is not
level.
Place the machine on a flat, hard, level
surface.
The media path is
dirty with toner.
Print several sheets and the excess
toner should disappear.
One or more of the
toner cartridges may
be defective.
Remove the toner cartridges and
check for damage. If it is damaged,
replace it.
The imaging cartridge
may be defective.
Remove the imaging cartridge and
check for damage. If it is damaged,
replace it.
Colors look
drastically
wrong.
One or more of the
toner cartridges may
be defective.
Remove the toner cartridges and verify
that the toner is distributed evenly on
each cartridge roller, and reinstall the
toner cartridges.
Symptom
Cause
Solution
Summary of Contents for MC160N
Page 1: ...User Guide Print Copy Scan Modes 59320401 my okidata com MC160n MFP...
Page 9: ...1Introduction...
Page 21: ...1Control Panel and Configuration Menu...
Page 40: ...40 Control Panel and Configuration Menu FAX RX OPERATION REPORTING SCAN SETTING...
Page 76: ...2Media Handling...
Page 91: ...91 Media Handling 6 Reattach the lid to Tray 2 7 Reinsert Tray 2 into the machine...
Page 101: ...2Using the Printer Driver...
Page 108: ...3Using the Copier...
Page 121: ...4Using the Scanner...
Page 150: ...150 Using the Scanner...
Page 151: ...5Replacing Consumables...
Page 174: ...174 Replacing Consumables...
Page 175: ...6Maintenance...
Page 199: ...7Troubleshooting...
Page 213: ...213 Troubleshooting Note Do not touch the wires and flat cable shown in the illustration...
Page 217: ...217 Troubleshooting 7 Load the media in Tray 2 and attach the lid 8 Reinsert Tray 2...
Page 218: ...218 Troubleshooting 9 Open and close the scanner unit to clear the missfeed message...
Page 222: ...222 Troubleshooting 3 Close the duplex cover...
Page 247: ...3Installing Accessories...
Page 260: ...Appendix...


