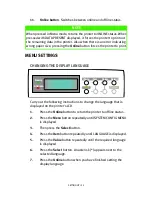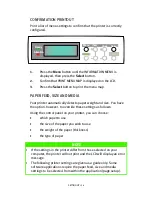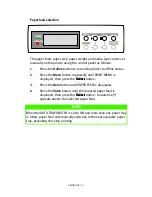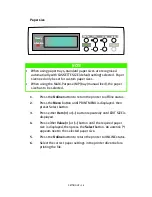
SETTING UP > 33
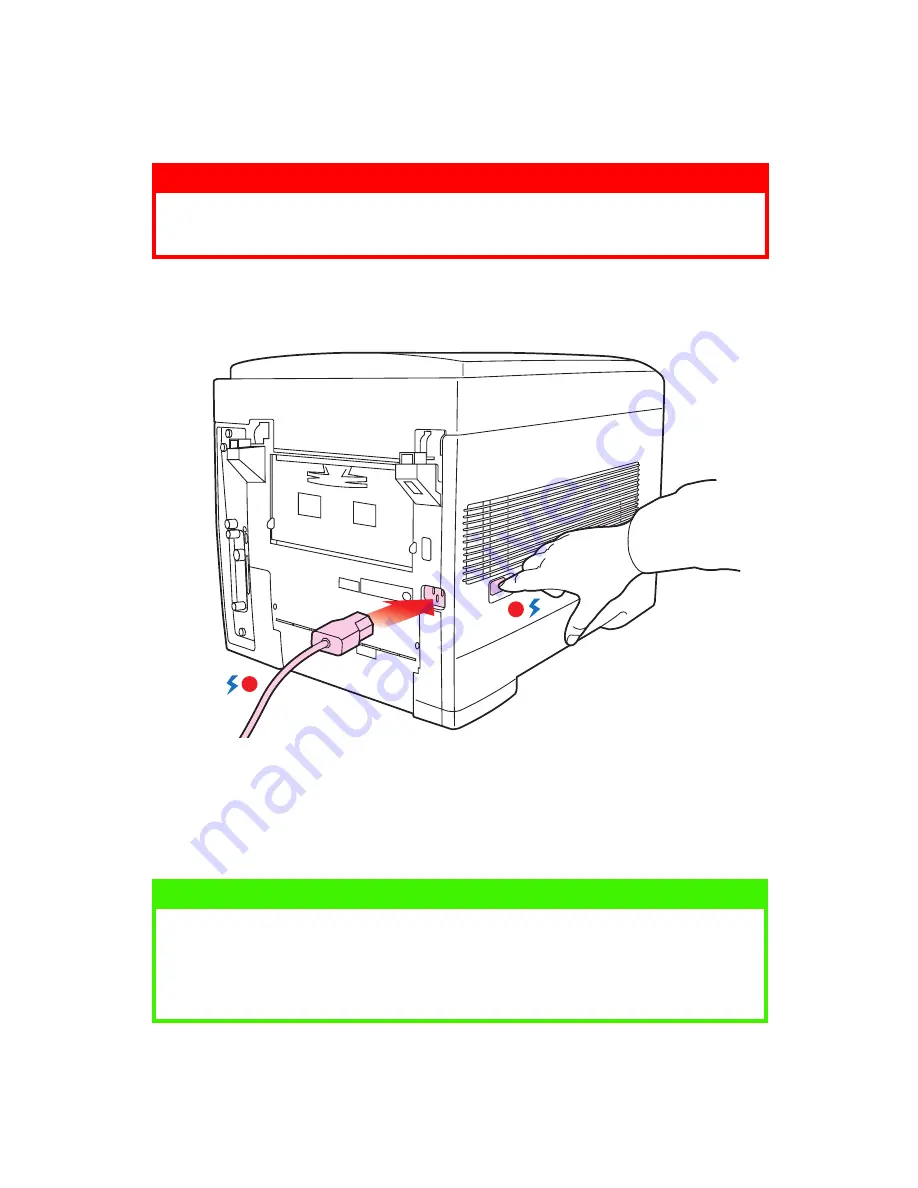
POWER CONNECTION
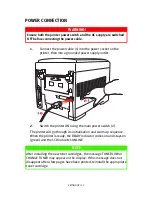
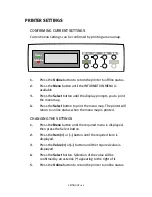
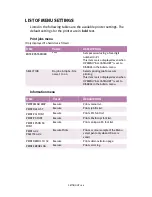
1.
Connect the power cable (1) into the power socket on the
printer, then into a grounded power supply outlet.
2.
Switch the printer ON using the main power switch (2).
The printer will go through its initialisation and warm up sequence.
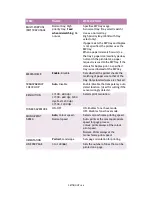
When the printer is ready, the READY indicator comes on and stays on
(green) and the LCD indicates ONLINE.
WARNING!
Ensure both the printer power switch and the AC supply are switched
OFF before connecting the power cable.
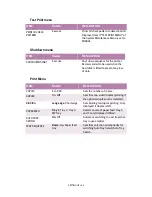
NOTE
After installing the new toner cartridges, the message TONER LOW or
CHANGE TONER may appear on the display. If this message does not
disappear after a few pages have been printed, reinstall the appropriate
toner cartridge.
1
2
Summary of Contents for C7300
Page 1: ...C7100 C7300 C7500 USER S GUIDE WINDOWS 2000 l ...
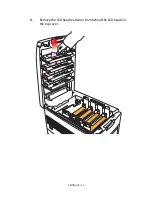
Page 20: ...SETTING UP 20 3 Remove the LED head restrainer from behind the LED heads in the top cover ...
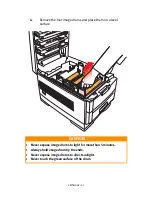
Page 22: ...SETTING UP 22 5 Remove the protective sheets from each of the four image drums ...
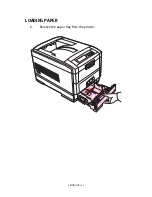
Page 27: ...SETTING UP 27 LOADING PAPER 1 Remove the paper tray from the printer ...
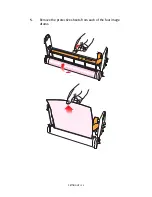
Page 158: ...MAINTENANCE 158 5 Remove the protective sheet from the new image drum ...

