MAINTENANCE > 166
2.
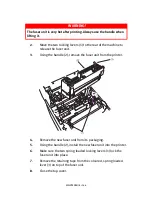
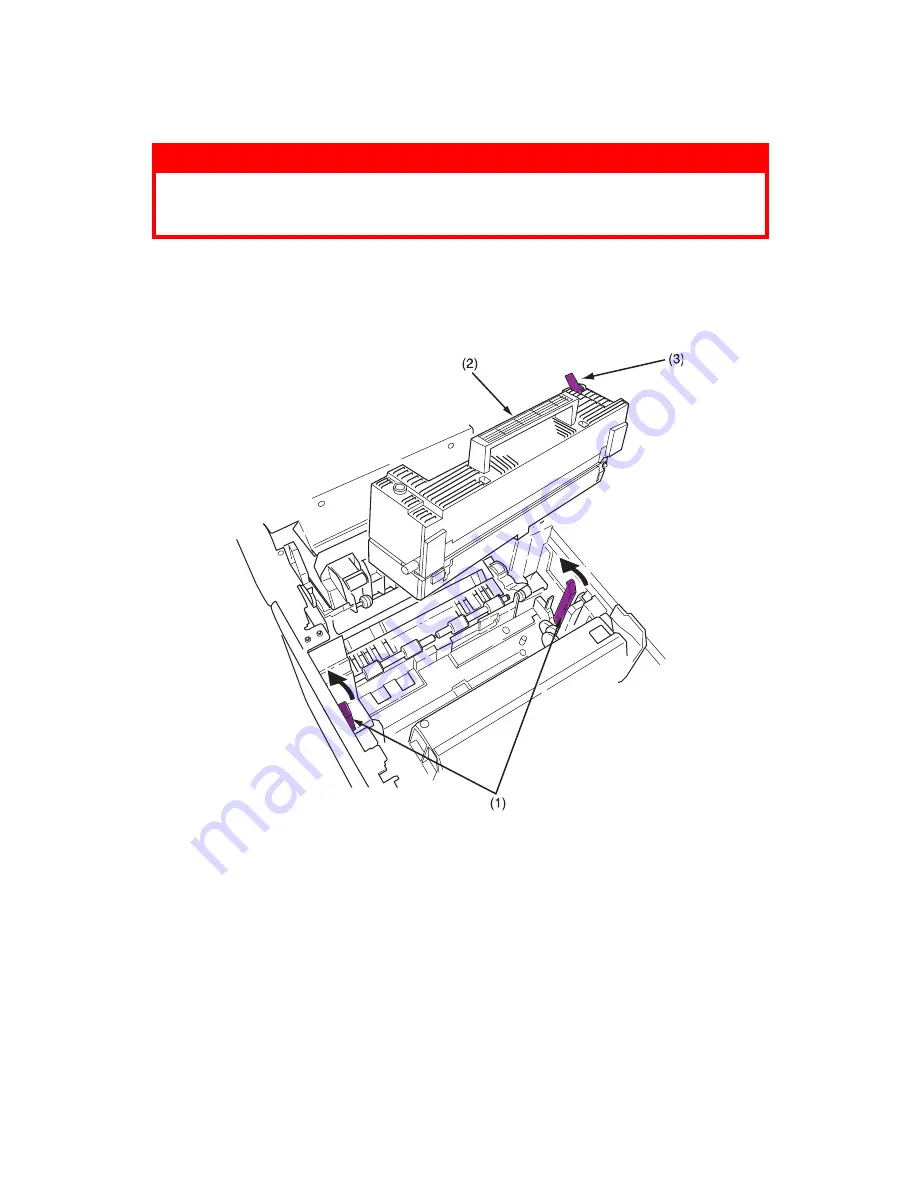
Move the two locking levers (1) to the rear of the machine to
release the fuser unit.
3.
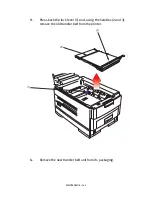
Using the handle (2), remove the fuser unit from the printer.
4.
Remove the new fuser unit from its packaging.
5.
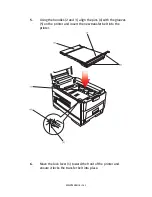
Using the handle (2), install the new fuser unit into the printer.
6.
Make sure the two spring loaded locking levers (1) lock the
fuser unit into place.
7.
Remove the retaining tape from the coloured, spring loaded
lever (3) on top of the fuser unit.
8.
Close the top cover.
WARNING!
The fuser unit is very hot after printing. Always use the handle when
lifting it.
Summary of Contents for C7300
Page 1: ...C7100 C7300 C7500 USER S GUIDE WINDOWS 2000 l ...
Page 20: ...SETTING UP 20 3 Remove the LED head restrainer from behind the LED heads in the top cover ...
Page 22: ...SETTING UP 22 5 Remove the protective sheets from each of the four image drums ...
Page 27: ...SETTING UP 27 LOADING PAPER 1 Remove the paper tray from the printer ...
Page 158: ...MAINTENANCE 158 5 Remove the protective sheet from the new image drum ...

