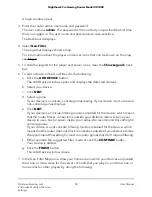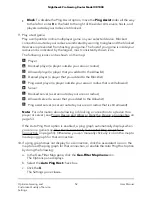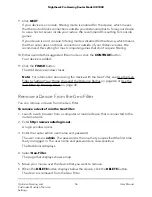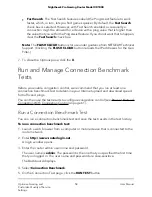
A login window opens.
3. Enter the router admin user name and password.
The user name is admin. The password is the one that you specified the first time
that you logged in. The user name and password are case-sensitive.
The Dashboard displays.
4. Select Geo-Filter.
The page that displays shows a map.
For information about the player and server icons that can be shown on the map,
see Step 9.
5. To hide the legend for the player and server icons, clear the Show Legend check
box.
6. To add a device to the Geo Filter, do the following:
a. Click the ADD DEVICE button.
The Add Device window opens and displays the detected devices.
b. Select your device.
c. Click NEXT.
d. Select a game.
If your device is a console, console games display. If your device is not a console,
non-console games displays.
e. Click NEXT.
If your device is a console, filtering mode is enabled for the device, which means
that the router blocks connections outside your distance radius to force your
device to use a host or server inside your radius. We recommend this setting for
console games.
If your device is a not console, filtering mode is disabled for the device, which
means that the router does not block connections outside of your distance radius.
We recommend this setting for most computer games that don’t require filtering.
f. Either override the suggested filter mode or click the CONTINUE button.
Your device is added.
g. Click the FINISH button.
The Add Device window closes.
7. In the Geo-Filter Map pane, draw your home area in which your devices are located,
draw one or more areas for the servers or hosts that you play on, and draw one or
more areas for other players by doing the following:
User Manual
50
Optimize Gaming and
Customize Quality of Service
Settings
Nighthawk Pro Gaming Router Model XR1000

