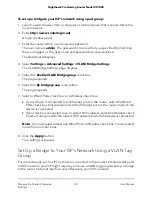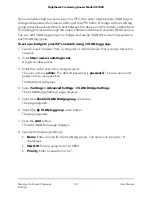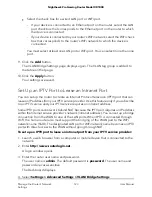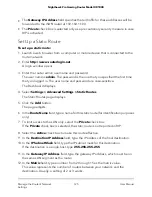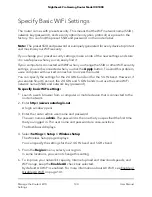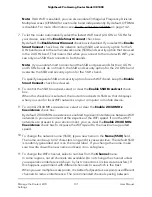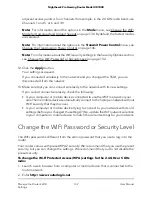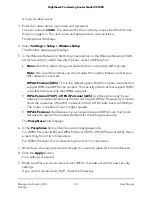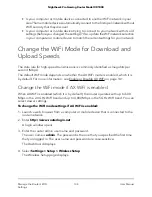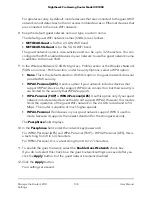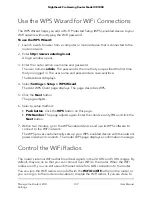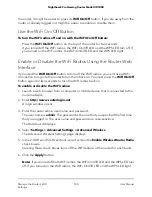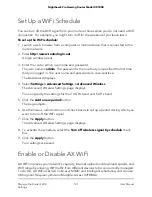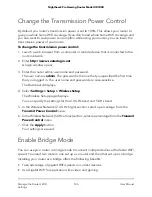
A login window opens.
3. Enter the router admin user name and password.
The user name is admin. The password is the one that you specified the first time
that you logged in. The user name and password are case-sensitive.
The Dashboard displays.
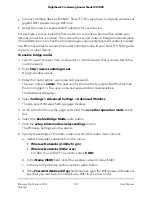
4. Select Settings > Setup > Wireless Setup.
The Wireless Setup page displays.
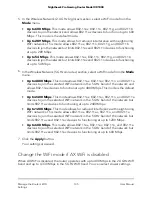
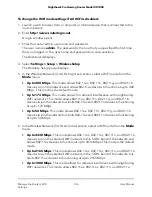
5. In the Wireless Network (2.4GHz b/g/n/ax) section or the Wireless Network (5GHz
a/n/ac/ax) section, under Security Options, select a WPA option:
•
None. With this option, the guest network does not provide WiFi security.
Note: We recommend that you do not select this option. Make sure that your
WiFi network is secured.
WPA2-Personal [AES]. This is the default option. With this option, devices that
support WPA2 and WPA3 can connect. The security of devices that support WPA3
is limited to the security that WPA2 supports.
•
WPA-Personal [TKIP] + WPA2-Personal [AES]. Use this option only if your
network includes older devices that do not support WPA2. However, this modes
limits the operation of the WiFi network in the 2.4 GHz radio band to 54 Mbps.
The router is capable of much higher speeds.
•
WPA3-Personal. If all devices in your network support WPA3, use this mode
because it supports the newest standard for the strongest security.
The Passphrase field displays.
6. In the Passphrase field, enter the network key (password).
For WPA2-Personal [AES] and WPA-Personal [TKIP] + WPA2-Personal [AES], this is
a text string from 8 to 63 characters.
For WPA3-Personal, this is a text string from 8 to 127 characters.
7. Write down the new password and keep it in a secure place for future reference.
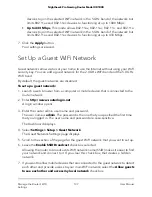
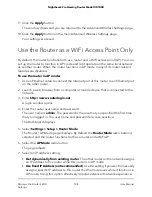
8. Click the Apply button.
Your settings are saved.
9. Make sure that you can reconnect over WiFi to the network with its new security
settings.
If you cannot connect over WiFi, check the following:
User Manual
133
Manage the Router’s WiFi
Settings
Nighthawk Pro Gaming Router Model XR1000


