NETAVIS Observer 4.6 User Manual (October 2015)
Page 88 of 204
2.
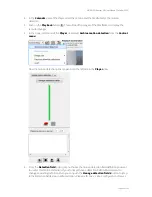
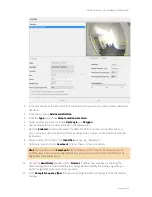
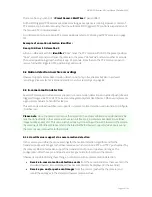
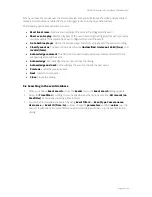
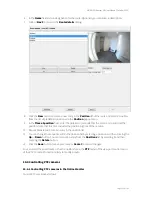
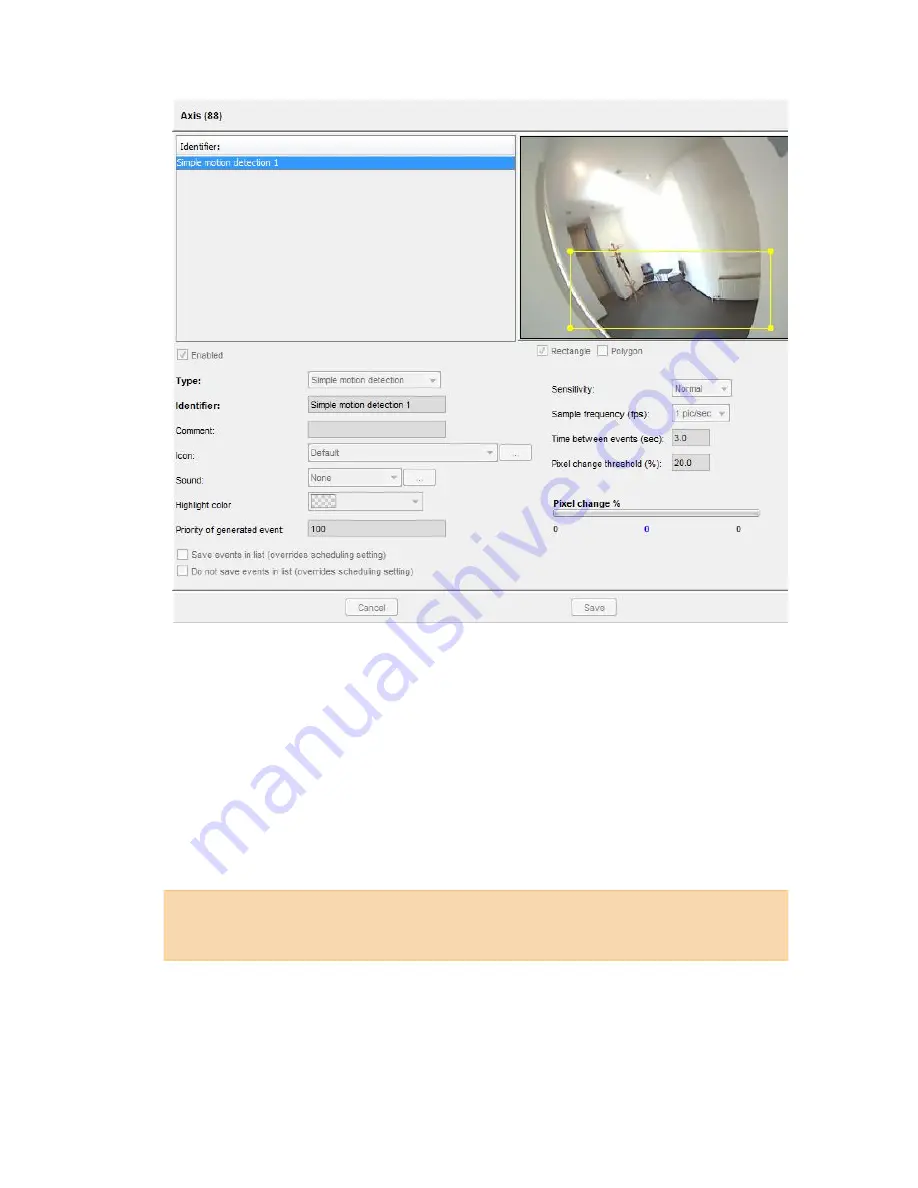
In the camera tree at the left, select the camera for which you want to create a motion detection
definition.
3.
In the menu choose
Add new definition
.
4.
From the
Type
menu chose
Simple motion detection
.
5.
Select whether you want to create a
Rectangle
or a
Polygon
.
6.
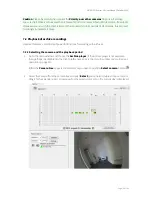
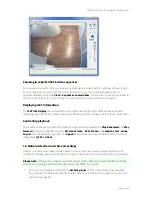
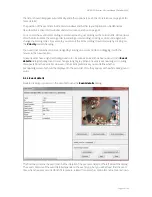
Use the mouse to draw a detection field in the preview area.
7.
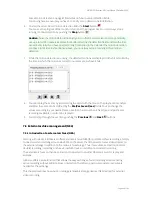
Mark the
Enabled
checkbox, otherwise the detection field is inactive and no detection can
occur. Actually, a detection field must also be assigned to an active motion detection schedule
(see below).
8.
Assign a name for the field in the
Identifier
text box, e.g. “Movement”.
9.
Optionally, you can enter a
Comment
which is shown in the event details.
Hint
: You can also use the
Comment
field to configure certain views to be shown to one or
multiple users when a motion is detected. See
6.10 Dynamic View Control in Online Monitor
on
page 64 for more information.
10.
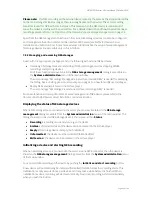
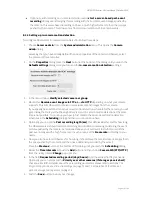
Usually the
Sensitivity
should be left at
Normal
. It defines how sensitive (or tolerant) the
detection algorithm is when detecting the change of pixels. Modify the setting only when you
want the algorithm to be more or less sensitive.
11.
In the
Sample frequency (fps)
field you can specify how often the image is to be checked for
changes.

