NETAVIS Observer 4.6 User Manual (October 2015)
Page 41 of 204
4.
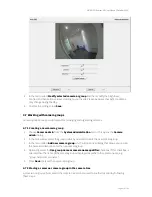
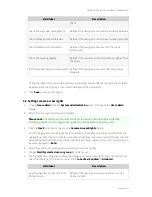
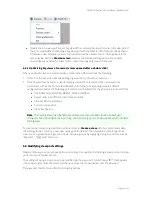
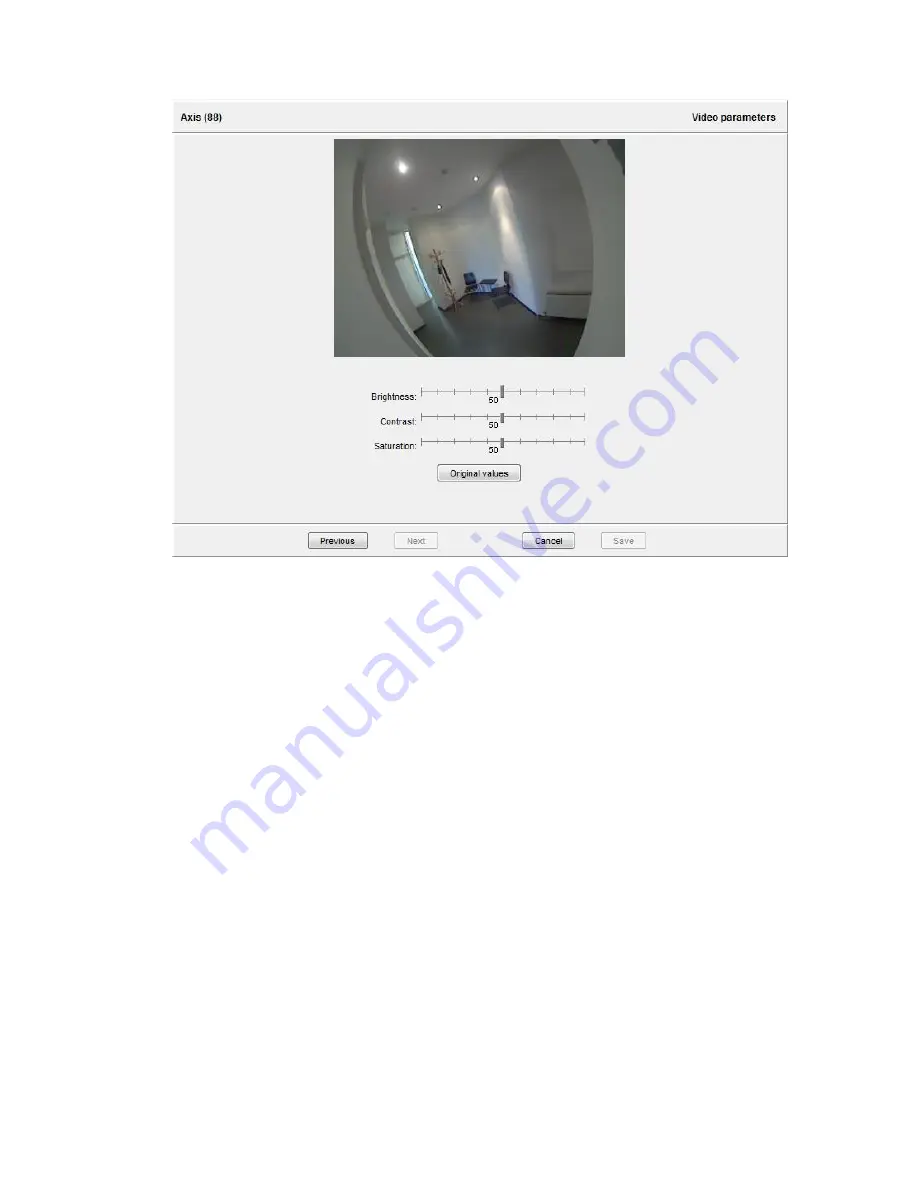
In the menu select
Modify selected camera or group
and then modify the brightness,
Contrast and Saturation values according to your needs. Please be aware that light conditions
may change during the day.
5.
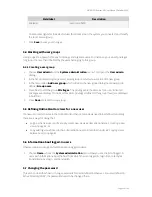
To store the settings press
Save
.
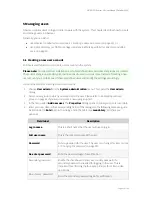
4.7 Working with camera groups
Camera groups are a powerful means for managing and organizing cameras.
4.7.1 Creating a new camera group
1.
Choose
Camera admin
from the
System administration
menu. This opens the
Camera
admin
dialog.
2.
In the camera tree select the group in which you want to create the new camera group.
3.
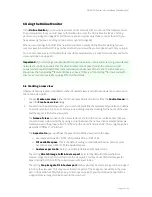
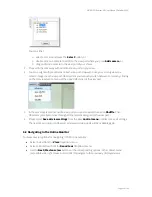
In the menu select
Add new camera group
which will open new dialog that allows you to enter
the name and description for the new camera group.
4.
Optionally select the
Use group name as camera name qualifier
checkbox. If this checkbox is
selected then the name of the camera group is displayed as prefix to the camera name, e.g.
“group-name:camera-name”.
5.
Press
Save
to create the new camera group.
4.7.2 Moving a camera or camera group in the camera tree
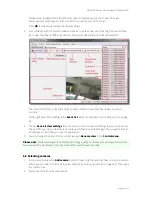
A camera or a group of cameras in the camera tree can be moved to another location by following
these steps:


