NETAVIS Observer 4.6 User Manual (October 2015)
Page 80 of 204
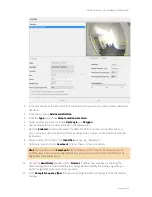
7.2.8 Protection of recordings against automatic deletion
Normally Observer automatically deletes recordings that are older than the
Requested recording
period
in order to free space for new recordings. For cases where you want to keep certain scenes
longer than the requested recording period you can protect arbitrary periods against automatic
deletion. Here is how you can do that:
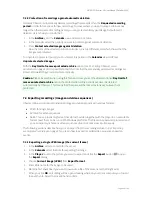
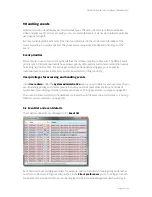
1.
In the
Archive
go to the
Calendar
view and select a camera.
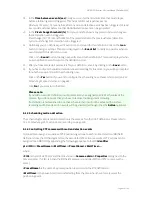
2.
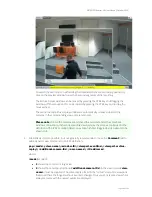
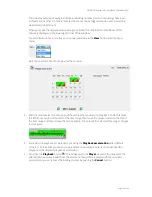
In the calendar select the period you want to protect against automatic deletion.
3.
Press
Protect selected images against deletion
.
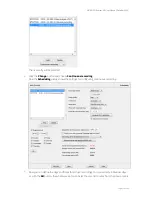
Now the color of the selected period in calendar turns to a different color which shows that the
images are protected.
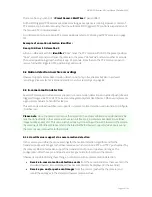
To unprotect a protected period you must select this period in the
Calendar
view and Press
Unprotect selected images
.
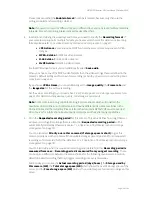
With the
Day limit of remove protected archive
option (see
11.2 Setting Observer server
parameters
on page 110) it is possible to limit the time that these manually protected recordings are
stored. Afterwards they are deleted automatically.
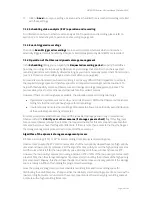
Caution
: Please be careful when using this feature. Unless you set the aforementioned
Day limit of
remove protected archive
option the protected recording periods will never be deleted
automatically by Observer. This means that the space will be locked as long as you keep them
protected.
7.3 Exporting recordings (images and video sequences)
Observer allows you to export individual images and video sequences in various formats:
JPEG: for single images
AVI DivX: for video sequences
SAFE: This is a proprietary format that stores the video together with the player in an executable
format (.exe) that can be run on MS Windows platforms. The file can be password protected and
you can export synchronous video sequences of up to 16 cameras simultaneously.
The following sections describe how you can export from the recording archive. In
9.2.2 Exporting
event-related recordings
on page 97 you learn how to export recorded video sequences based on
events.
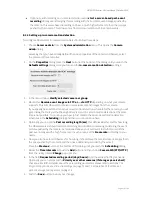
7.3.1 Exporting a single JPEG image (the current frame)
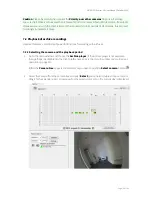
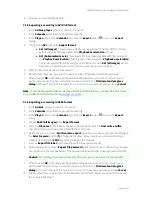
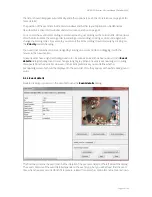
1.
In the
Archive
, select a camera for the export.
2.
In the
Calendar
select the time for exporting the image.
3.
In the
Player
move to the picture you want to export and click the
Export
button to open
the
Export
dialog.
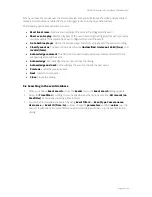
4.
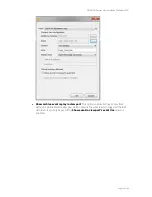
Choose
Current image (JPEG)
from
Export format
.
5.
Enter a file name for the image to be saved.
6.
Mark the first checkbox if you want to overwrite a file of the same name that might exist.
7.
When you click
OK
a file dialog will be opened asking where on your client computer you to want
to save the file. Select the location and confirm.


