NETAVIS Observer 4.6 User Manual (October 2015)
Page 129 of 204
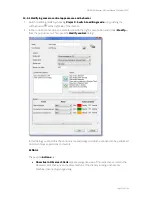
3.
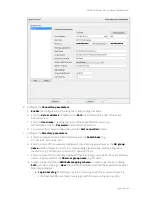
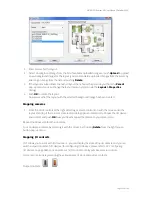
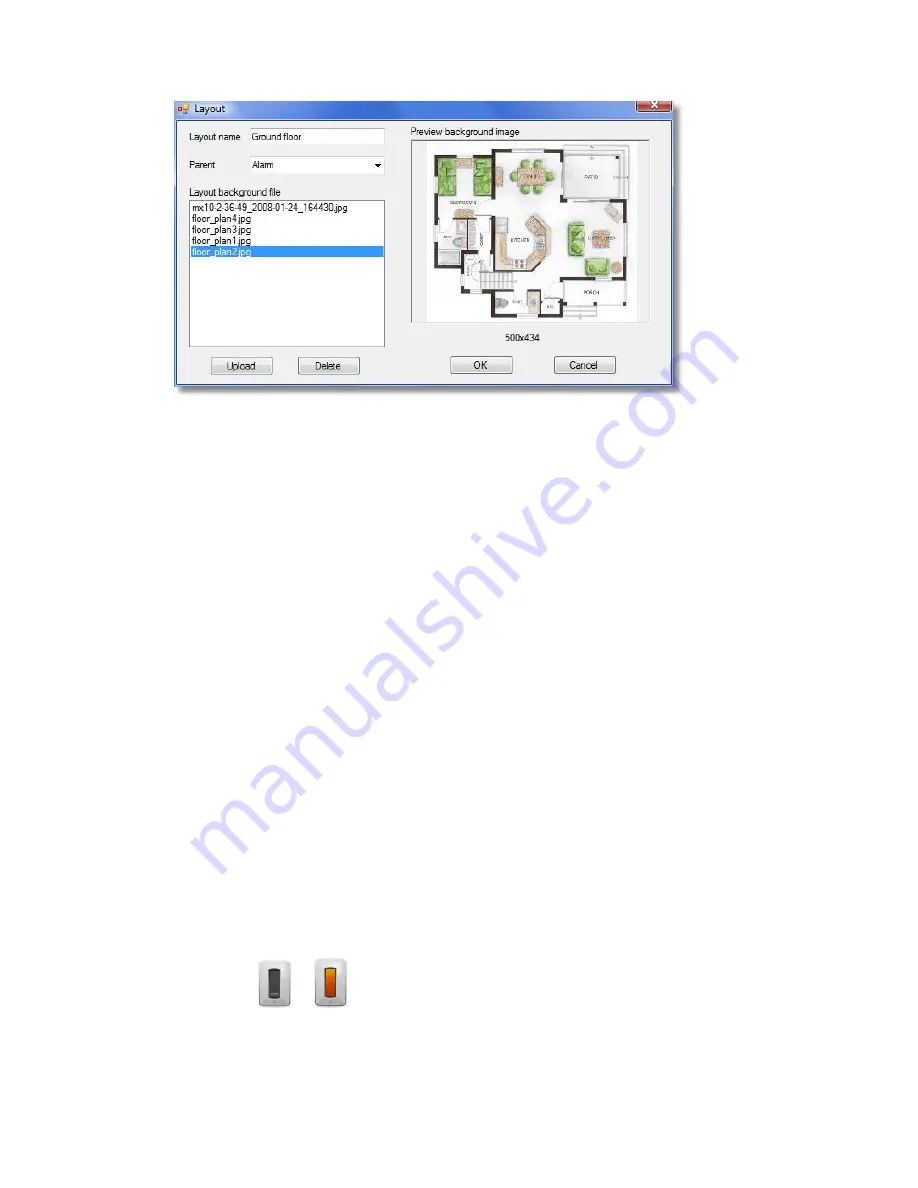
Enter a name for the layout.
4.
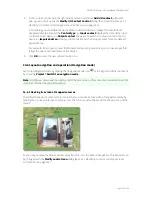
Select a background image from the list of available uploaded images or push
Upload
to upload
a new background image for the layout (you can also delete uploaded images from the server by
selecting an image from the list and pushing
Delete
).
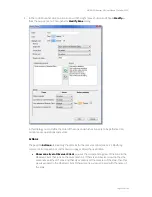
5.
If the layout is subordinate to another layout then choose the parent layout from the
Parent
pop-up menu (you can change the layout hierarchy later on via the
Layout > Properties
dialog).
6.
Push
OK
to create the layout.
Now you see that the layout with the selected background image has been created.
Mapping cameras
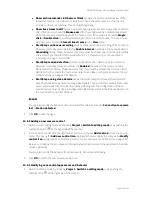
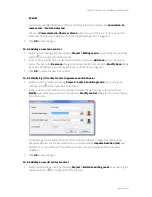
1.
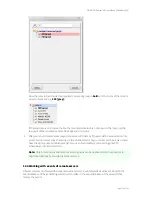
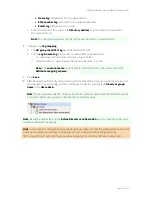
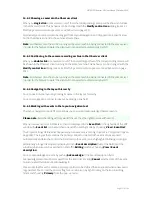
From the list of controls at the right side drag a camera control icon with the mouse onto the
layout and drop it there. A camera selection dialog opens automatically. Choose the I/O device
and contact and push
OK
. Now you have mapped the camera to your camera icon.
Repeat the above step for other cameras.
You can delete a camera by selecting it with the mouse by choosing
Delete
from the right mouse
button pop-up menu.
Mapping I/O contacts
LNT allows you to work with I/O devices, i.e. you can display the state of input contacts and you can
switch output contacts of I/O devices (for configuring I/O devices, please refer to
20.7 Configuring
I/O devices
on page 188). You can place such I/O controls onto layouts like camera controls.
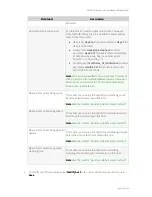
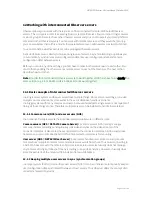
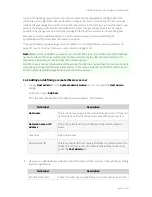
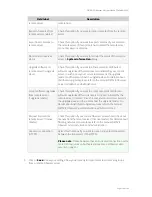
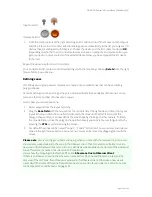
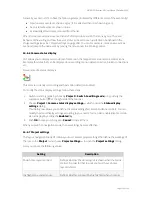
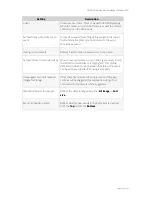
Here are some icons representing the various states of input and output contacts:
Output contacts:

