NETAVIS Observer 4.6 User Manual (October 2015)
Page 81 of 204
8.
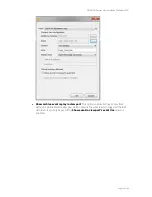
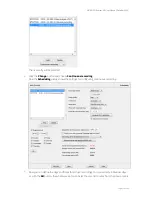
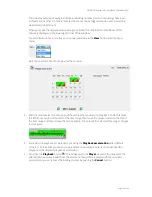
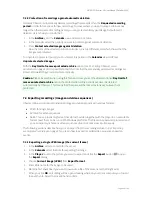
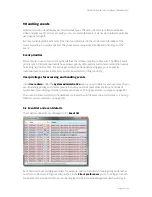
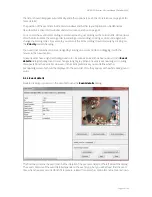
Now you can use the exported file.
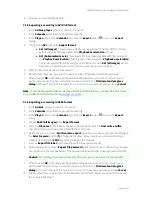
7.3.2 Exporting a recording in AVI DivX format
1.
In the
Archive player
, select a camera for the export.
2.
In the
Calendar
select the time period for exporting.
3.
In the
Player
view or in the
Calendar
view click the
Export
button to open the
Export
dialog.
4.
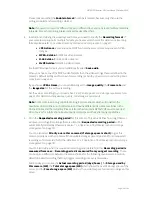
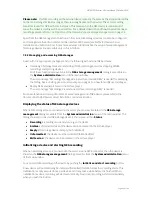
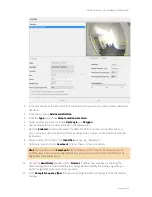
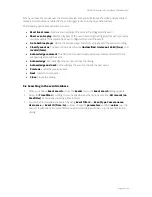
You have two
AVI
options for
Export format
:
AVI (all images)
: This exports a video sequence with all the frames of the currently
selected time frame (regardless of the
Playback acceleration
setting).
AVI (Subsampled movie)
: This exports the time-lapse playback with the settings of
the
Playback acceleration
slider. E.g. if you have selected a
Playback acceleration
of 3, your exported file will be roughly a third of the size of an
AVI (all images)
export.
See also
7.2.1 Selecting the camera and the playback period
on page 75.
5.
Enter the file name of video to be exported.
6.
Mark the first checkbox if you want to overwrite a file of the same name that might exist.
7.
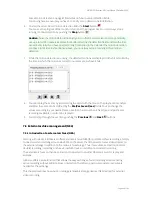
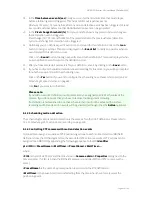
When you click
OK
, a file dialog will be opened asking where on your client computer you to
want to save the file. Once you select the location and confirm, a
File download progress
dialog
will show the state of the export. You can cancel the export anytime by pushing
Cancel
.
Note
: To play back exported video sequences with Microsoft Media Player, you need the DivX codec.
You can download this for free from
www.divx.com/divx
.
7.3.3 Exporting a recording in SAFE format
1.
In the
Archive
, select a camera for the export.
2.
In the
Calendar
select the time period for exporting.
3.
In the
Player
view or in the
Calendar
view click the
Export
button to open the
Export
dialog.
4.
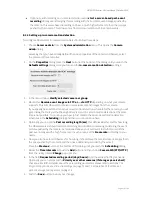
Choose
SAFE (All images)
from
Export format
.
5.
Enter the
Filename
for the video sequence to be exported. Check the
Overwrite old file
checkbox if you want to overwrite a file with the same name.
6.
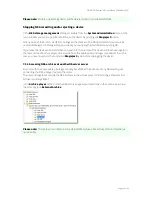
Optionally you can create a
Multi camera export
(synchronous video sequences) by clicking on
the
Select camera
button . This opens the camera tree in which you can select multiple
cameras by holding the
CTRL
key while clicking on the cameras.
7.
Enter an
Export file label
which should describe the exported scenes.
8.
Optionally you may enter an
Export file password
(which needs to be confirmed by entering it
a second time in the text box below). This password is required when opening the exported file.
Caution
: Do not forget this password because otherwise you cannot open the exported file.
9.
When you click
OK
, a file dialog will be opened asking where on your client computer you to
want to save the file. Once you select the location and confirm, a
File download progress
dialog
will show the state of the export. You can cancel the export anytime by clicking
Cancel
.
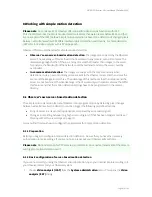
10.
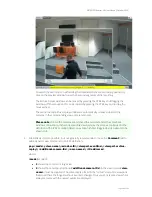
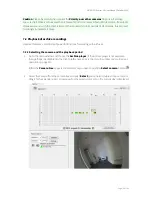
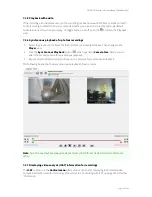
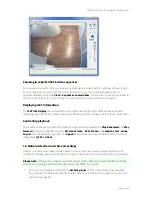
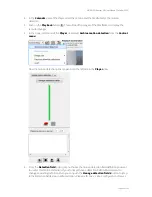
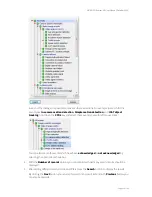
The exported file is an executable for MS Windows 8/7/Vista/XP. Below you can find a screen of
the running SAFE Player:

