NETAVIS Observer 4.6 User Manual (October 2015)
Page 128 of 204
Define the hierarchy and map your cameras
In the next subsections we will cover the above topics.
14.4.1 Planning your layout hierarchy
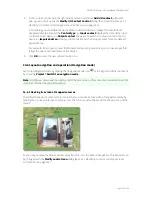
Before you create a project and start to upload graphics images for your layouts it makes sense to plan
the layout hierarchy. For example, if your Observer system covers a building then you could have an
overview layout image for the building and then separate subordinate layout images for each floor.
For an even bigger setup: If your Observer system covers a whole area with several office or plant
buildings then you could have an overview layout image for the whole area and subordinate layout
images for each of the buildings and additional images for the parking lots, driveways, fence sectors,
etc. Each of the building layouts then in turn could have subordinate layout images for parts of the
building like each of the floors. Each of the floors could additionally have subordinate layouts for parts
of the floor or even for each of the rooms. Thus you can create hierarchies at arbitrary levels of detail.
14.4.2 Switching to editing mode and creating a project
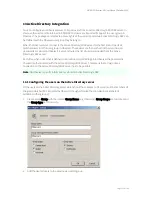
1.
Switch to editing mode by choosing
Project > Switch to editing mode
or by pushing the
editing button at the right side of the tool bar.
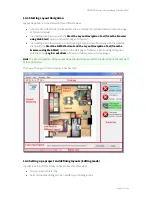
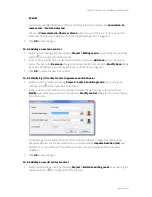
In editing mode the LNT window now has added a new control icon list.
2.
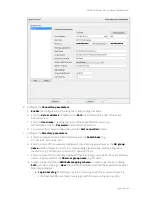
Create a new project by choosing
Project > New project
and then enter a name of the new
project in the newly opened dialog. Push
OK
. Now you start to upload background images for
your layouts.
14.4.3 Creating layouts and mapping cameras, I/O contacts, and zones
After you planned your layout hierarchy you have to select appropriate images for the various layouts.
The layout navigation tool supports popular image graphics file formats like GIF, JPEG, PNG, etc.
Depending on your needs and the available screen resolution for the layout navigation you have to
choose the size (in pixels) for your images. Please keep in mind that the LNT also supports image
scaling to fit the available space.
Please note:
Each image's file size is limited to 2MB. For performance reasons it is recommended to
use JPEG and PNG files and keep their sizes small.
Creating a new layout
To create a new layout, follow these steps:
1.
In the layout navigation tool (LNT) switch to customizing mode by choosing
Project > Switch
to editing mode
or by pushing the editing mode button at the right side of the tool bar.
2.
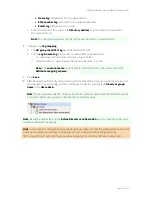
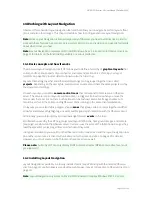
In the
Layout
menu choose
New…
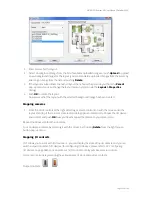
, which opens the
Layout
dialog:

