NETAVIS Observer 4.6 User Manual (October 2015)
Page 130 of 204
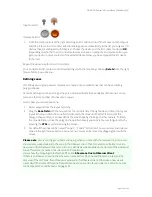
Input contacts:
Impulse button:
1.
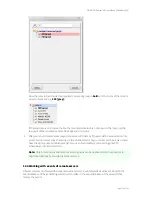
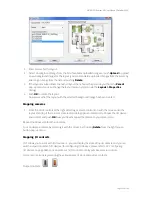
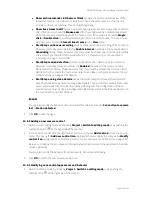
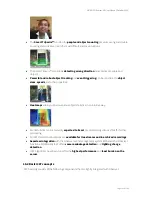
From the list of controls at the right side drag an I/O control icon with the mouse onto the layout
and drop it there. An I/O contact selection dialog opens automatically. In the list you only see I/O
devices that are configured with Observer. Choose the device and the I/O contact and press
OK
(depending on whether the I/O control represents an input, an output or an impulse button, you
get only input or output contacts of the selected device). Now you have mapped the I/O device
to the icon.
Repeat the above step for other I/O contacts.
You can delete an I/O contact control by selecting it with the mouse by choosing
Delete
from the right
mouse button pop-up menu.
Defining zones
LNT allows you to group several cameras on a layout into so called zones that can have arbitrary
polygon shapes.
Cameras belong to a zone as long as they are positioned inside the boundaries of the zone. You can
place an arbitrary number of zones onto a layout.
Here is how you can create a zone:
1.
Select a layout from the layout hierarchy.
2.
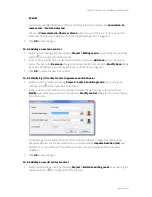
Drag the
Zone field
with the mouse from the controls list at the right side and drop it onto your
layout. Where you drop the zone field control with the mouse will be the first corner of the
polygon shape and you can now define the zone shape by clicking at further corners. To finish
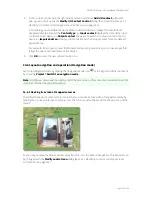
the zone definition, close the polygon shape. Alternatively you can create a rectangular zone by
pressing the
CTRL
key while moving the mouse.
3.
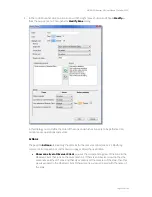
Per default the zones will be named “Zone-1”, “Zone-2” and so on. You can rename and delete a
zone via the right mouse button pop-up menu. Zones can be moved by dragging them with the
mouse.
Please note
: A zone can trigger certain actions, e.g. when you click with the mouse on it, a zone can
show all cameras belonging to the zone in the Observer client. This, for example, will either create a
new view in the Observer client or map it to an existing view depending on the names of the views and
zones. Therefore the name of a zone can be of importance.
Here is how the mapping works for the LNT action
Show zone live in Observer Client
:
If there is an Observer view that has the same name as the LNT zone and that also contains all the
cameras of the LNT zone, then this view is exposed in the Observer client. Otherwise a new view is
created with the name of the zone. Details for zone actions can be found under
14.5.3 Modifying zone
control appearance and behavior
on page 133.

