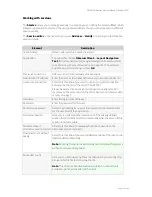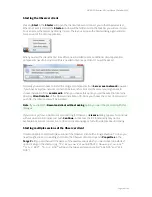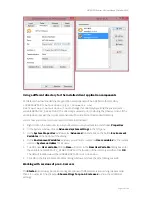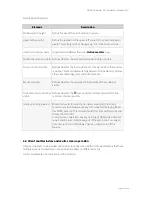
NETAVIS Observer 4.6 User Manual (October 2015)
Page 22 of 204
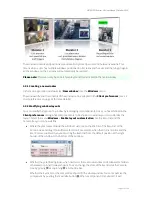
occupy the whole space of the window and will automatically resize when you resize the
window. Thus you can create a window that contains only an Event list.
After you are done with the modifications deselect
Windows
->
Enable layout customization
.
The default location for the Event list is the right window border and for the Camera tree (that usually
only pops up when needed) it is the left window border.
Note:
Only the Event list and the Camera tree can be dragged. The other components in the window
will then change their size accordingly.
2.4.3 Positioning a window on a specific screen
Positioning a window on a specific screen is very easy: Use the mouse to drag the window to the
desired screen and drop it there. You can also maximize the window on the screen.
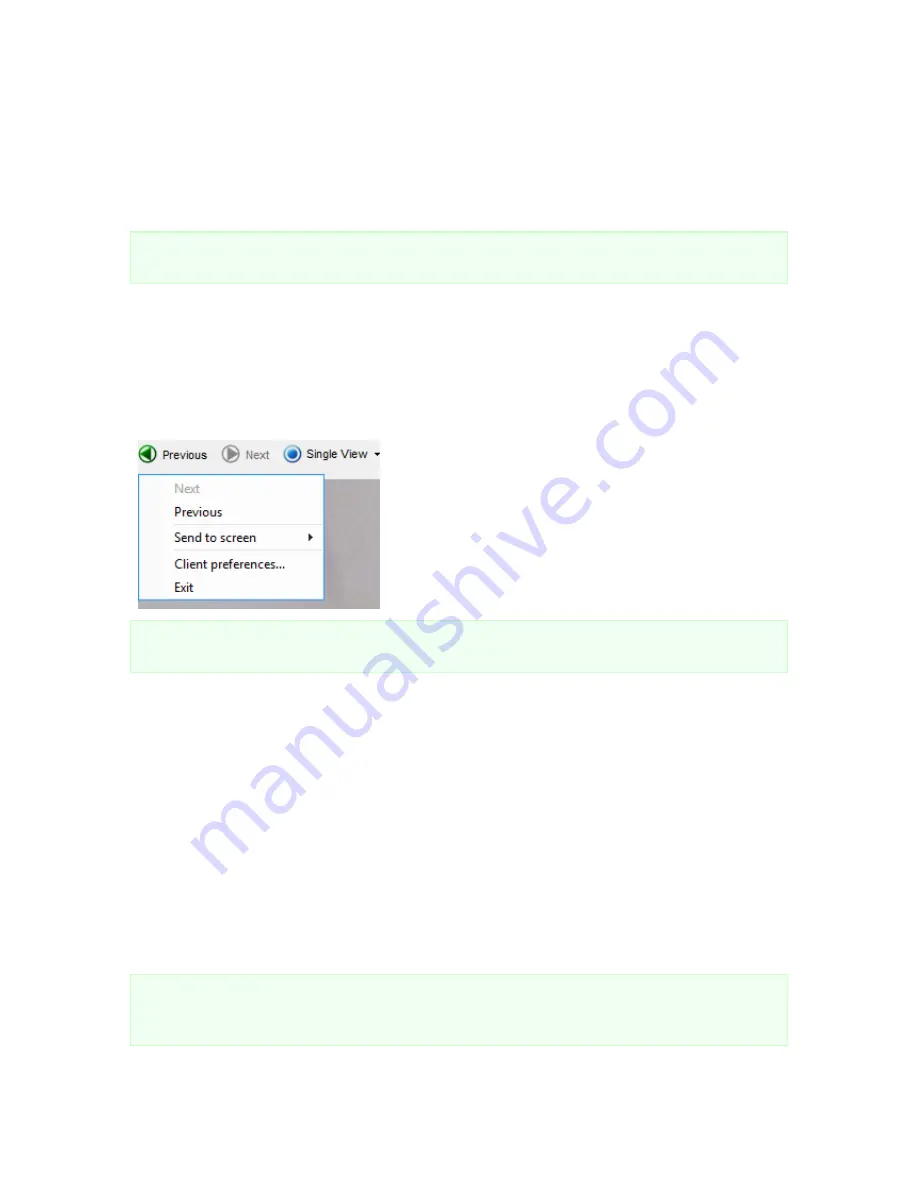
When a window is configured to be in full screen mode (and therefore drag and drop is not possible)
there is a
Send to screen
option in the context menu (accessible via a right mouse button click).
Note:
See
2.5 Client preferences
on page 22 for information on how to enable full screen mode for a
window.
All the window states will be remembered between sessions. This happens on a per-user basis, which
means when the user logs in on a different client workstation the same window setup as on the first
client workstation will be shown.
2.4.4 Deleting a window
In the main application window select
Delete window...
from the
Windows
menu. A
Delete
window
dialog will open, offering you the list of windows available for deletion.
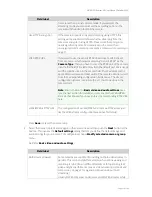
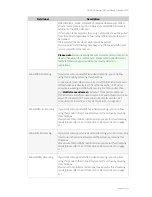
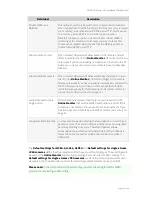
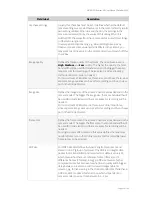
2.5 Client preferences
The Observer client offers many configuration options which can be adjusted via the
Client
preferences
accessible via the
Observer
menu or the right mouse click menu in the main
application window.
Note
: Depending on the authorization that your Observer administrator has assigned to you, some of
the client components could be disabled (menu shown in grey color). If you need more authorization,
please contact your local Observer administrator.

