NETAVIS Observer 4.6 User Manual (October 2015)
Page 101 of 204
10 Working with PTZ cameras
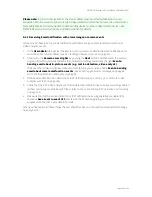
Observer features the control of PTZ cameras (pan/tilt/zoom).
Note
: To configure and work with PTZ cameras, you need the corresponding user privileges and
camera access rights (see
5.2 Setting general user privileges
on page 45 and
5.3 Setting camera access
rights
on page 48). If you find that you do not have the authorizations you need, please contact your
Observer administrator.
10.1 Setting up a PTZ camera
Setting up a PTZ camera is the same procedure as setting up a camera without PTZ functionality (
4
Setting up cameras
on page 31).
The user must possess the user-specific camera authorizations (see
5.3 Setting camera access rights
on
page 48) to permit PTZ access.
10.2 Defining fixed PTZ positions
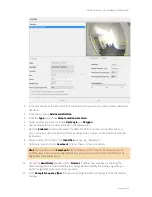
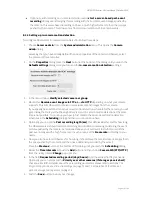
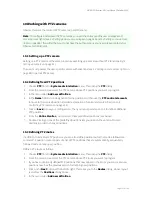
1.
Choose
PTZ
from the
System administration
menu. This opens the
PTZ
dialog.
2.
From the camera tree, select the PTZ camera whose PTZ positions you want to program.
3.
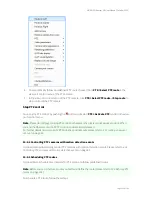
In the menu select
Add new definition
.
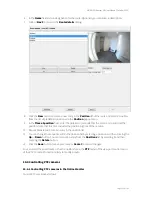
4.
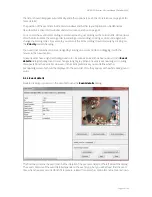
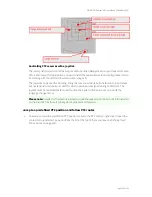
In the
Name
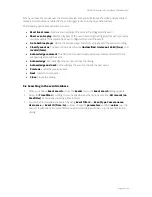
field enter a designation for the position and then use the
PTZ control elements
to move to the desired position (detailed explanation of control elements in Section
10.4
Controlling PTZ cameras
on page 102):
5.
Click on
Save
to save your configuration. Then you can repeat steps 3 to 5 to define additional
PTZ positions.
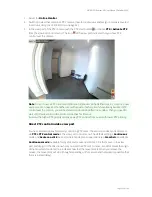
6.
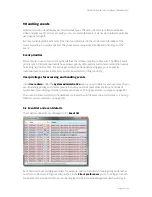
From the
Online Monitor
you can select these predefined positions (see below).
7.
Double-clicking on one of the predefined positions lets you position the camera. Proceed
similarly in order to change positions.
10.3 Defining PTZ routes
In addition to individual PTZ positions, you can also define position routes that can be followed on
command. A position route consists of a list of PTZ positions that are automatically, sequentially
followed and a duration per position.
Define a PTZ route as follows:
1.
Choose
PTZ
from the
System administration
menu. This opens the
PTZ
dialog.
2.
From the camera tree, select the PTZ camera whose PTZ route you want to program.
3.
If you have not already defined PTZ positions that now appear in the list, or you can create new
positions now. See the previous section for defining new positions.
4.
Click on the
Next
button at the bottom right. This takes you to the
Routes
dialog, whose layout
resembles the
Positions
dialog above.
5.
In the menu select
Add new definition
.

