Troubleshooting 7-23
COLLECTING THE MEMORY DUMP
If a failure occurs, the memory data should be dumped to acquire the required information. If you
stored the dump data in a DAT, label it so as to indicate the software (e.g. NTBackup) you used for
storing it. You may save the diagnosis data to a desired destination.
IMPORTANT:
Consult with your sales agent before dumping the memory. Executing memory dumping
while the server is in the normal operation may affect the system operation.
Restarting the system due to an error may display a message indicating insufficient virtual
memory. Ignore this message and proceed. Restarting the system again may result in
dumping improper data.
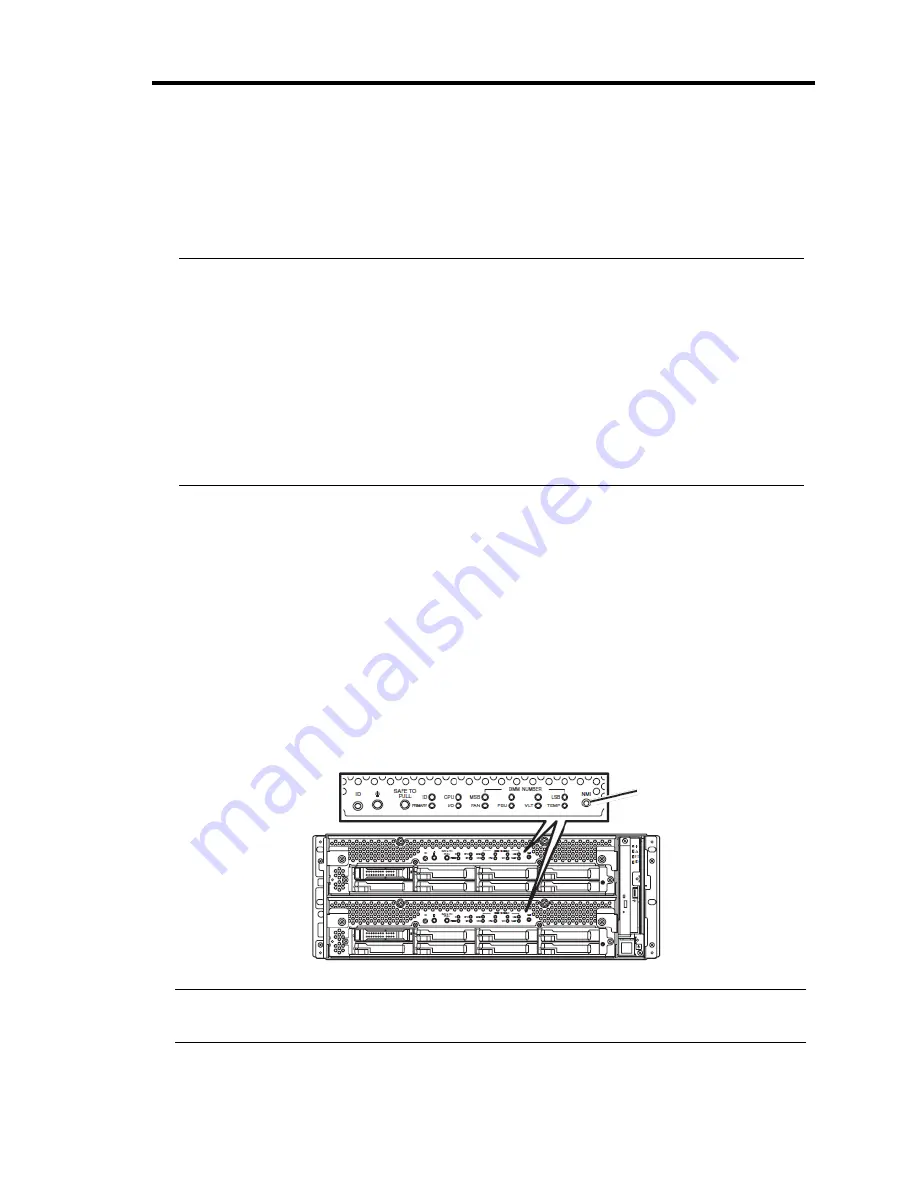
Press the DUMP switch on the primary CPU/IO module, whose POWER LED has been
blinking, for four to eight seconds. Use something sharp, such as curved clips to press the
DUMP switch on CPU/IO module 1.
Preparing to collect Memory Dump
Memory dumping with the DUMP switch may disable the server to restart. In such a case, it is
required to force the server to shut down.
Saving Dump Files
Press the DUMP (NMI) switch on the primary CPU/IO module to save the dump file when an error
occurs. Insert something sharp-pointed like a pen into the switch hole to press the DUMP switch.
Pressing the DUMP switch saves the dump file in the specified directory. (Memory dumping may
not be available when the CPU stalls.)
IMPORTANT:
Do not use a toothpick or plastic stick that is easy to break.
DUMP (NMI) switch
Summary of Contents for N8800-162F
Page 10: ...this page is intentionally left blank...
Page 43: ...General Description 2 7 Front View With front bezel attached With front bezel removed...
Page 46: ...2 10 General Description Rear View R320a E4 R320b M4...
Page 90: ...3 22 Linux Setup and Operation This page is intentionally left blank...
Page 107: ...System Configuration 4 17 Security Move the cursor onto Security to display the Security menu...
Page 124: ...4 34 System Configuration Exit Move the cursor onto Exit to display the Exit menu...
Page 136: ...4 46 System Configuration This page is intentionally left blank...
Page 212: ...6 16 Maintenance This page is intentionally left blank...
Page 236: ...7 24 Troubleshooting This page is intentionally left blank...
Page 267: ...System Upgrade 8 31 PCI 2 PCI 1 R320a E4 R320b M4 PCI 2 PCI 1 PCI 4 PCI 3 Riser Card...


