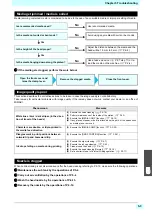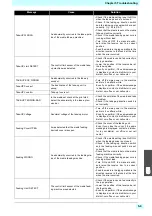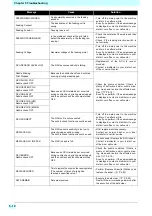
4-21
4
2
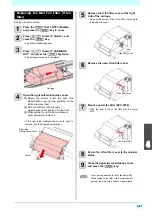
Replacing the Mist Fan Filter (H fan
filter)
Replace it once a month.
1
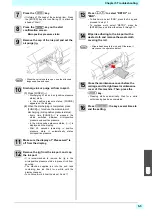
Press the
(TEST PRINT/CLEANING)
,
and press the
key in Local.
2
Press
to select “Station”, and
press the
key.
• The Station MENU appears.
3
Press
to select “CARRIAGE
OUT”, and press the
key twice.
• The carriage moves onto the platen.
4
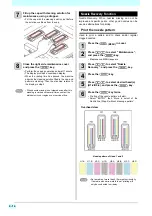
Open the right side maintenance cover.
(1)
Rotate the screws under the right side
maintenance cover (for two positions) to the
left and remove them.
(2)
Hold the bottom of the right side
maintenance cover and pull it to the front.
(3)
While pulling the right side maintenance
cover downward, remove it.
• If the right side maintenance cover is hard to
remove, use the supplied screwdriver.
5
Remove the H fan filter cover at the right
side of the carriage.
• Remove the screw on the H fan filter cover before
removing the cover.
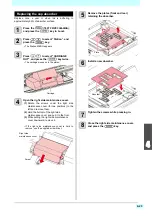
6
Remove the used H fan filter cover.
7
Mount a new H fan filter (SPC-0766).
• Align the hole in the H fan filter with the screw
hole.
8
Return the H fan filter cover to the original
status.
9
Close the right side maintenance cover,
and press the
key.
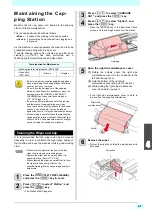
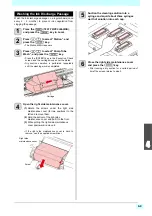
Carriage
Right side
maintenance cover
Screw
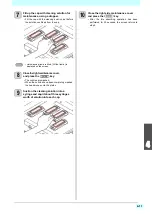
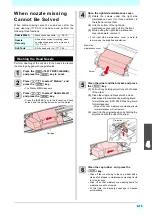
• Ink at printing adheres to the H fan filter ASSY.
When replacing the filter, it is recommended to
perform the work with a sheet of paper placed.
H fan filter cover
Claw
H fan filter
H fan filter cover
new H fan filter
Summary of Contents for SIJ-320UV
Page 1: ...MIMAKI ENGINEERING CO LTD URL http mimaki com D202809 13 Original instructions ...
Page 14: ...xiii Warning labels ...
Page 28: ...1 14 Chapter 1 Before Use ...
Page 98: ...4 26 ...
Page 116: ...5 18 Chapter 5 Troubleshooting ...
Page 122: ...Chapter 6 Appendix 6 6 ...

