Using Baker DX Non-Test Functions
38 Baker DX 71-030 User Guide EN V10
www.megger.com
4.
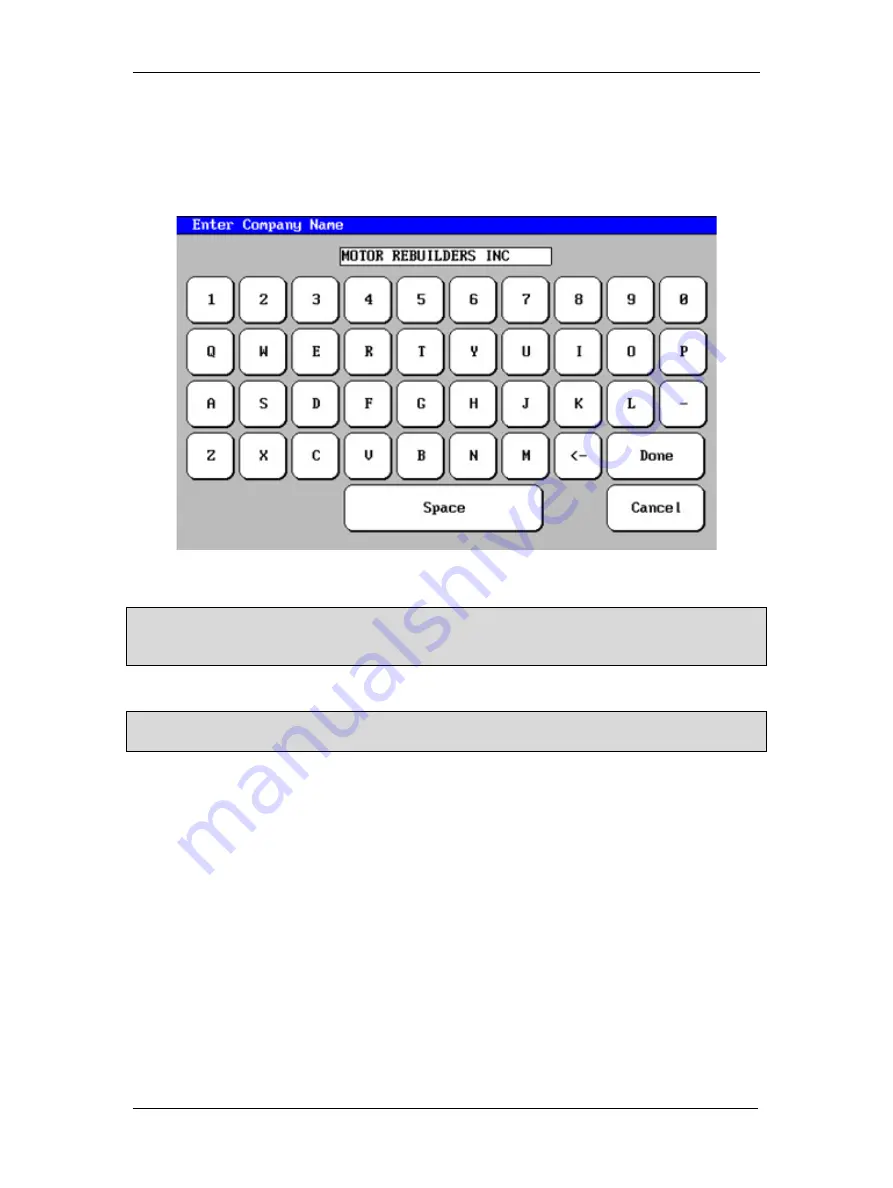
Touching any of the highlighted fields produces a touch screen keyboard like the one
shown below that you will use to enter or edit information. In this example “Motor
Rebuilders Inc” is being added to the
Company Name
field in the form. When you
finish typing the name in the field, touch
Done
on the keyboard and you will return to
the report header form and the information will be loaded into the field you selected.
Figure 41. Touch screen keyboard.
NOTE: The report header information remains unchanged and will be used for all reports, even if other
folders or records are opened. You will need to change this information when needed (for example, creating
reports for a different customer with their logo, company name, and so on).
5.
Touch
Done
on the submenu bar when you complete the form.
NOTE: When moving to different records or folders, be sure to touch the
Clear All
button to ensure the
report header field is not populated with old or inaccurate information.
Summary of Contents for Baker DX
Page 1: ......
Page 2: ......
Page 10: ...Table of Contents viii Baker DX 71 030 User Guide EN V10 www megger com...
Page 28: ...Baker DX Instrument Overview 18 Baker DX 71 030 User Guide EN V10 www megger com...
Page 38: ...Baker DX User Interface Overview 28 Baker DX 71 030 User Guide EN V10 www megger com...
Page 58: ...Setting up the Baker DX Tester 48 Baker DX 71 030 User Guide EN V10 www megger com...
Page 149: ...megger com 139 RIC Templates Figure 141 RIC template 1...
Page 150: ...RIC templates 140 Baker DX 71 030 User Guide EN V10 www megger com Figure 142 RIC template 2...
Page 155: ...Index megger com 145...
Page 156: ...megger com 146...


