


Instruction for use URYXXON
®
500
20
Instruction for use URYXXON
®
500 V 2.1 / 01.23
Login
User 1
User 2
User 3
–
–
–
–
8.8 Customization
The
Customization
menu allows you to assign 4 different values for
Clarity
and
Color
, as visual sample information. Additionally, you
can define a welcome line and a printer header.
Once you open the menu, the first screen allows you to enter
values for clarity and color. The browse‑arrows
allow you
to switch to a second screen in which you can enter welcome line
and printer header.
Customization
Clarity
Color
Dark
Clear
Turbid
Cloudy
Brown
Yellow
Other
Red
Press
to confirm and save your changes. If you leave the
menu by pressing
, none of your changes will be adopted.
8.8.1 Clarity
Clarity is a visual urine parameter, which you can assign to any
sample as optional patient information
and patient information, page 25)
. There are four different
options. By default, they are defined as “Clear”, “Turbid”, “Cloudy”
and “Dark”. To create new names, press the edit‑buttons for clarity.
The input‑menu
abc
appears and you can enter a new name (10
characters max.). Press
to confirm and save your changes.
If you leave the menu by pressing
, none of your changes
will be adopted.
8.8.2 Color
Color is a visual urine parameter, which you can assign to any
sample as optional patient information
and patient information, page 25)
. There are four different
options. By default, they are defined as “Yellow”, “Red”, “Brown”
and “Bright”. To create new names, press the edit‑buttons for color.
The input‑menu
abc
appears and you can enter a new name (10
characters max.). Press
to confirm and save your changes.
If you leave the menu by pressing
, none of your changes
will be adopted.
8.8.3 Welcome line
As a welcome line, you can enter an individual message that always
appears in the initial print‑out when the instrument is switched on.
By default, there is no set welcome line. To create your own
welcome line, press the edit‑button. The input‑menu
abc
appears
and you can enter two lines for the new welcome line (24 characters
in 2 lines max.). Press
to confirm and save your changes.
If you leave the menu by pressing
, none of your changes
will be adopted.
Customization
Welcome line
Printer header
8.8.4 Printer header
The printer header is the heading for every print out. By default,
there is no set printer header. Press the edit‑button to create your
own header. The input‑menu
abc
appears and you can enter two
lines for the new printer header (24 characters in 2 lines max.).
Press
to confirm and save your changes. If you leave the
menu by pressing
, none of your changes will be adopted.
8.9 Sound
The
Sound
menu allows you to enable or disable the operating
sounds. Press the respective choice‑button.
Sound
Sound
Off
On
Press
to confirm and save your changes. If you leave the
menu by pressing
, none of your changes will be adopted.
8.10 Print settings
You can print an overview over all settings. Only the sediment
settings can be printed separately
. To start printing, press the activity‑button
Print settings
.
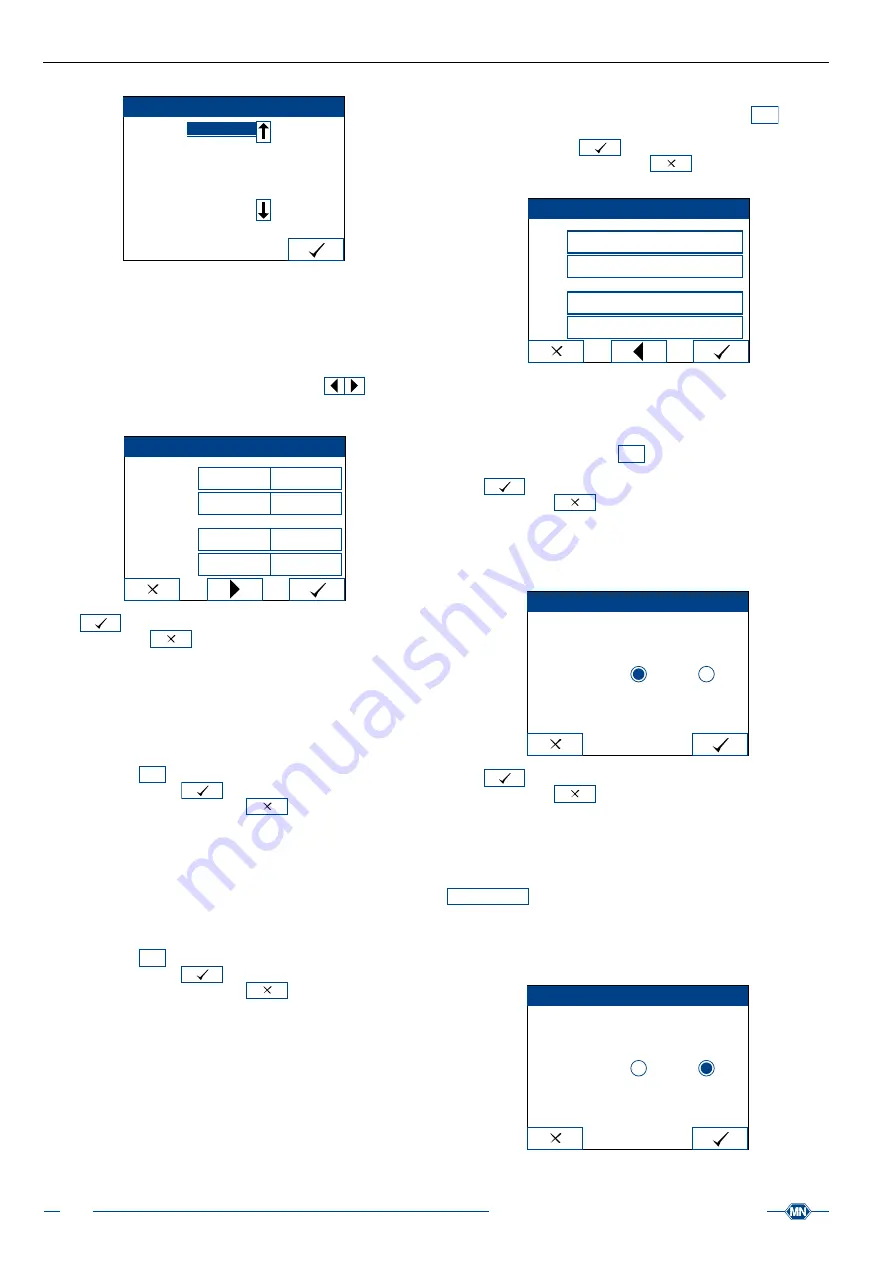
8.11 Autostart
The
Autostart
menu allows you to enable / disable the autostart
function. Press the respective choice‑button.
Autostart
Autostart
Off
On


